User Guide: Activate an IDE through License Vault
Last modified: 14 March 2025This section walks you through the process of obtaining a product license from License Vault.
Before activation
Before you activate your JetBrains product, go through the following checklist to make sure you have everything necessary to successfully obtain a license.
- Do you have the IDE Services link?
You will need this link to connect to your IDE Services instance via the Toolbox App for automatic activation.
If you don't have the link, try to activate your IDE manually using the automatic server discovery at step 5 of the instructions. If that doesn't work, contact your administrator for your IDE Services link.
Activating your IDE via Toolbox App
If your organization uses the Toolbox App, install it on your computer to connect to IDE Services. To do so, follow the IDE Services link provided by your administrator. Once you've installed the Toolbox App, your JetBrains tools will be automatically activated through the IDE Services License Vault.
For detailed instructions, refer to User Guide: Connect to IDE Services Server.
Activating your IDE manually
If your organization does not use the Toolbox App, follow the instructions below to activate your IDE manually using the IDE Services link provided by your administrator.
Open your IDE, making sure to use version 2021.1 or later.
If you don't yet have a license, the activation dialog will appear straight away. If you don't see the dialog, select Help | Register to pull it up.
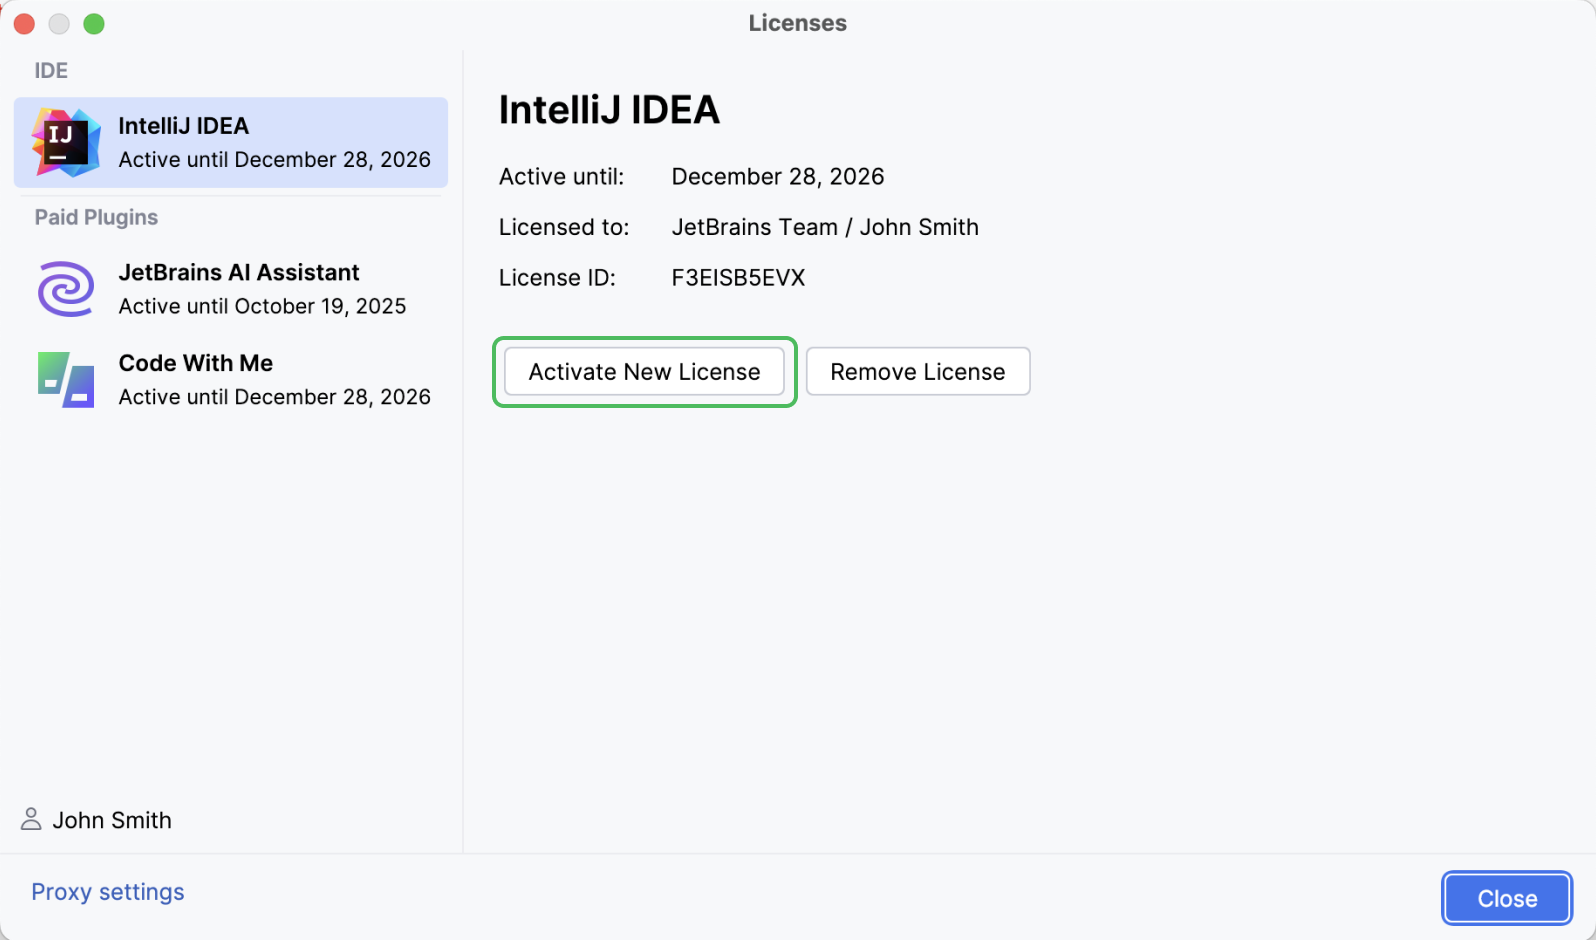
If your IDE is already activated, click Activate New License.

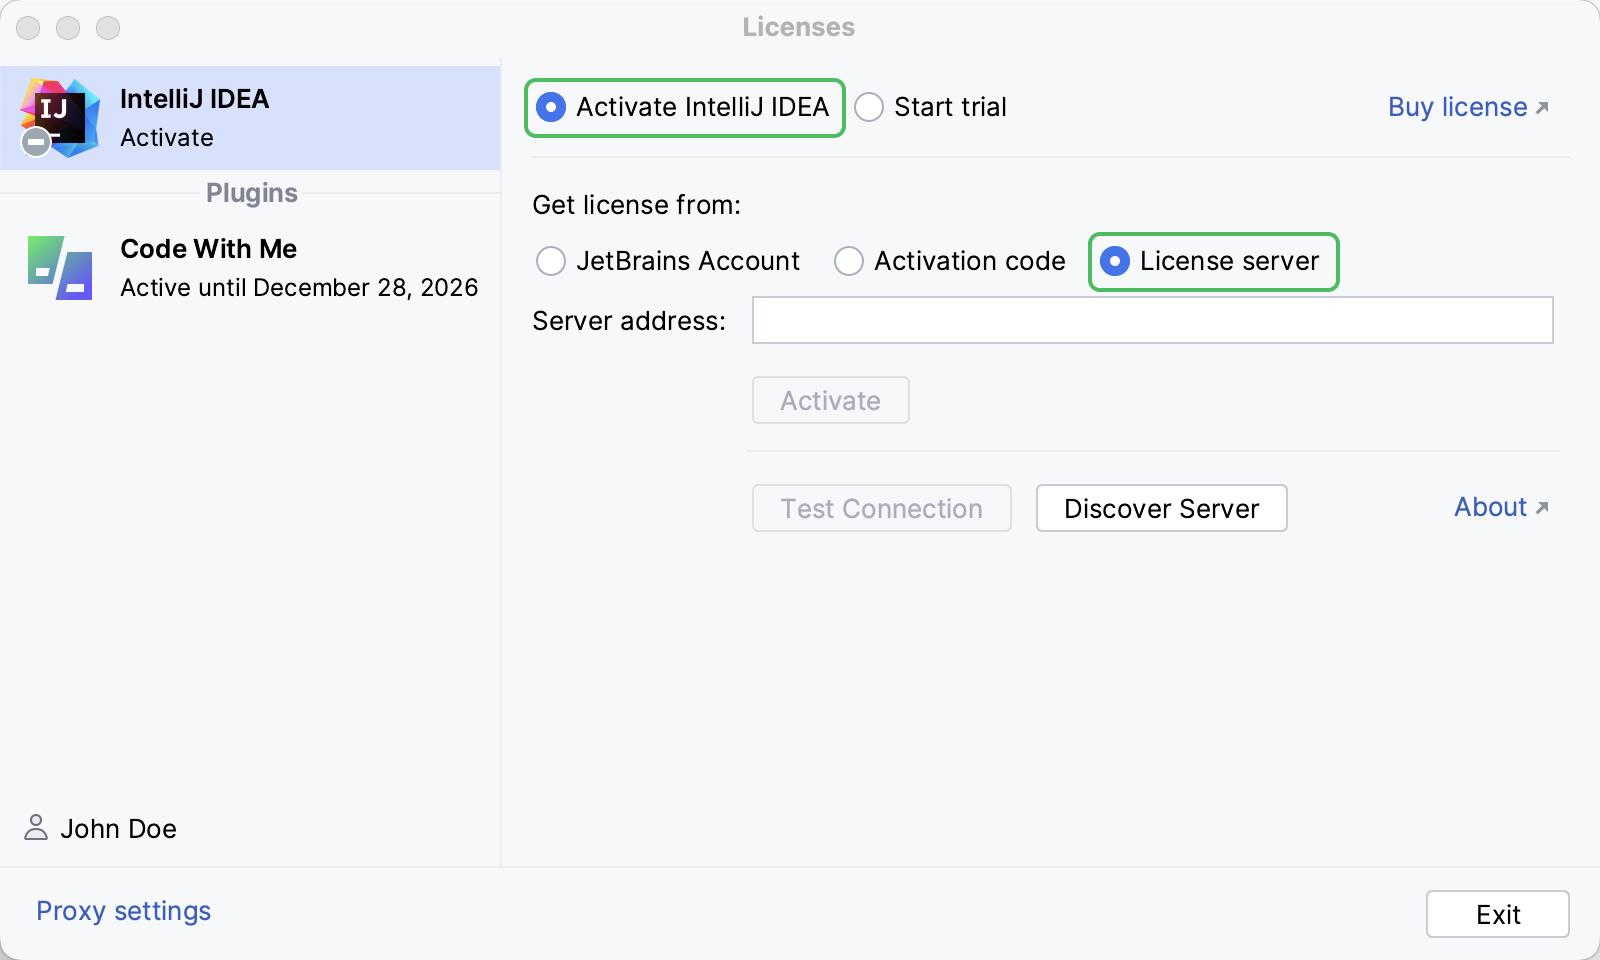
In the activation dialog, select Activate <Your IDE Name> | License server.

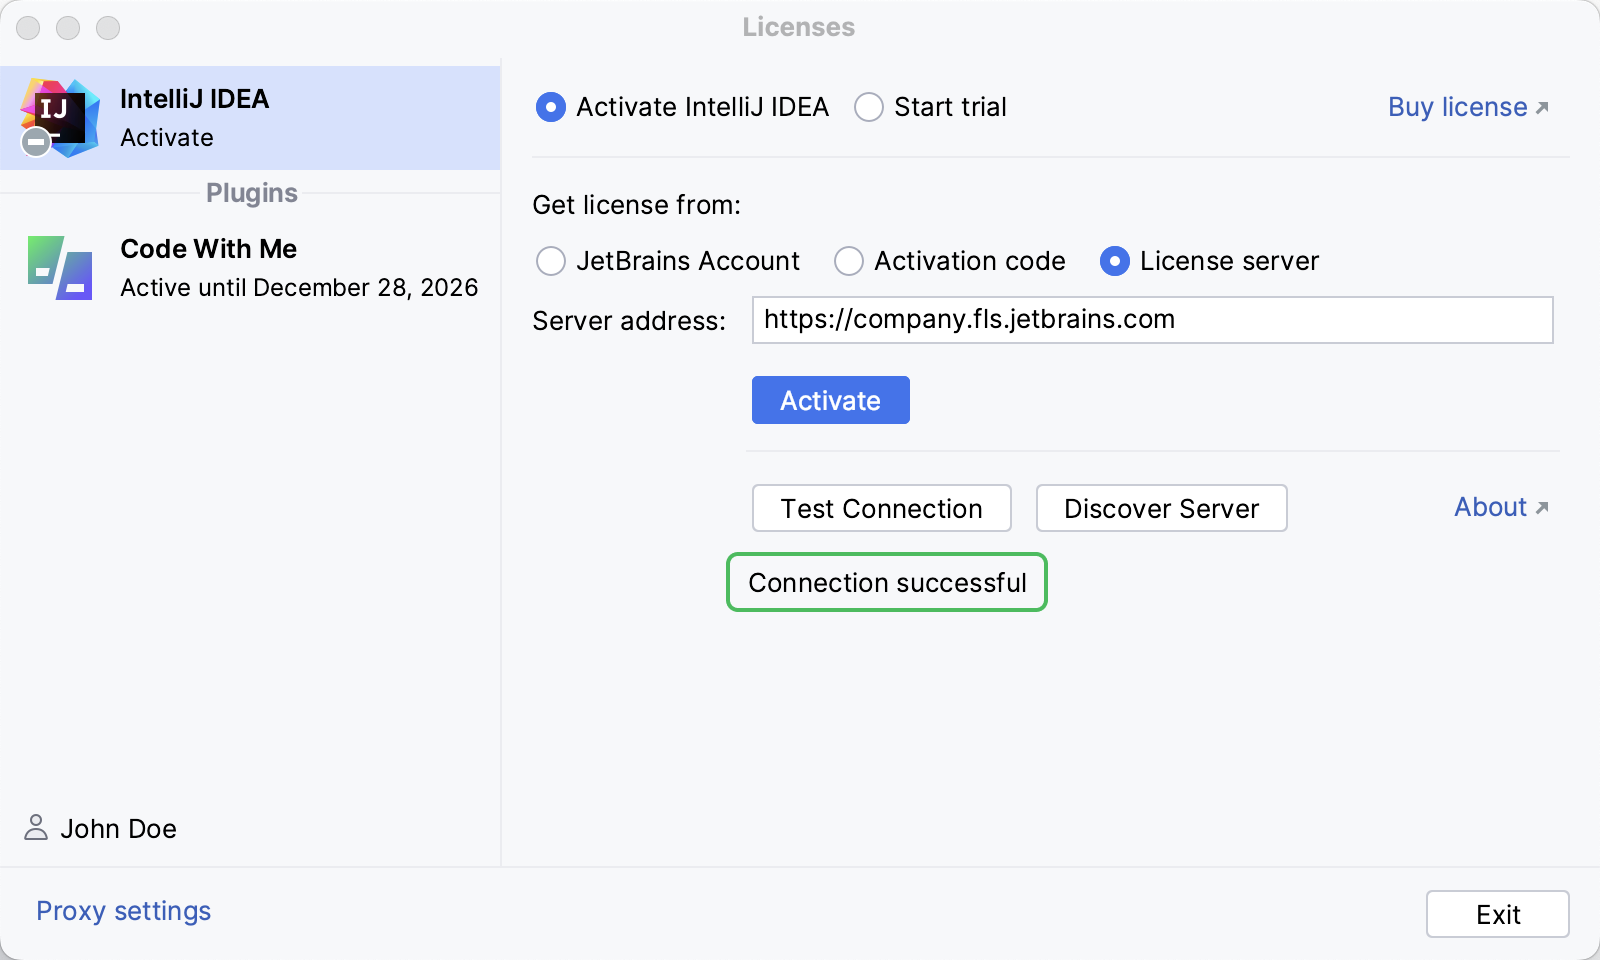
Paste the IDE Services URL into the Server address field.
note
Make sure the URL includes
https://Alternatively, you can click Discover Server. If your administrator has configured the automatic discovery, the IDE Services URL will appear in the field automatically.
(Optional) Click Test Connection to confirm that IDE Services is available. Once your product connects to IDE Services, you will see the Connection successful message.

Click Activate.
Your browser will open and take you to the user authorization page.
If the authorization page doesn't open straight away, click the link in the Authorization required message at the bottom of the dialog.

Enter your credentials and wait for the Authorization successful message to appear on the page.
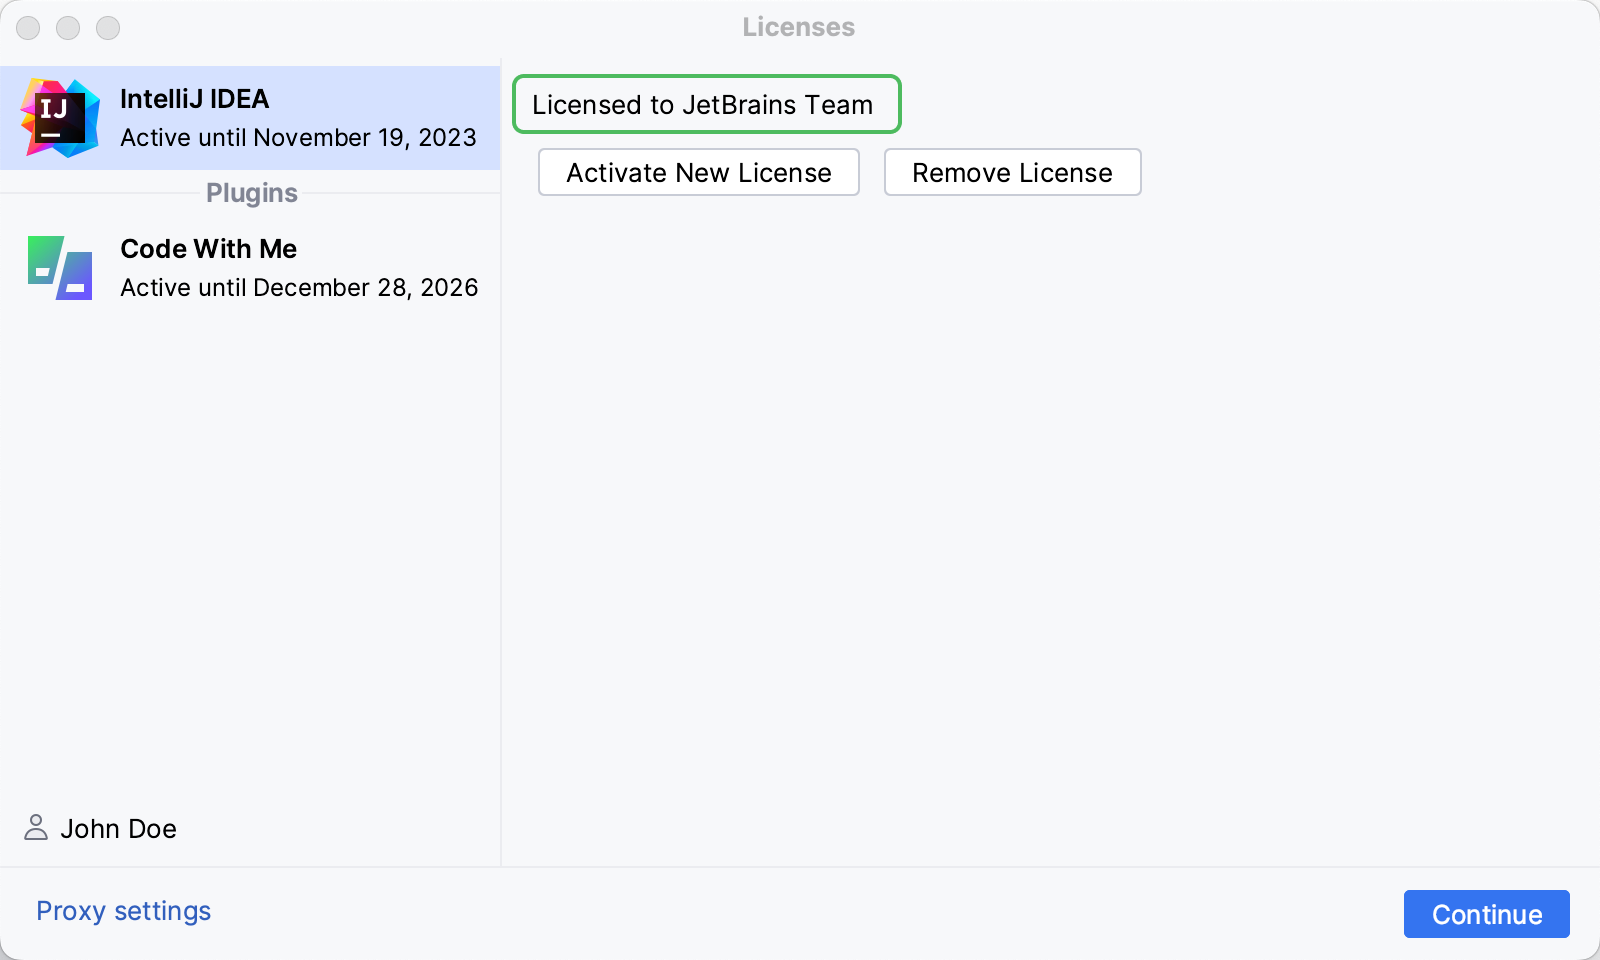
Return to your IDE. You will see your license information displayed in the activation dialog.

If you see the Activate button instead, click it once again to obtain a license.
You're good to go! Click Continue to start using your IDE.
Troubleshooting
If you couldn't obtain a license, check this section for possible reasons.
No matching licenses left on the server. You can get this message when IDE Services doesn't have an available license for the product you're trying to activate. Contact your administrator.You are not allowed to use this product. This message means that your IDE Services administrator has restricted your access to the product you're trying to activate. Contact your administrator.