Automatic server discovery
Automatic server discovery makes license activation easier for your users. It prefills the Server address field in the activation dialog so that users don't have to copy and paste the IDE Services URL manually.
There are two approaches to server discovery: you can either instruct users to use the Toolbox App to activate their IDEs automatically or set up server discovery for manual activation.
Server discovery via the Toolbox App
Automatic server discovery works out of the box when users connect to the IDE Services instance via the Toolbox App. All they need to do is install the Toolbox App and log in through your company's identity provider. Once they do so, any IDE they run on this computer will be automatically activated with a license from License Vault. No additional manual configuration is required.
Using the Toolbox App offers an additional advantage – the server URL delivered via the Toolbox App overrides any previously used license server URLs stored in the IDE cache. This ensures smooth activation when migrating from a different license server.
Server discovery for manual activation
If you prefer not to use the Toolbox App in your organization, your users can manually activate their IDEs using the IDE Services URL. To set up automatic server discovery for this scenario, use one of the methods described in this section.
At startup, the IDE checks its settings in a specific priority order, which means that some of these methods can override others. For details, see Priority of the server discovery methods.
DNS TXT record
Prerequisites
This method only works if your users' machines belong to a single network that uses DHCP.
Usually, DNS TXT records can be added by the system or network administrator.
Adding the DNS TXT record
Add a DNS TXT record with the name _jetbrains-license-server to the DNS zone (domain) that the users' machines belong to. For example, this could be company.com.
If the machines are distributed across several DNS zones, add a separate TXT record to each zone.
For the record's text, provide url=<your-ide-services-url>.
Record example
Let's say your machines belong to the company.com DNS zone, and your IDE Services URL is https://ide-services.company.com:8080.
In this case, you'll need to add the following record to the company.com zone:
with this text:
Verifying your record
To make sure that your record works, run the following command on a user's machine:
If everything is working correctly, the response will look like this:
Environment variable
Add the JETBRAINS_LICENSE_SERVER environment variable to the local profile on the users' machines. For its value, provide the IDE Services URL.
JVM option
For JetBrains products that can be configured using JVM options, you can use the -DJETBRAINS_LICENSE_SERVER option. For its value, provide the IDE Services URL.
To check if your product supports JVM options and how to specify them, refer to your product's documentation. For example, here are the instructions for IntelliJ IDEA.
Check your configuration
To make sure that your configuration works correctly, follow these steps on a user machine:
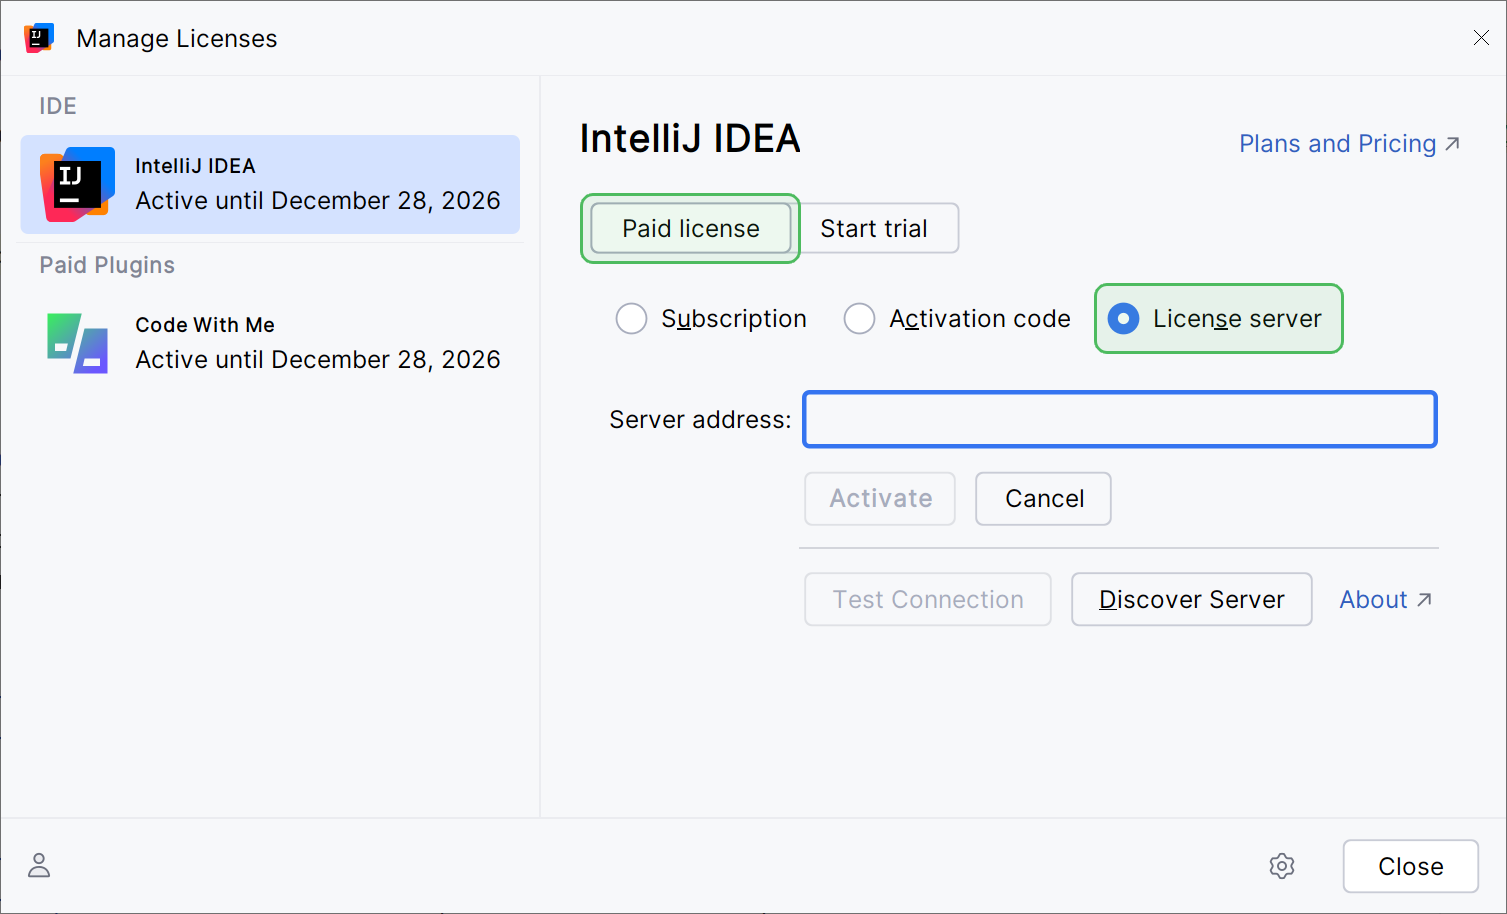
Open a JetBrains IDE and click Help | Register to go to the Licenses dialog.
In the Licenses dialog, select .

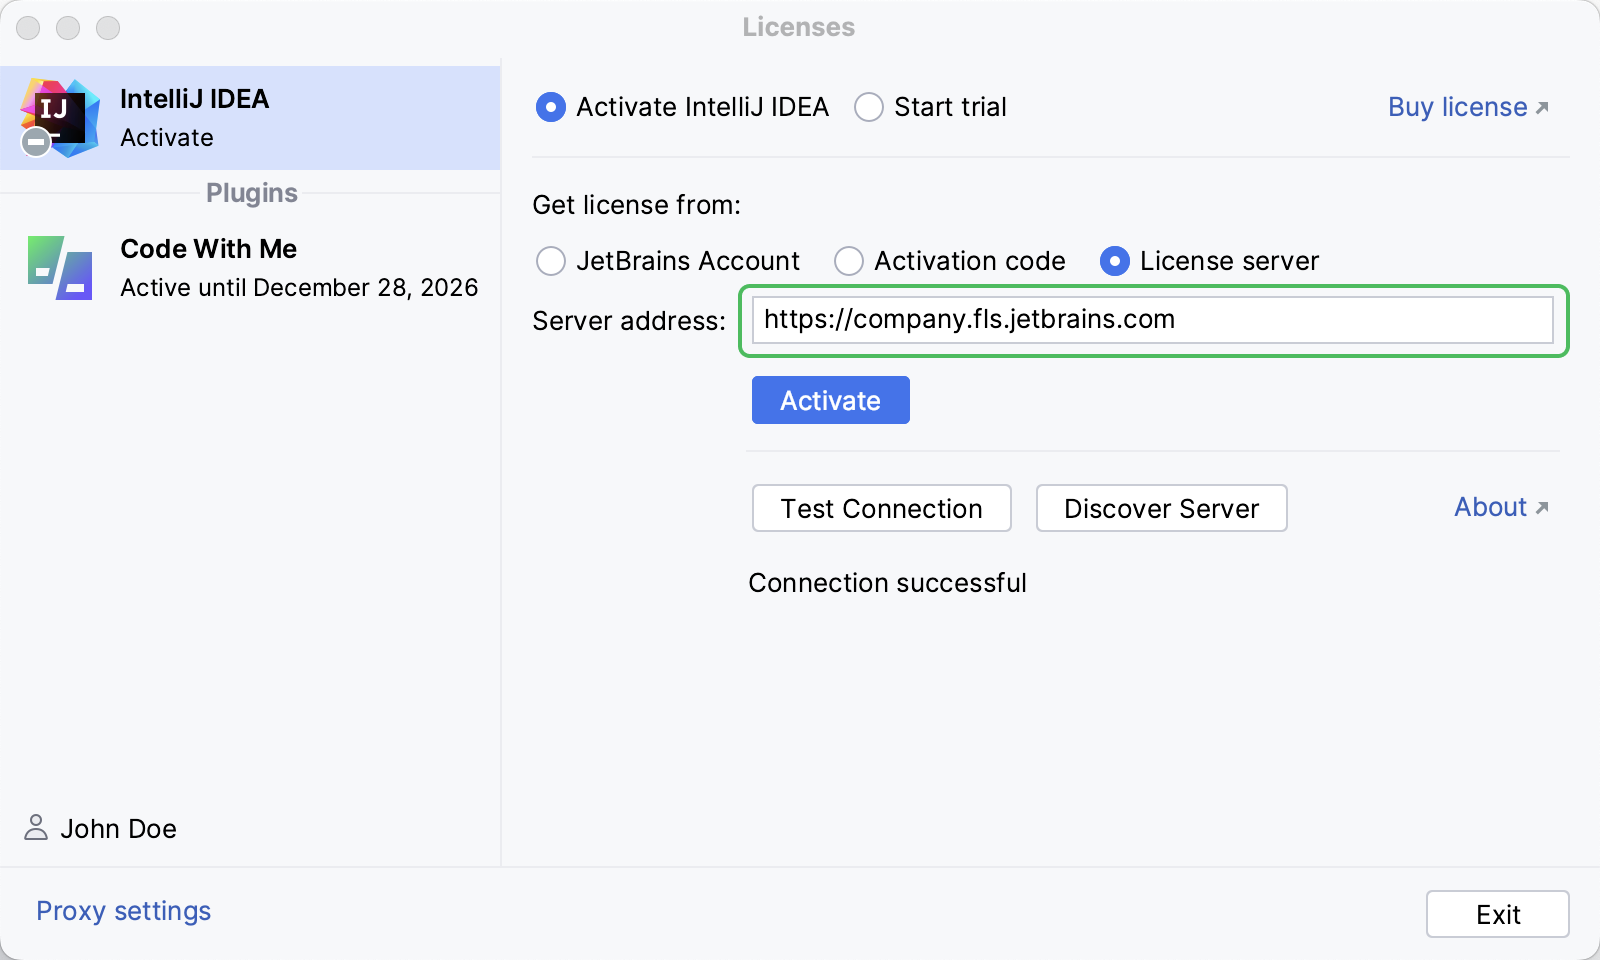
Check if your IDE Services URL appears in the Server address field:
If you use the environment variable or JVM option to set up server discovery, the IDE Services URL will appear in the Server address field immediately at startup.

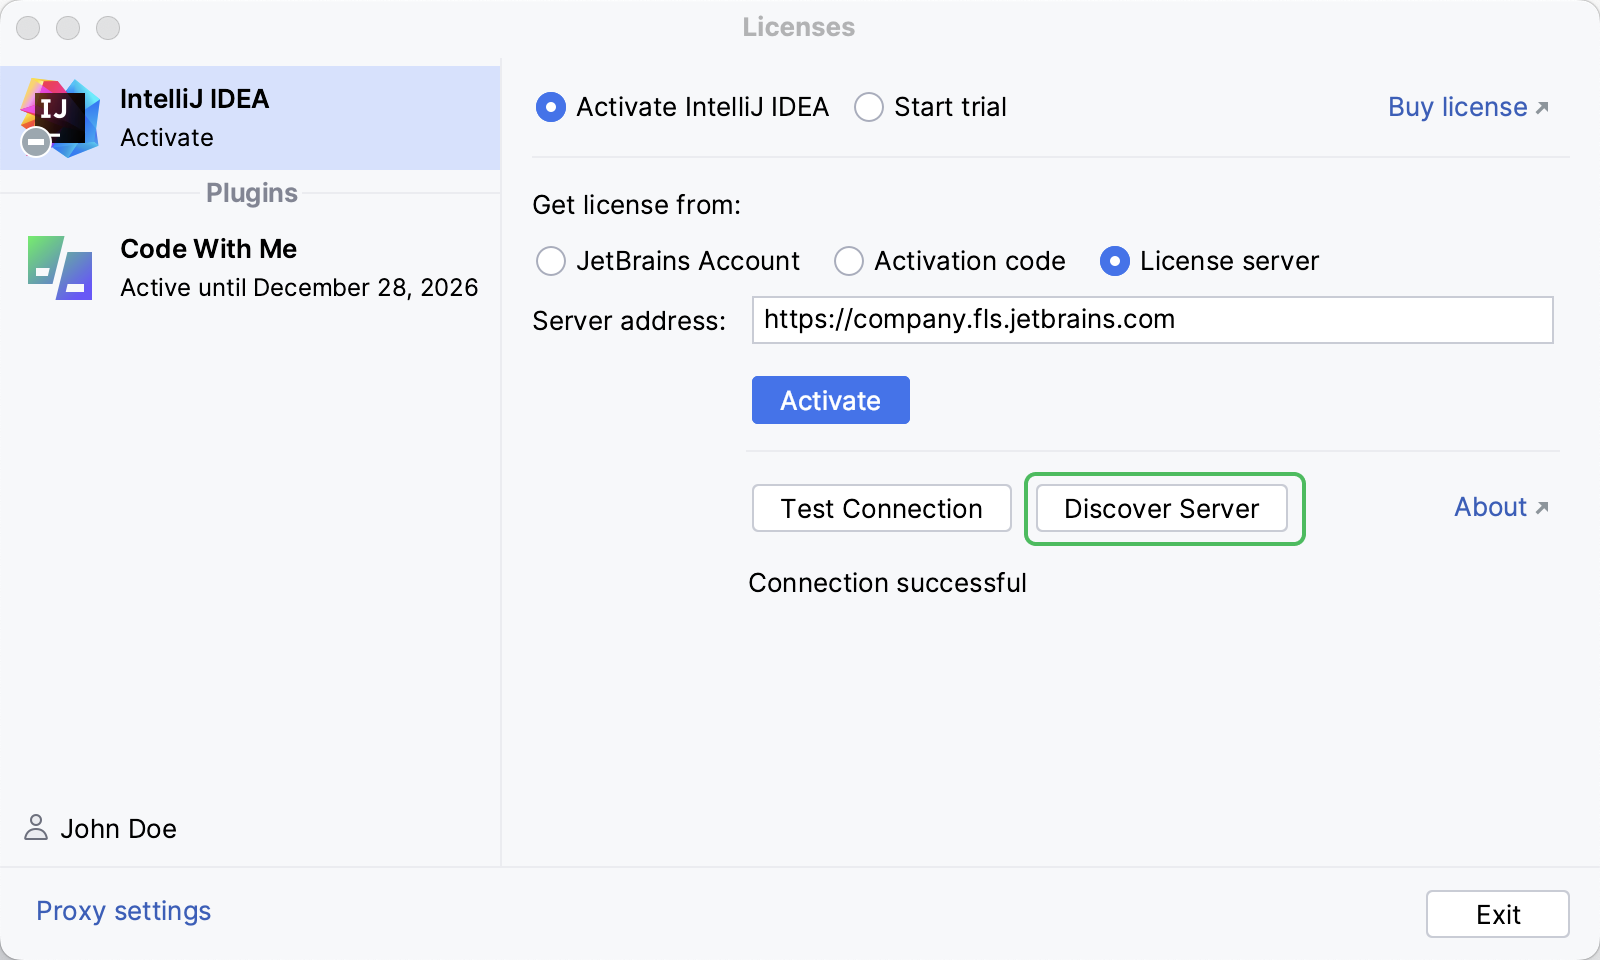
If you use the DNS TXT record, click Discover Server to pull up your IDE Services URL.

Troubleshooting
If no URL appears in the activation dialog, double-check your settings to make sure your configuration is correct.
If an incorrect URL appears, it might be stored in the IDE cache. Make sure you're using a server discovery method that overrides any cached URLs.
Priority of the server discovery methods
The IDE checks its settings in a specific priority order, which means that some of the server discovery methods can override others.
Caching of the license server URL
When a user activates their IDE via the License server option, the URL is stored in the IDE cache. This cached value can also override some of the server discovery methods.
If you're migrating to a new IDE Services instance from a different license server, make sure you use a server discovery method that overrides the cached URL. Otherwise, users may not be directed to the new instance.
Server discovery methods invoked at startup
At startup, the IDE checks for available license server URLs in the following order:
Previously used URL stored in the IDE cache
Once a valid value is discovered, the IDE stops further checks and fills the Server address field with the discovered URL.
DNS search
A DNS search is initiated only if the user clicks the Discover server button. If a DNS record is found, its value overrides any previously discovered URLs, including the cached value from previous activations.