Activate IDE Services
Last modified: 30 January 2025When you log in to the IDE Services Web UI for the first time, you need to activate the IDE Services license.
Before activation
Check your permissions
To activate your IDE Services, you will need to have the organization or team administrator permissions for your company's profile on the JetBrains Account, or team administrator permissions for the IDE Services team. Refer to the JetBrains Account documentation to learn more about the administrator permissions.
If you are not sure how to obtain these permissions, contact our Support team for assistance.
Authorize someone else to activate IDE Services
If you need to authorize another person in your organization to activate IDE Services, you will need to grant them administrator permissions for the IDE Services team in your JetBrains Account.
If you have not accessed the IDE Services team in your JetBrains Account before, follow these instructions to locate it.
Invite the person who is going to activate your IDE Services license to become an administrator in this team. Follow these instructions to do so.
Check your license
Once you have the required permissions, make sure your IDE Services license is available in your JetBrains Account.
Find your license in your JetBrains Account
Log in to your JetBrains Account with the organization or team administrator permissions.
In the menu on the left, click your organization's name.

On the license overview page, select the Team Tools & Services tab.

On the Team Tools & Services tab, locate the JetBrains IDE Services license. You may need to scroll down to find it.

If you can see your IDE Services license in your JetBrains Account, you're good to go.
If you have trouble locating your license, contact your organization administrator or get in touch with our Support team.
Activate IDE Services
Open the IDE Services Web UI in your browser.
Log in to IDE Services using your credentials.

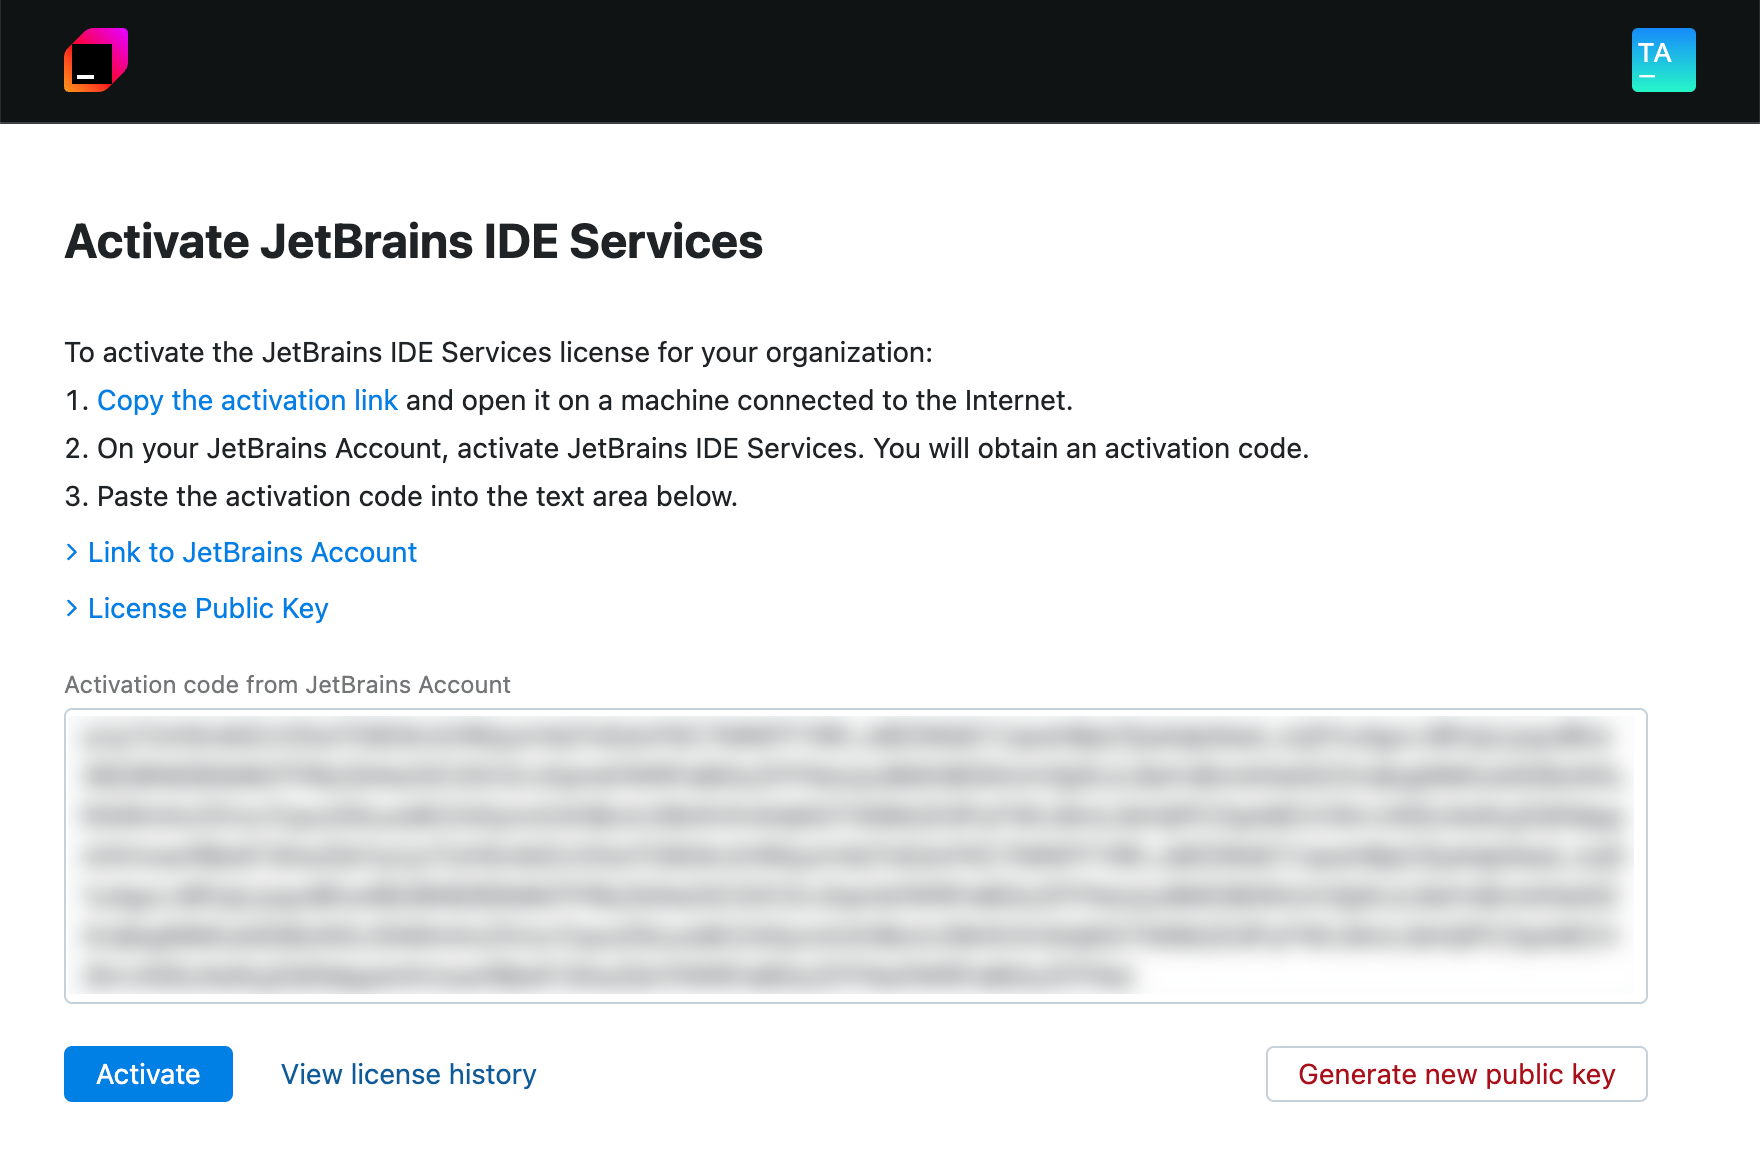
On the Activate JetBrains IDE Services page, click Copy the activation link, and open the link in your browser. The link will take you to the JetBrains Account.
warning
You will need an active internet connection to follow the activation link and get your license key.
tip
When you start the IDE Services Server, a unique server identifier is generated. This server identifier is a part of the activation link used to associate the installation with the corresponding IDE Services license registered on your JetBrains Account.
Log in to your JetBrains Account with organization or team administrator permissions. You will be redirected to the license activation page.
On the License activation page, read and accept the license agreement and click Get license key.

If you see an error message at this step, make sure you have the permissions required to activate IDE Services.

Copy your license key.
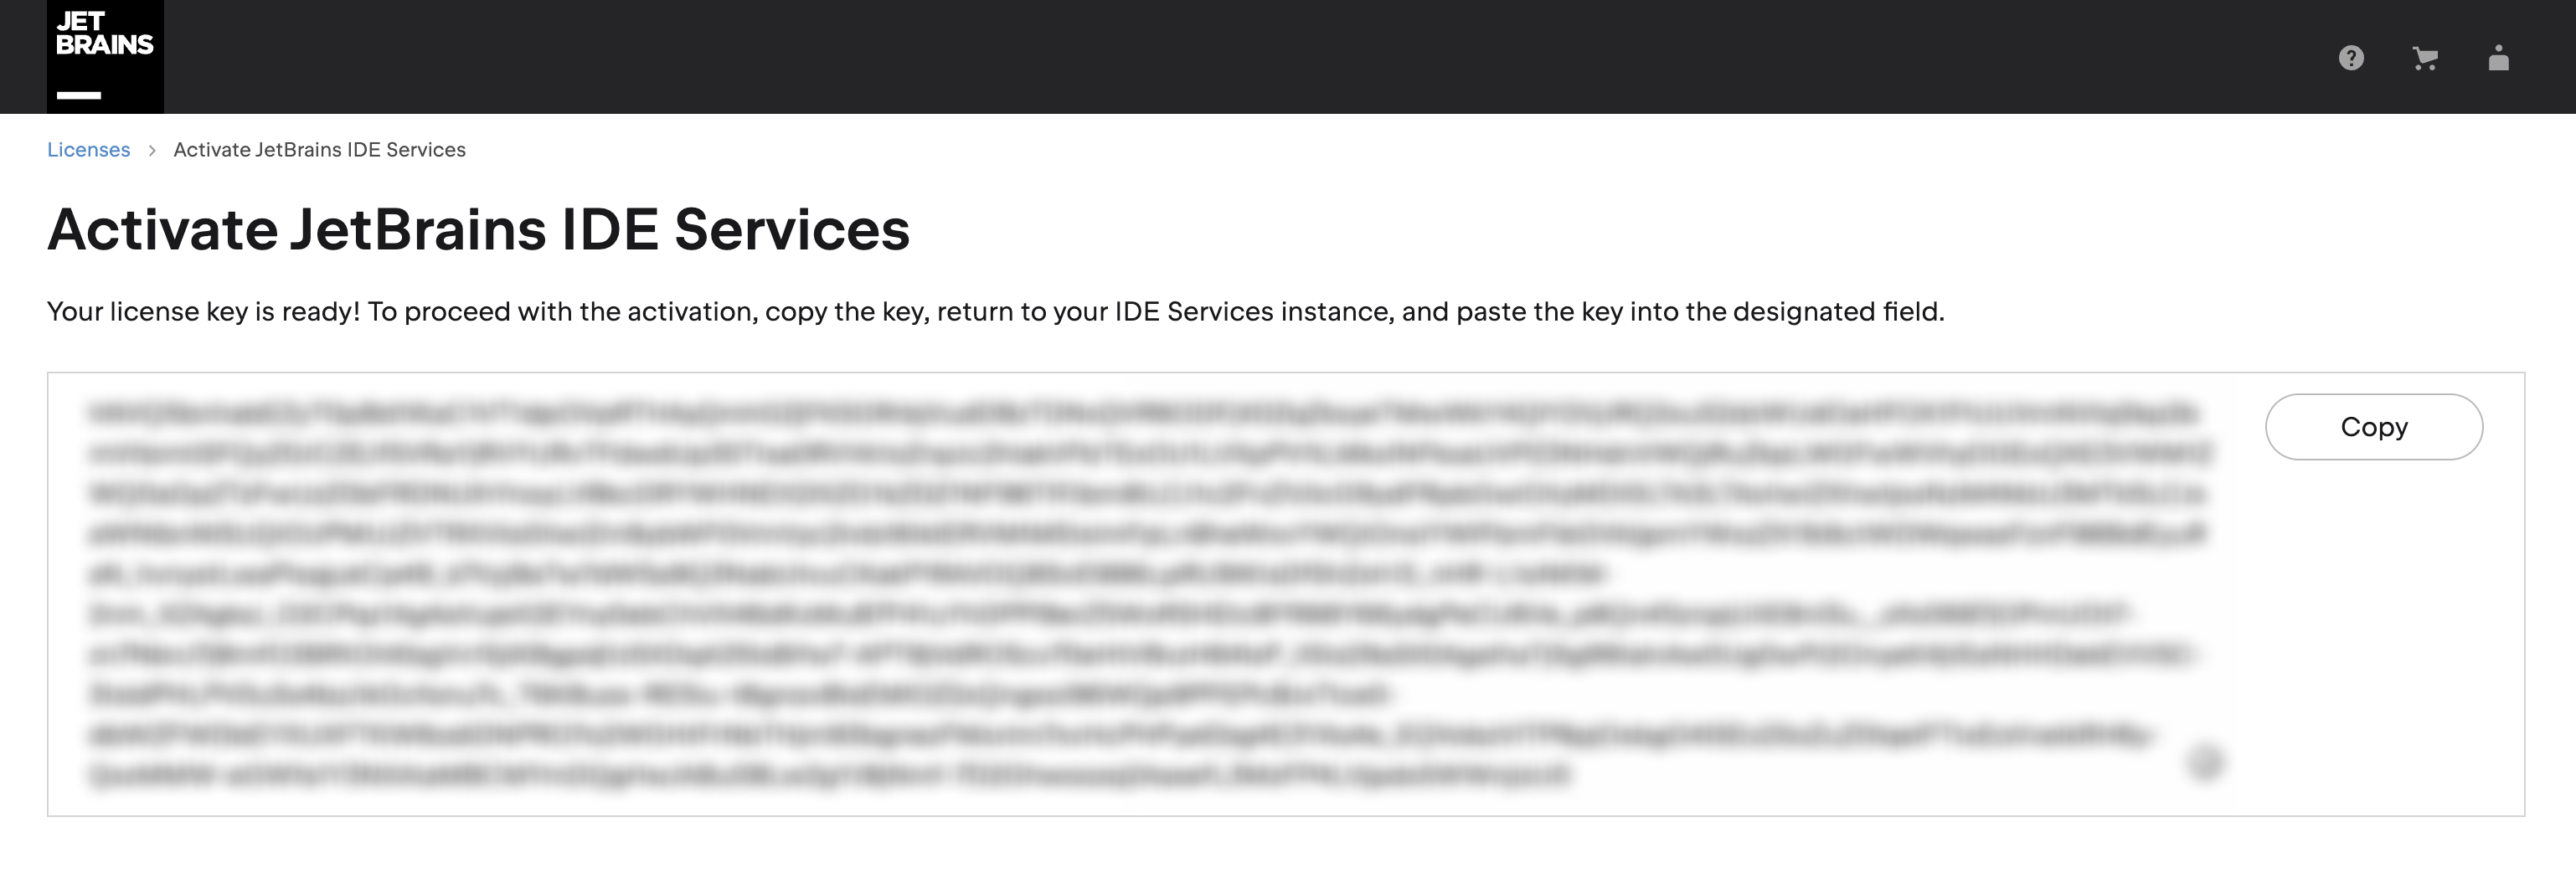
Go back to the IDE Services Web UI and paste the copied license key into the dedicated field on the Activate JetBrains IDE Services page.
Click Activate.
After activation
Access your license details
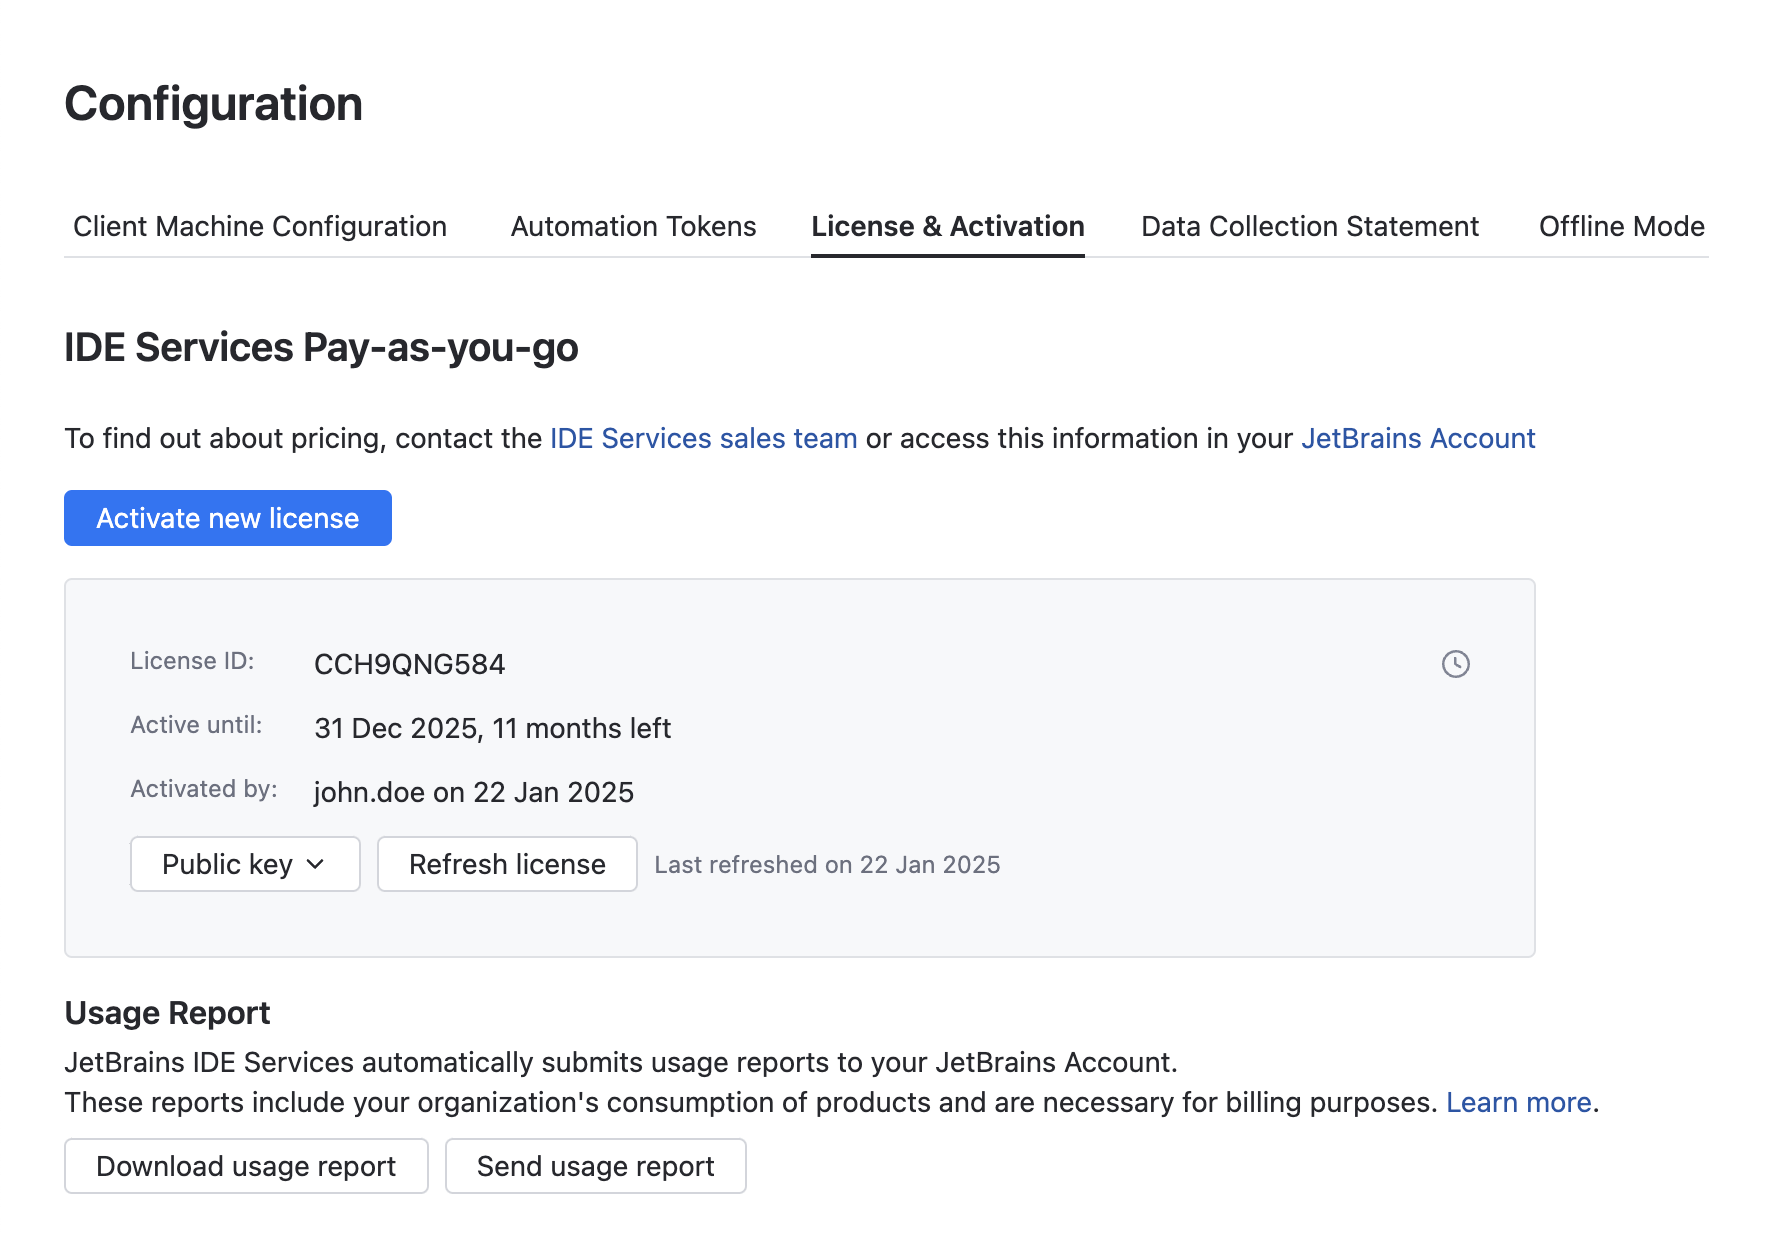
To view your IDE Services license details, open the Configuration page in the Web UI and select the License & Activation tab.
Refresh your license
When using IDE Services, you will sometimes need to make changes to your IDE Services licensing settings, such as allowing access to AI Enterprise in your JetBrains Account or adding prepaid IDE licenses to your License Vault. Your license key will also be updated every time you upload your usage report.
For such changes to take effect, you will need to refresh your IDE Services license. There are two ways to do it, depending on whether your IDE Services Server is connected to the internet.
If your IDE Services Server is online
If your IDE Services Server is connected to the internet, your license is refreshed automatically every 2 hours. No additional action is required.
However, if you want your licensing changes to reach your IDE Services as soon as possible, you can refresh your license manually by following the steps below.
In the IDE Services Web UI, navigate to Configuration | License & Activation.
In the JetBrains IDE Services section, click Refresh license.
If your IDE Services Server is offline
If your IDE Services Server is not connected to the internet, you will need to refresh your license manually every time you make changes to your IDE Services licensing settings.
tip
If you want to receive email notifications whenever you are required to refresh your license, make sure your IDE Services team has an administrator. Only IDE Services team administrators are notified about licensing changes.
warning
To complete these steps, you'll need organization administrator permissions for your company's profile on the JetBrains Account portal or team administrator permissions for the IDE Services team. Learn more about admin permissions
Log in to your JetBrains Account with the organization or team administrator permissions.
Use a computer with an active internet connection to do so.
In the menu on the left, click your organization's name.

In the menu under your company's name, select Teams.

In the team list, click on the name of the team where your IDE Services license is located.
If you're not sure which team your IDE Services instance is associated with, follow these instructions to find it.

In the menu on the left, select JetBrains IDE Services to go to the% ides% management page.
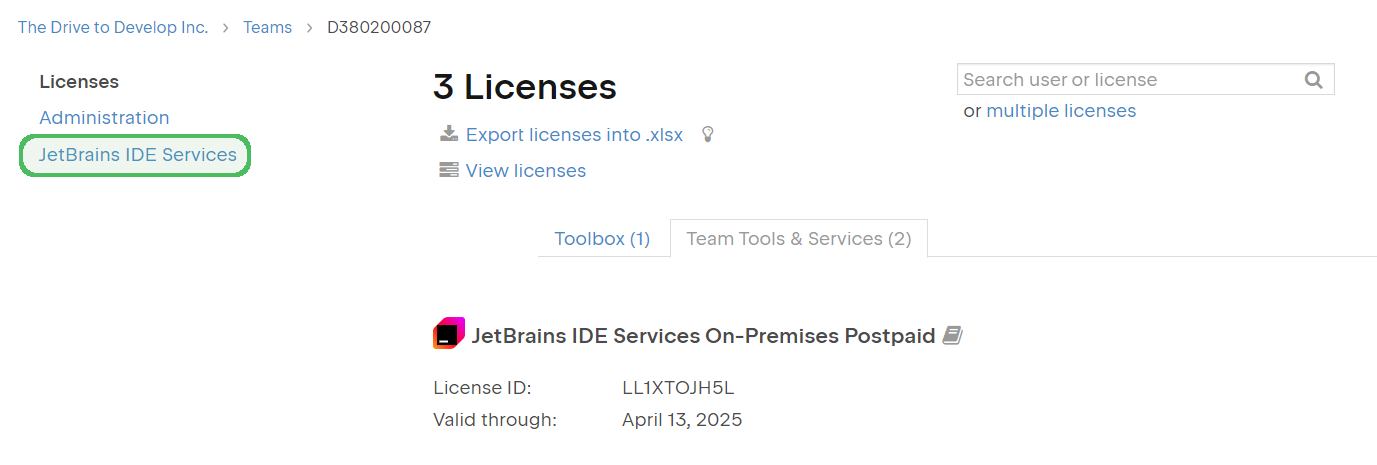
On the IDE Services administration page, click Copy license key or the download icon button to copy your new license key or download it as a text file.

Return to your IDE Services Web UI. Navigate to Configuration | License & Activation.
In the JetBrains IDE Services section, click Activate new license.
In the dialog that pops up, paste your new license key in the designated text field.
Troubleshooting
View the server public key
In case of activation or licensing problems, the IDE Services support team may ask you to provide the public key of your IDE Services Server.
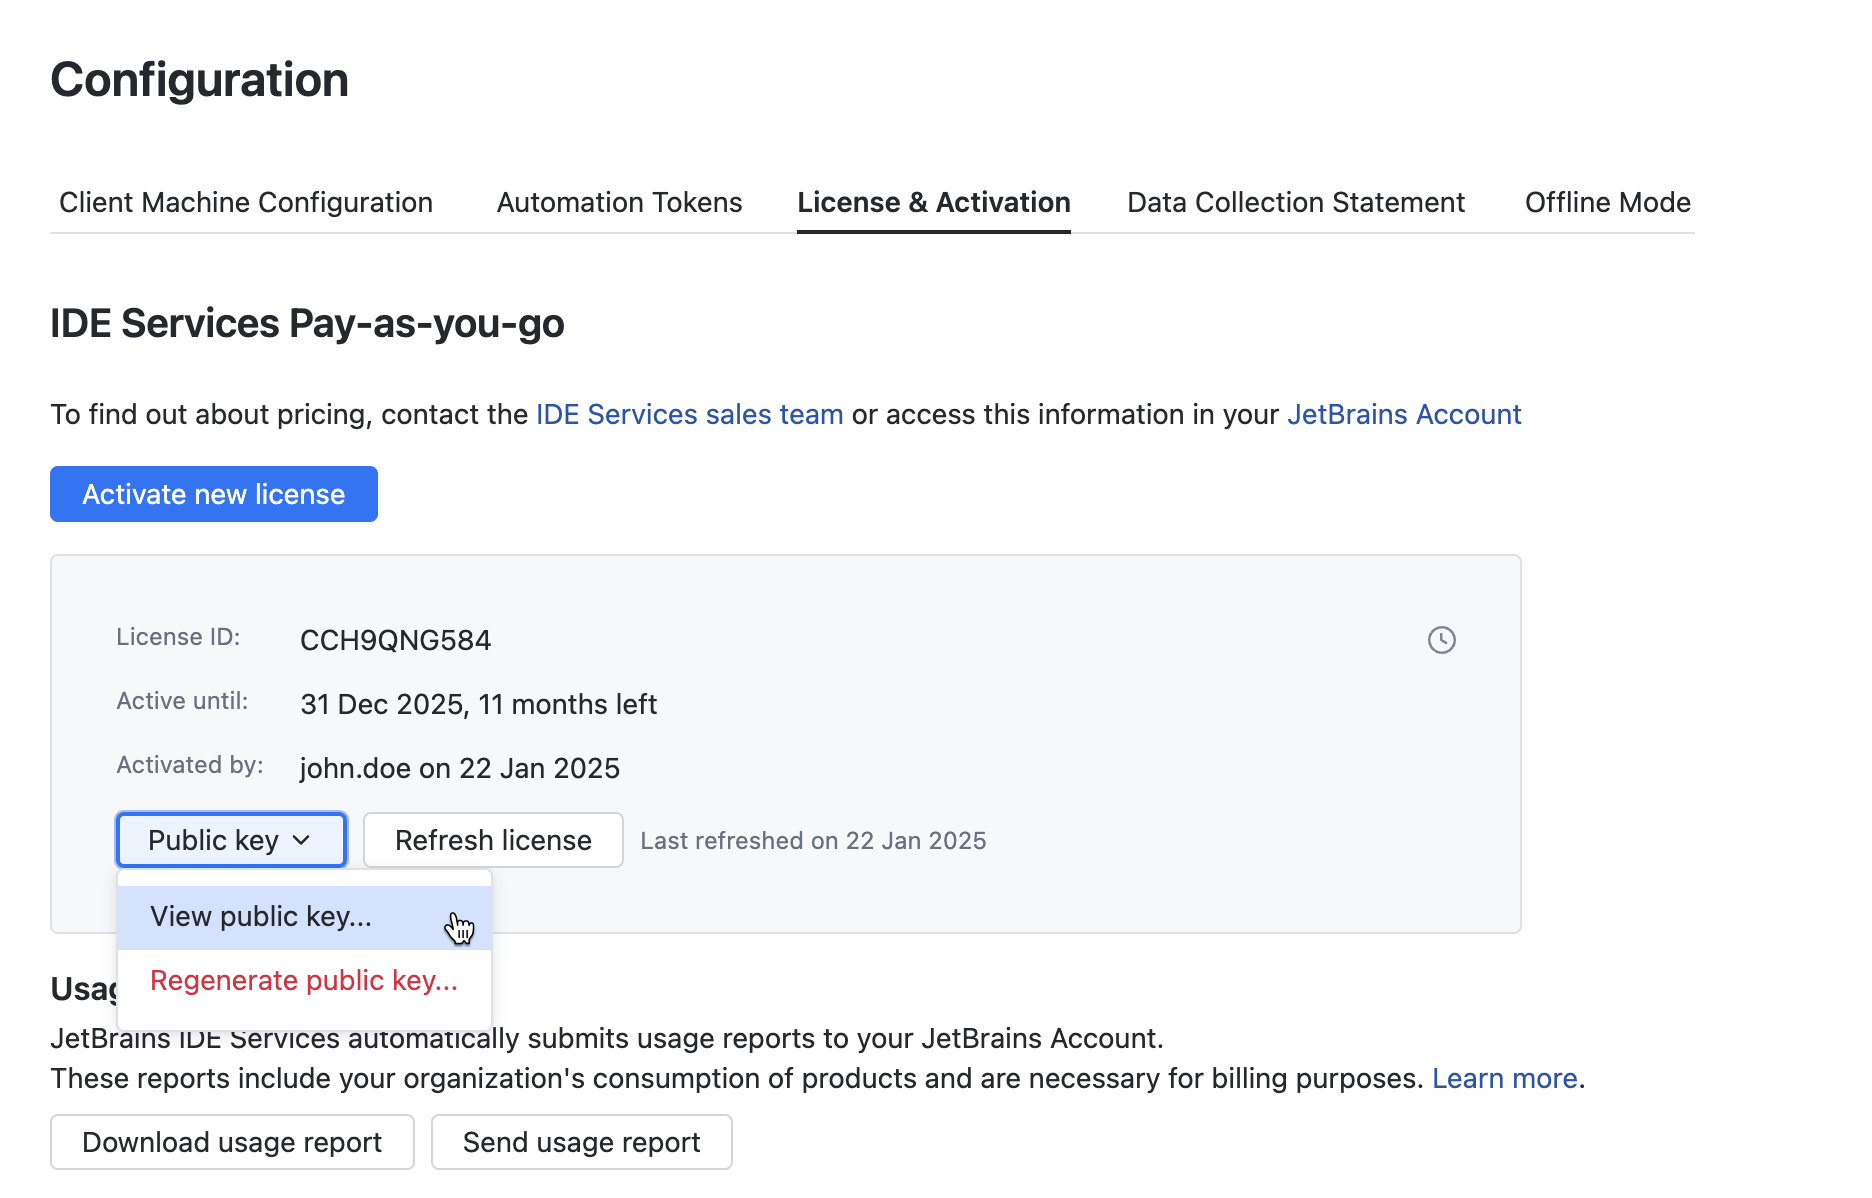
In the IDE Services Web UI, navigate to Configuration | License & Activation.
Click Public key | View public key.
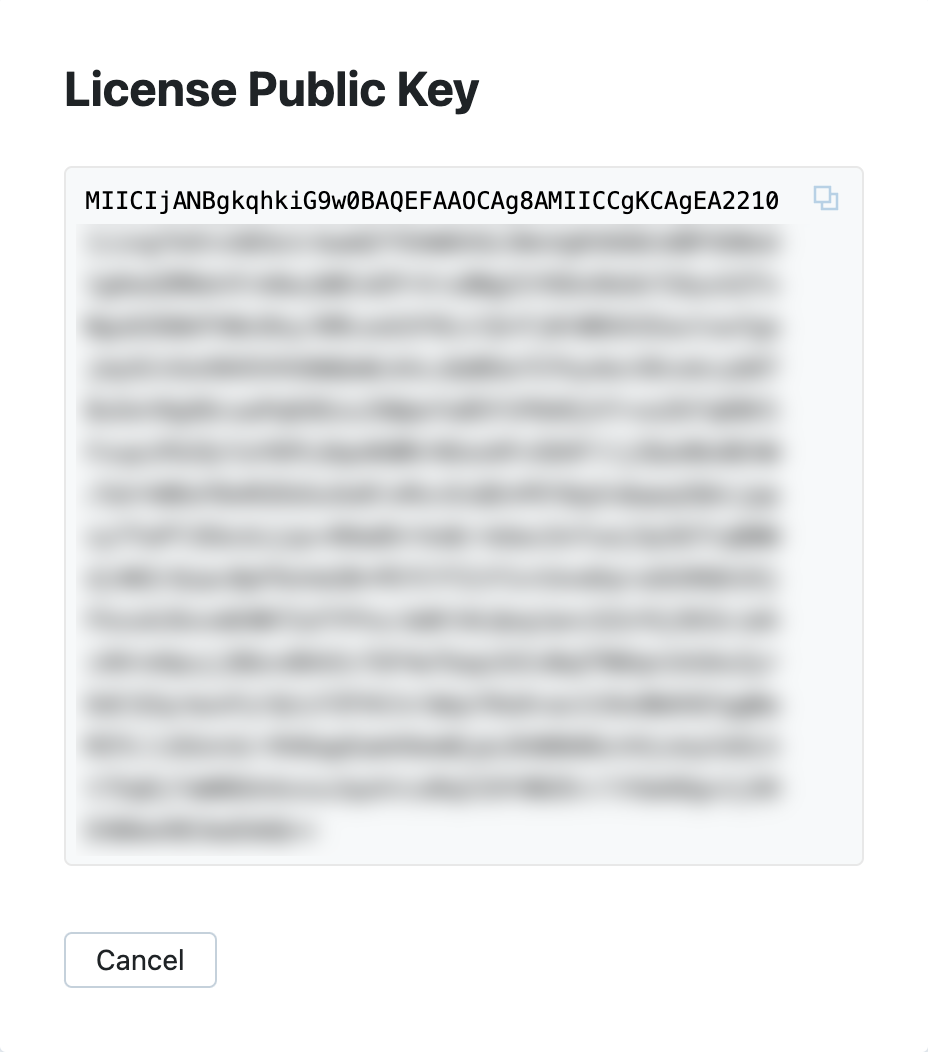
Copy the key from the License Public Key dialog.
Regenerate a server public key
warning
Regenerating a server public key results in losing all current license configurations and requires IDE Services re-activation. The server will turn into an inactive state, which means that it will stop functioning until activated again. Only proceed with this action if the IDE Services support team has specifically asked for it.
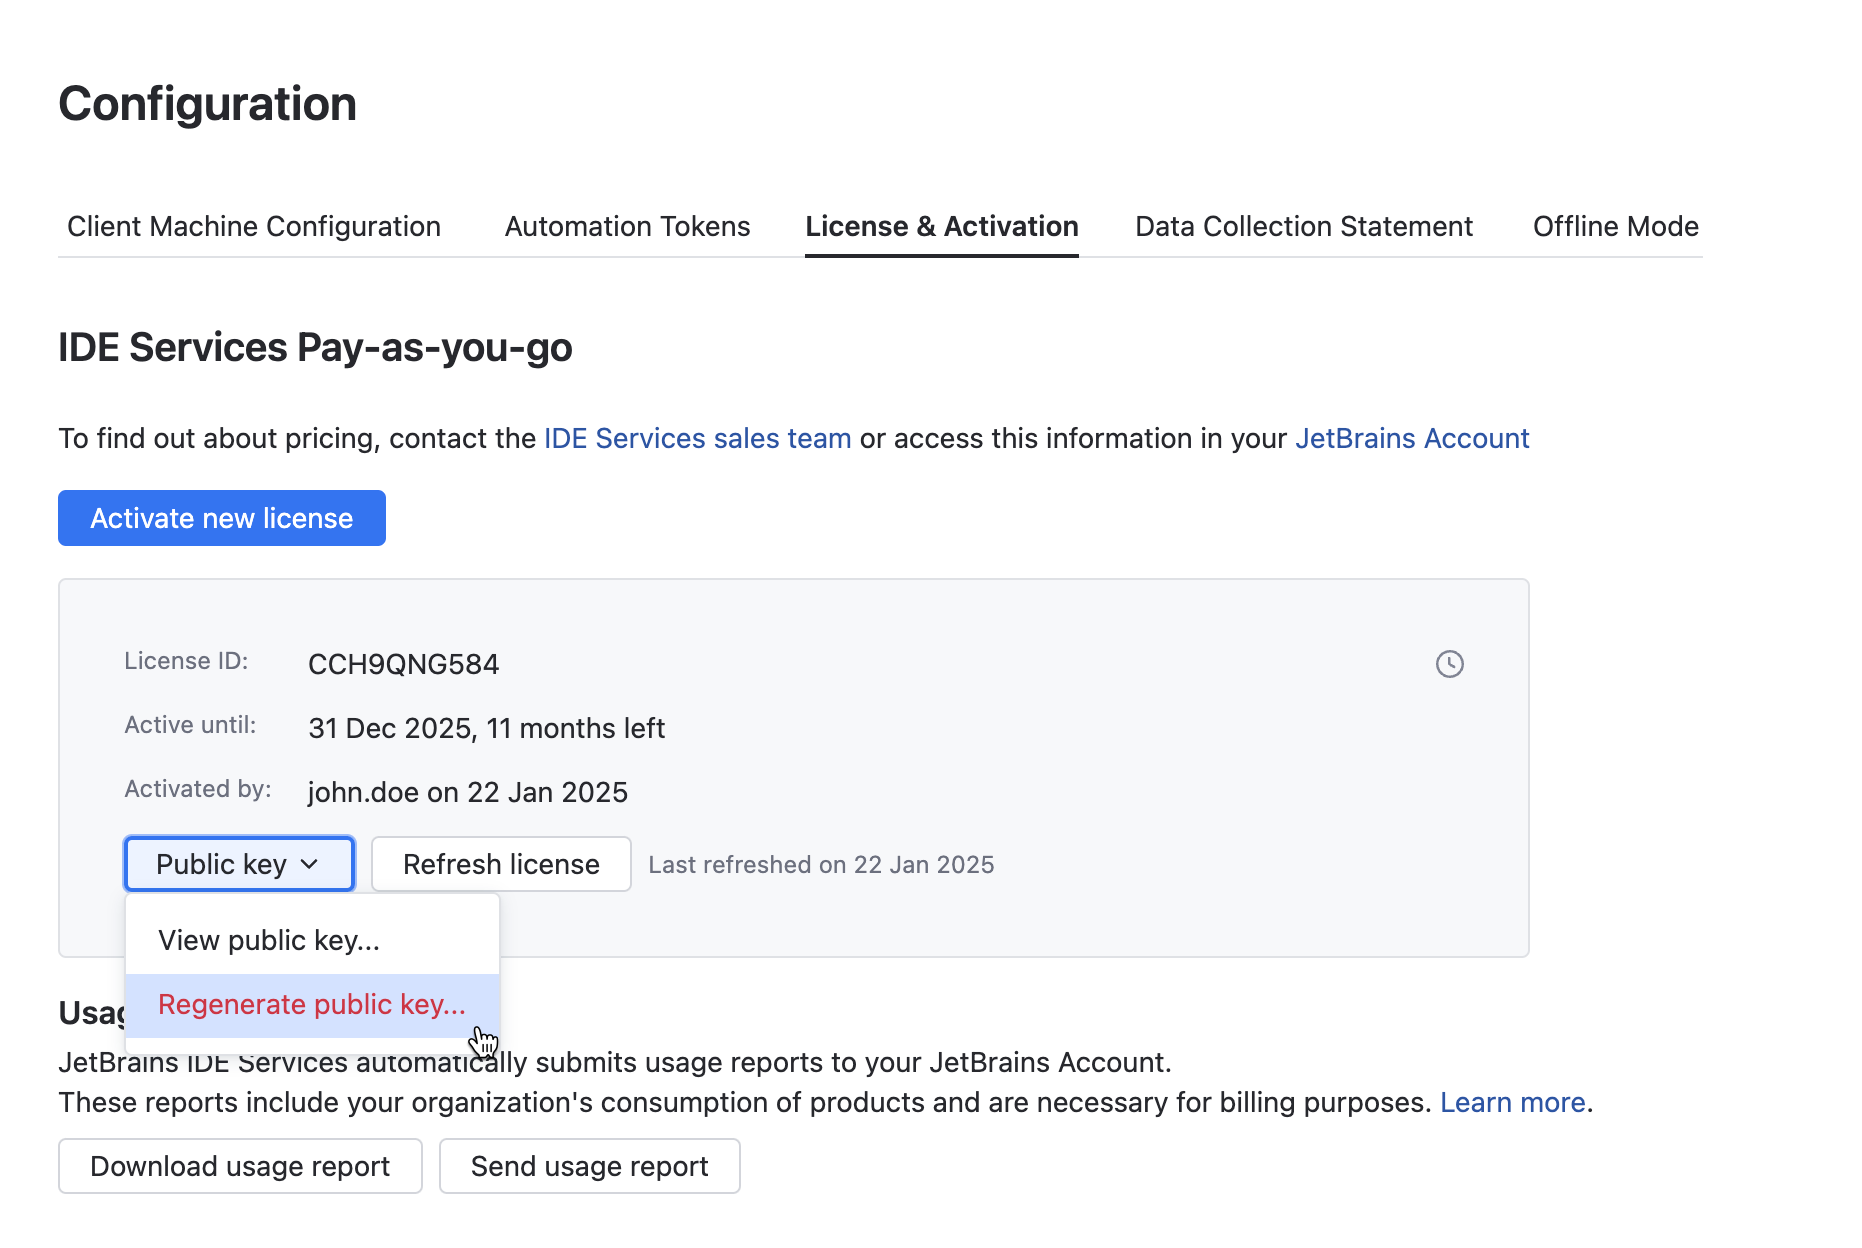
In the IDE Services Web UI, navigate to Configuration | License & Activation.
Click Public key | Regenerate public key.
In the Generate New Public Key dialog, confirm that you understand the effects of generating a new public key and have contacted the support team.
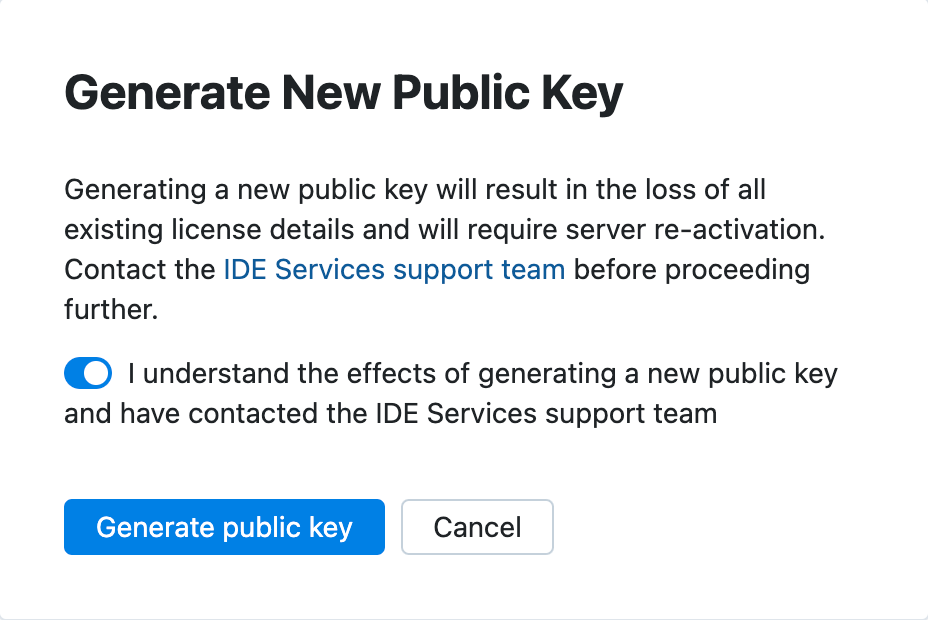
Click Generate public key.