IDE Services 2024.3 Help

Managing licenses

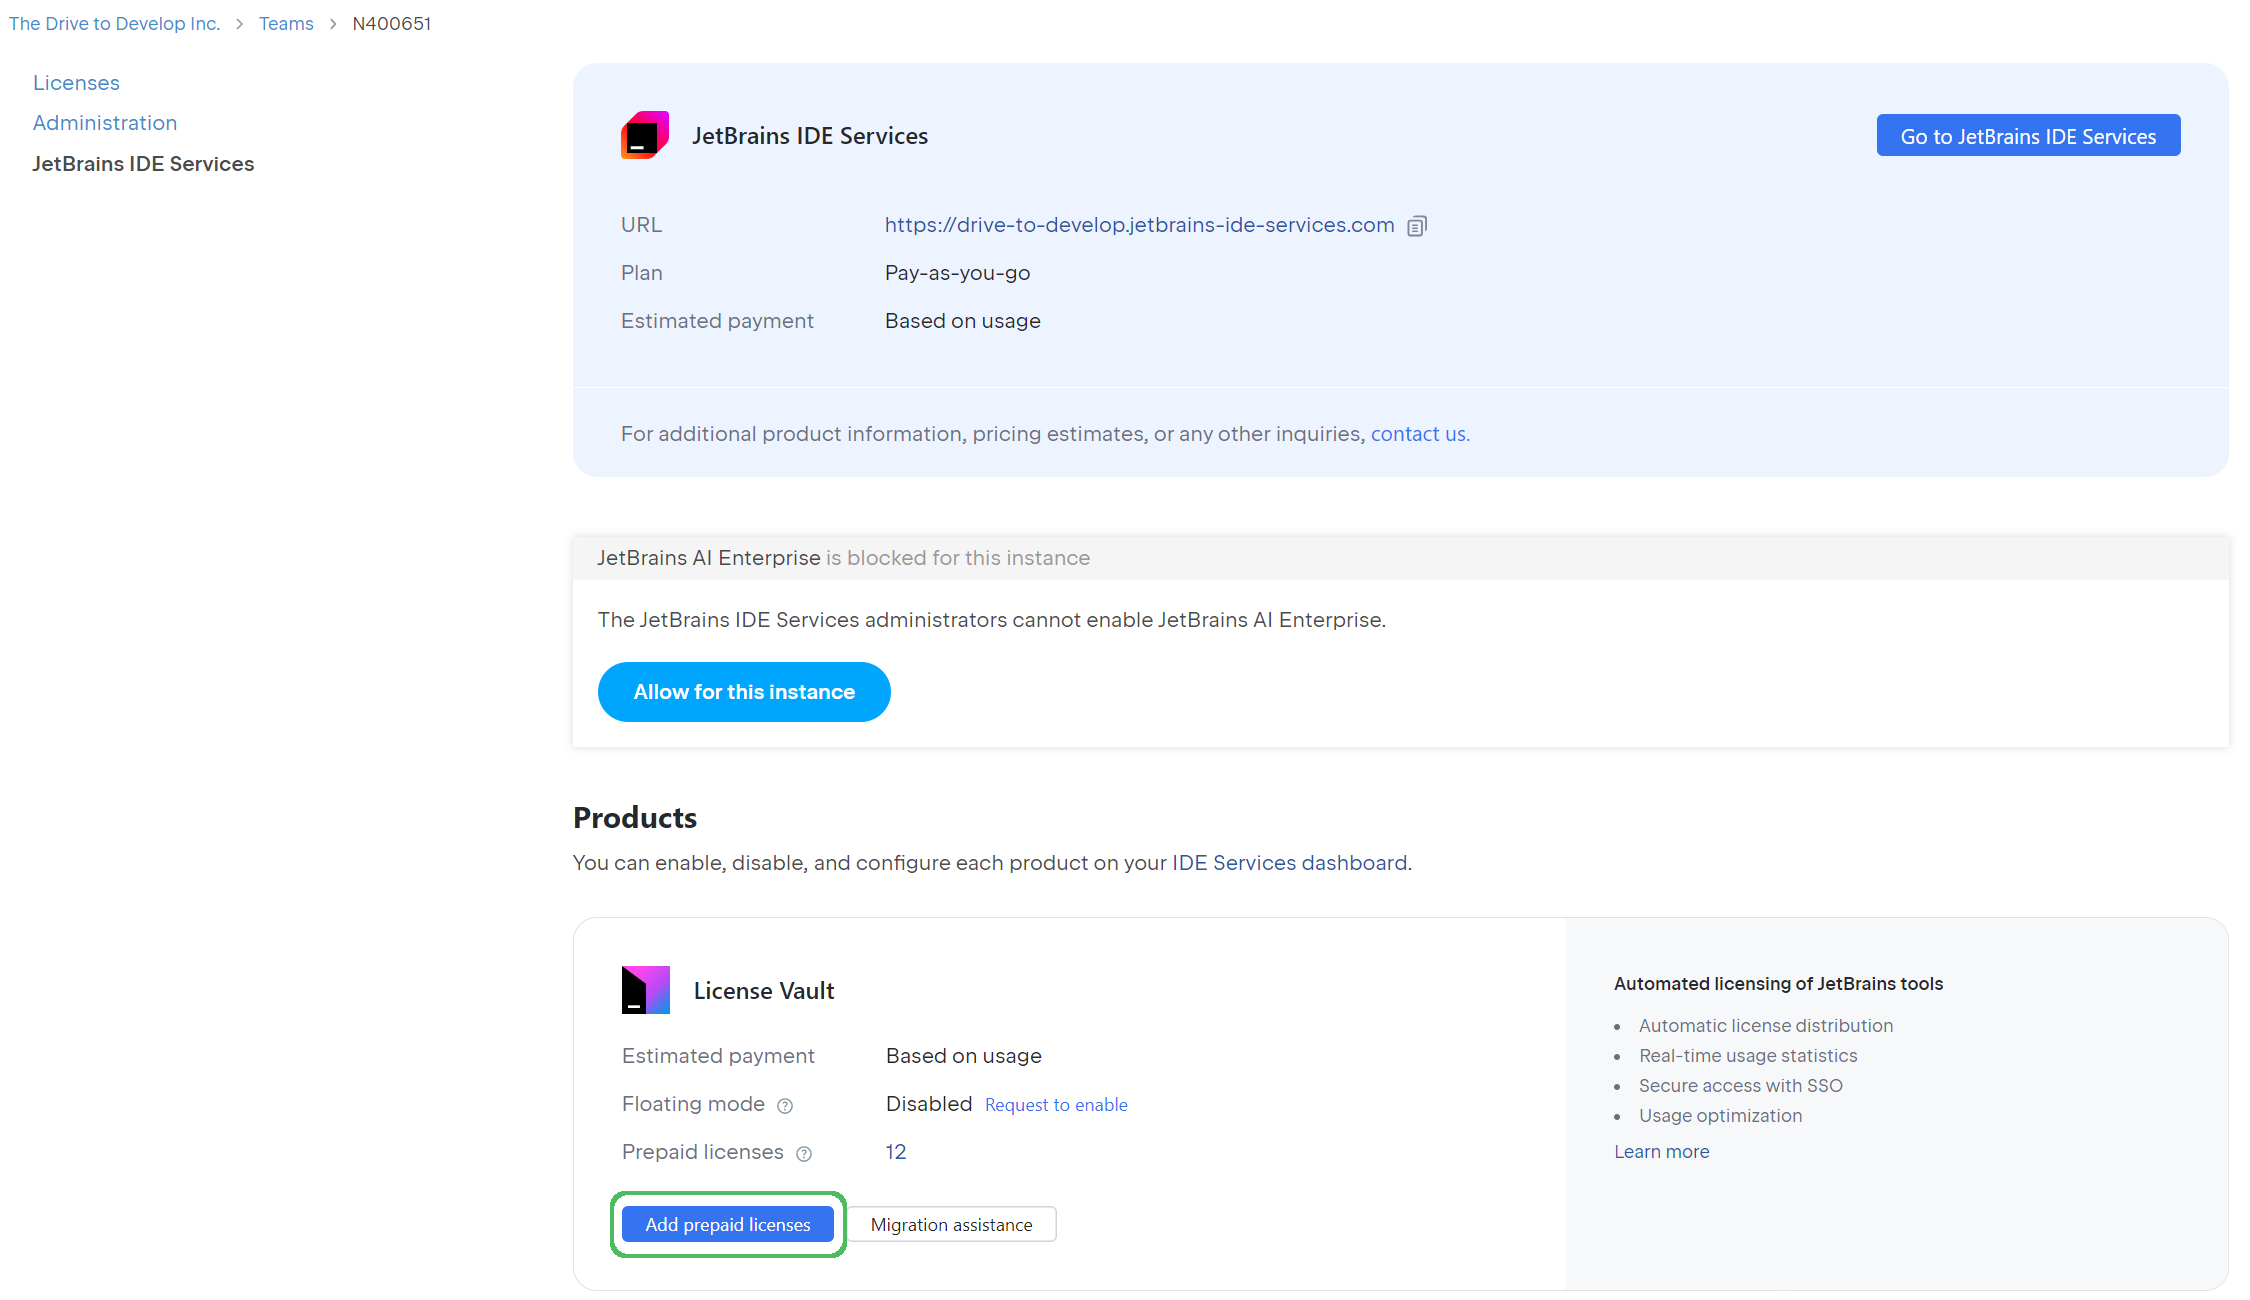
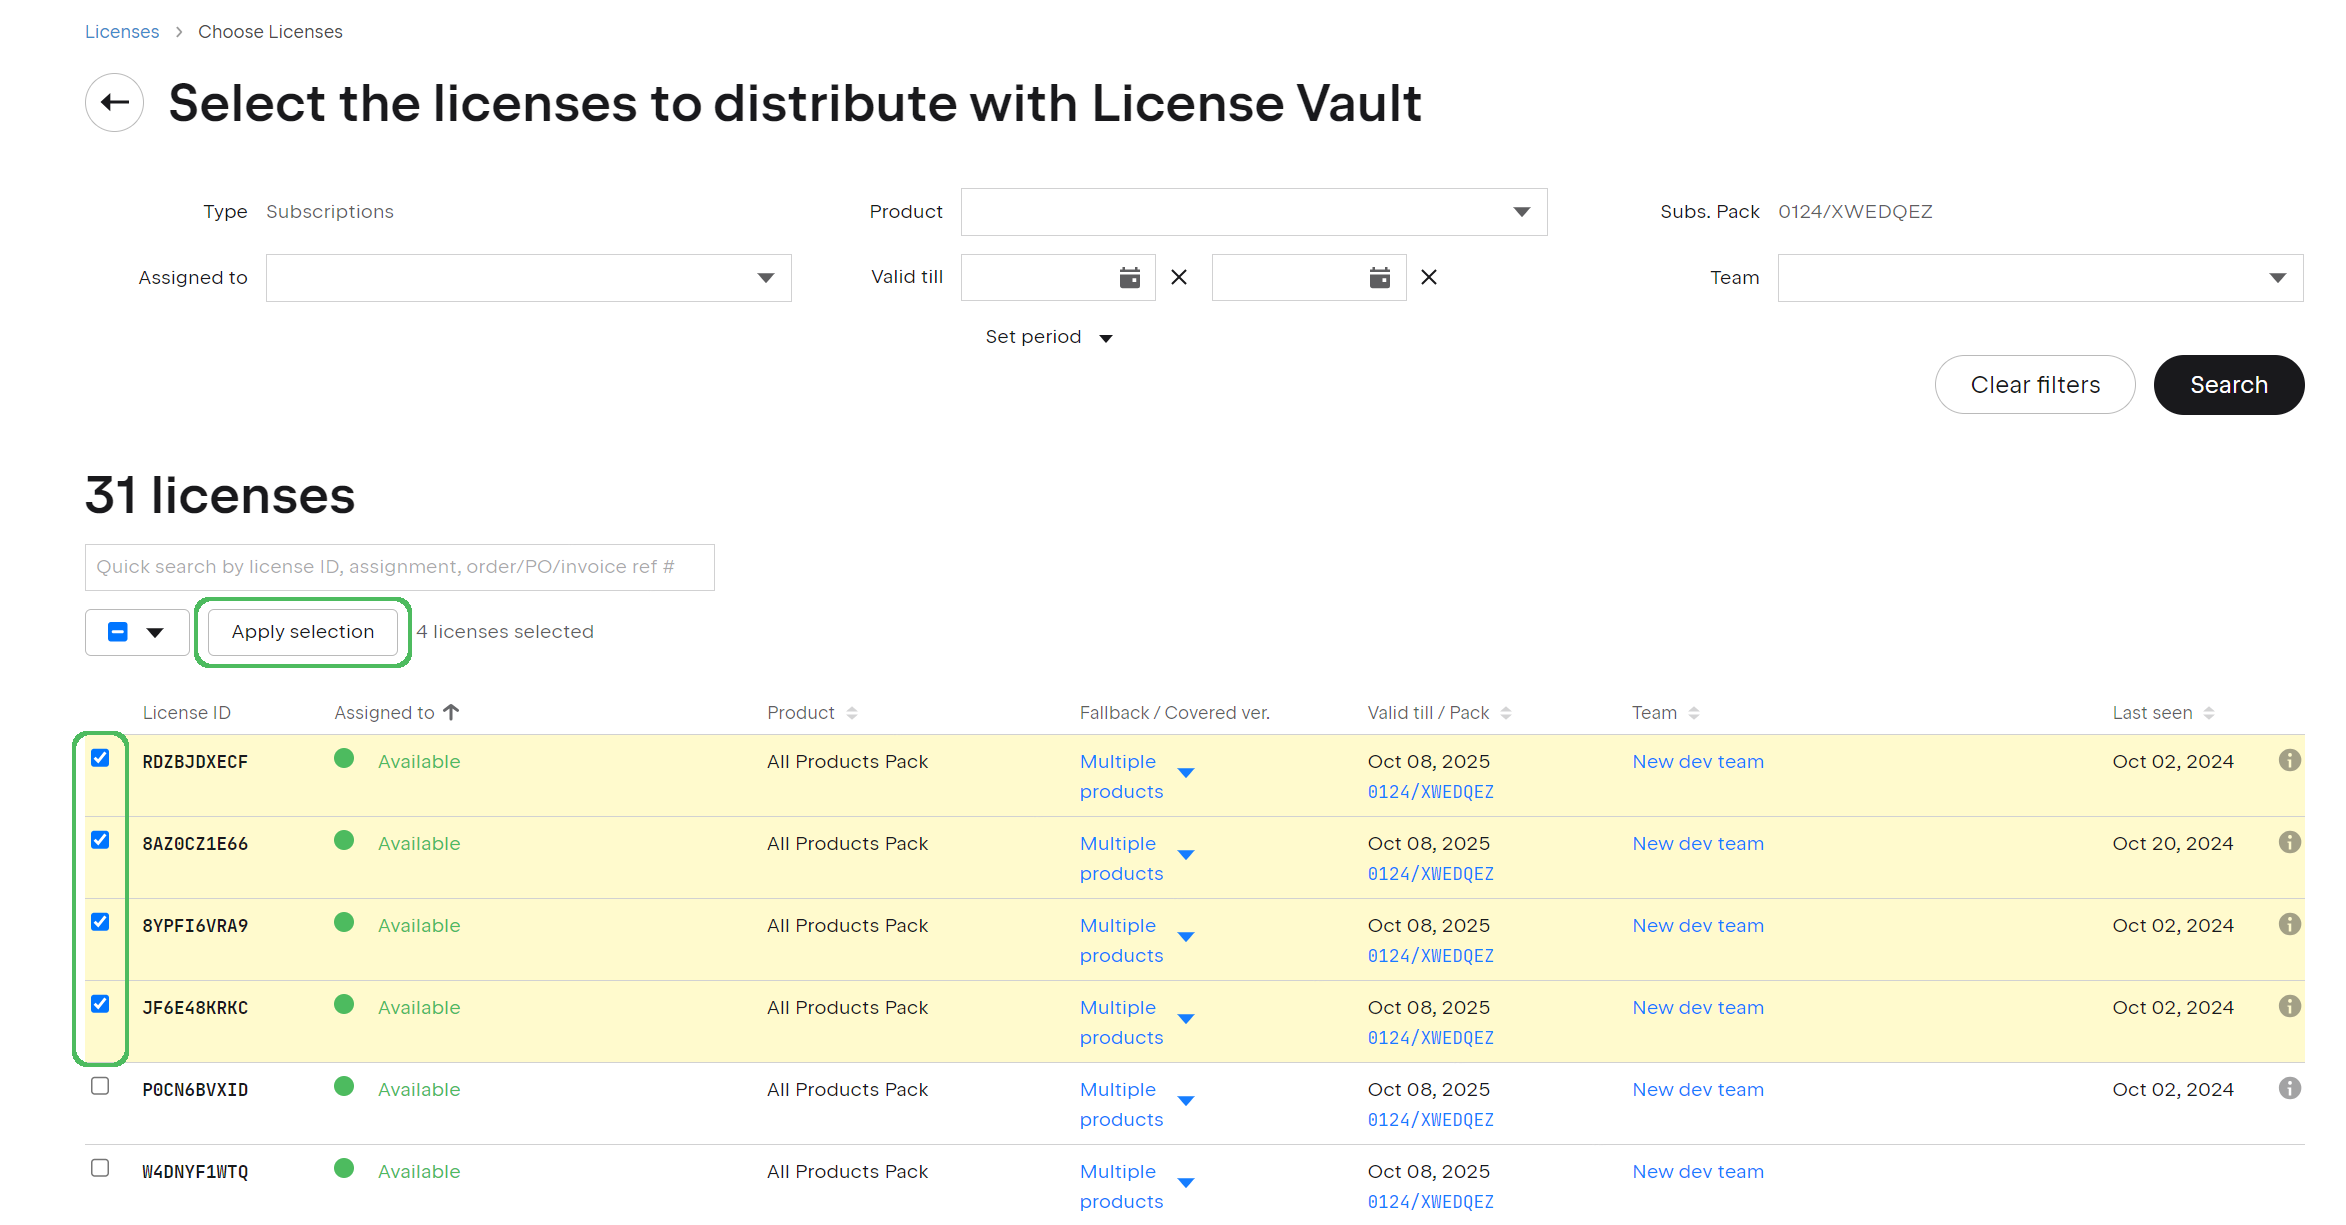
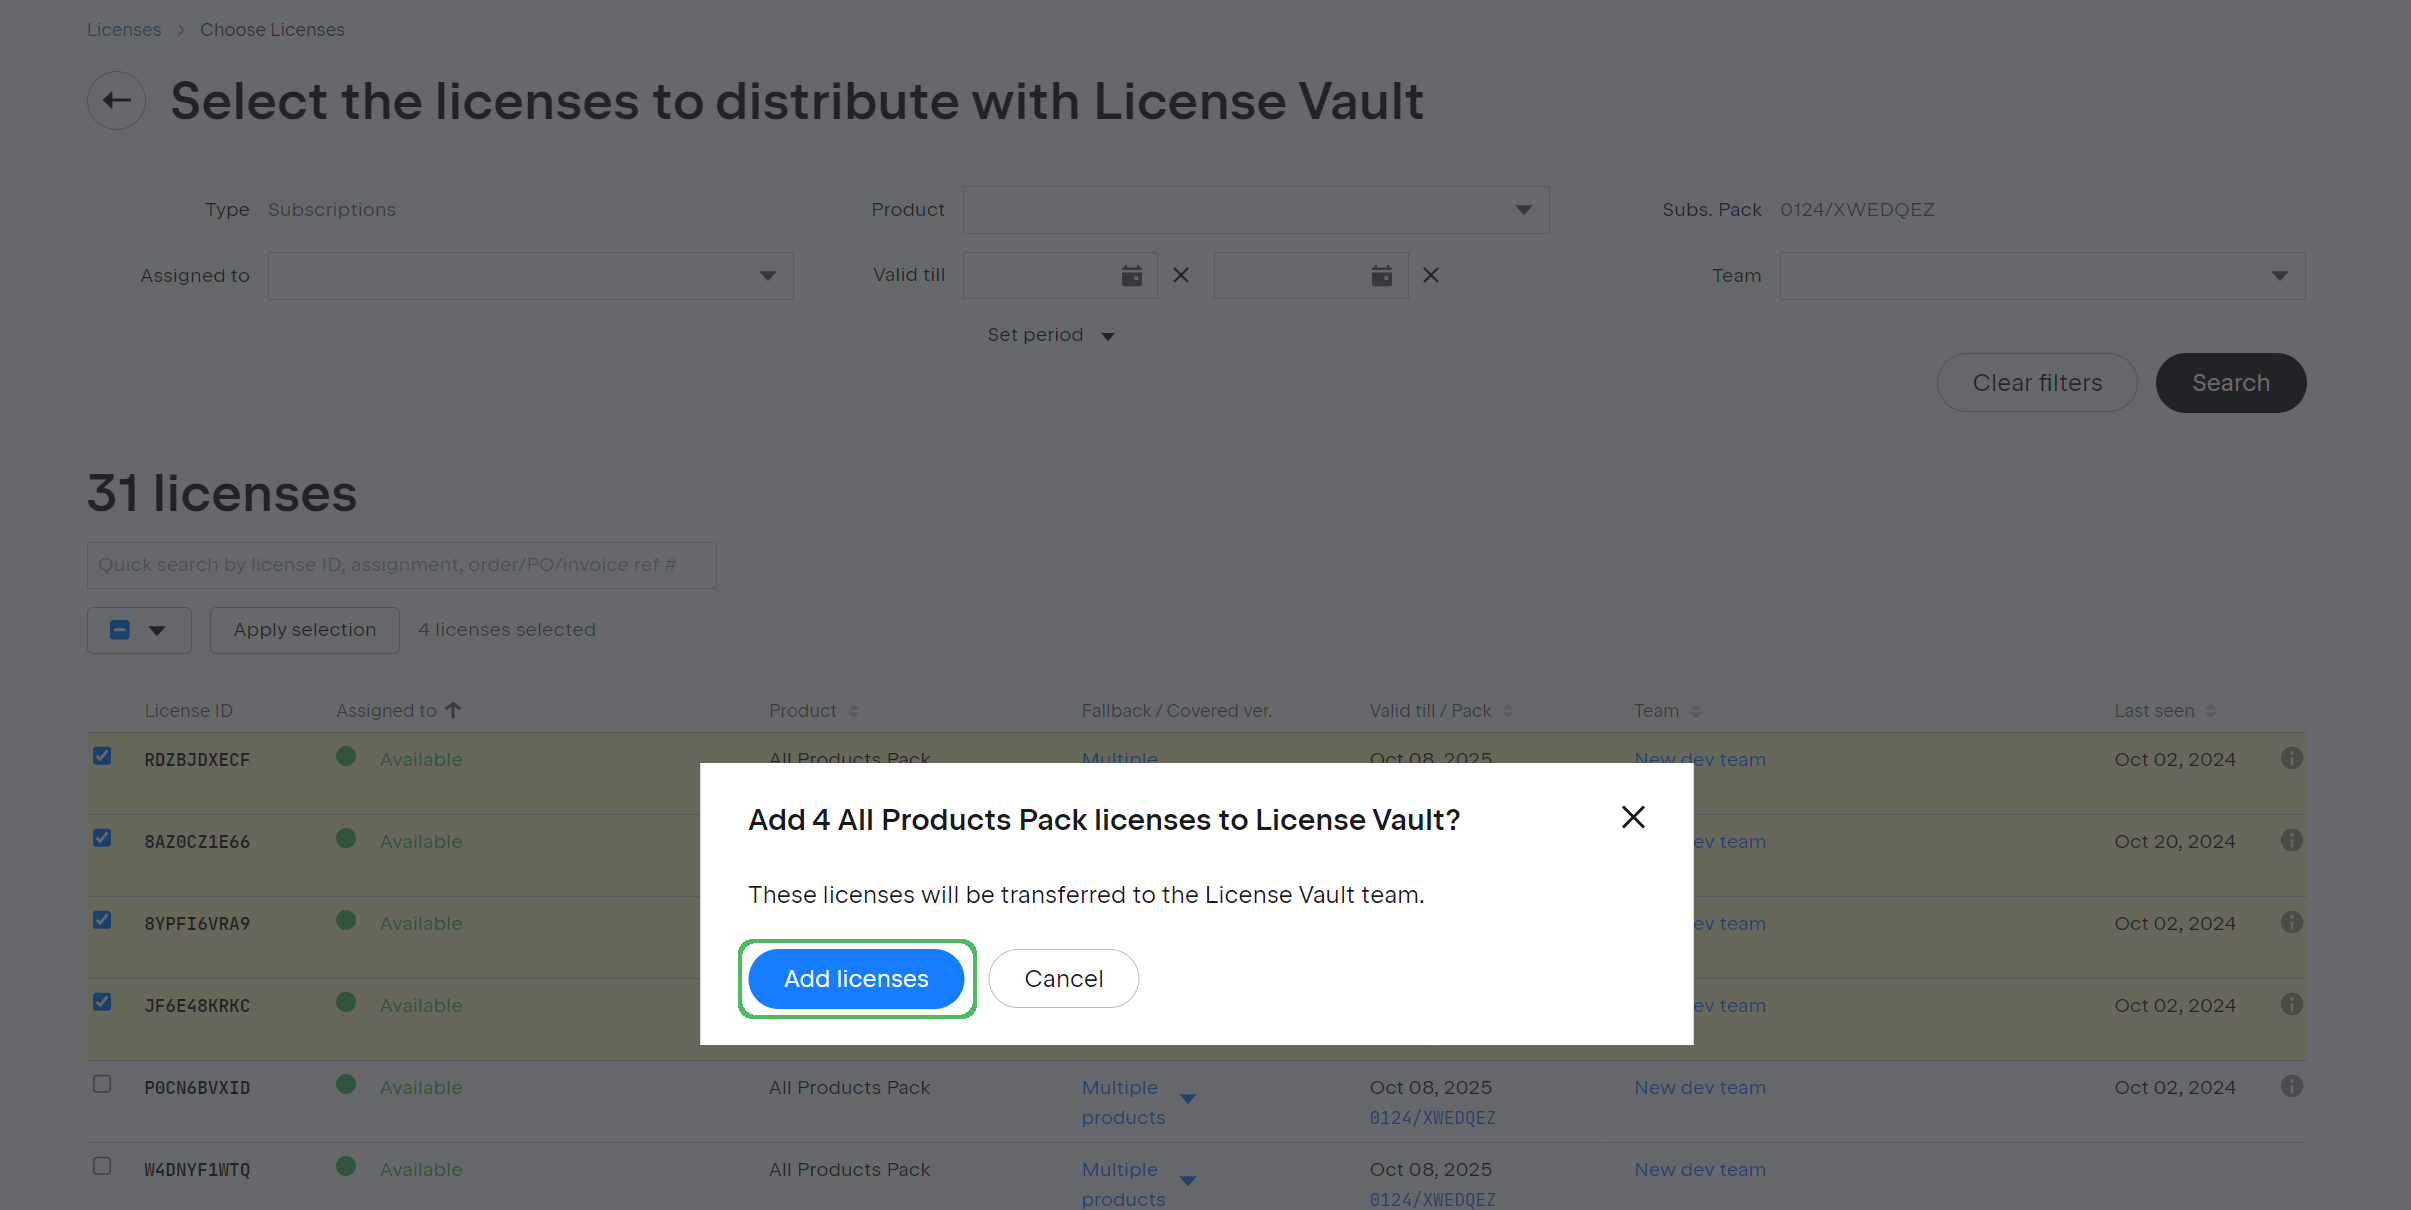
In this section, you'll learn how to add licenses to your License Vault, keep track of your team's license consumption, and use the License Vault features to fine-tune automatic license distribution.

Adding licenses to your License Vault

To add licenses to your License Vault, move them to the IDE Services team in your company's profile on the JetBrains Account portal.

If you're not sure which team your IDE Services instance is associated with, follow the instructions below to locate it. If you already know the name of the team, skip straight to the instructions on how to move your licenses to that team.

To locate the IDE Services team

  1. Log in to your JetBrains Account with the organization or team administrator permissions.

  2. In the menu on the left, click your organization's name.

    The menu item to access your company's profile from your JetBrains Account
  3. At the top of the page, click View licenses.

    The button to view all your company's licenses in your JetBrains Account
  4. On the license overview page, find the IDE Services license. The easiest way to do it is to use the Product filter above the license list. Click on the filter, select IDE Services from the product list, and click Search.

    Using the license filter to locate your IDE Services license
  5. Once you locate the IDE Services license in the license table, check the penultimate column of the table to find the name of the team to which the license belongs.

    The name of the IDE Services team displayed on in on the license overview page

    That's your IDE Services team. Transfer your licenses to this team to distribute them through License Vault.

Once you've identified your IDE Services team, follow the steps below to move your IDE licenses to this team.

To add licenses to your License Vault

  1. Log in to your JetBrains Account with the organization or team administrator permissions.

  2. In the menu on the left, click your organization's name.

    The menu item to access your company's profile from your JetBrains Account
  3. At the top of the page, click View licenses.

    The button to view all your company's licenses in your JetBrains Account
  4. On the license overview page, select the licenses that you want to add to your License Vault.

  5. Above the license list, click on the Manage button and select Transfer N licenses to another team from the drop-down menu.

    The location of the menu item to transfer your licenses to another team
  6. In the dialog that pops up, select the team in which your IDE Services license is located and click Transfer.

    Not sure which team to choose? Follow these instructions to locate your IDE Services team.

    The popup dialog to transfer your licenses to another team
  7. You'll be redirected to the license overview page for the IDE Services team. Now your IDE licenses are in the same team as your IDE Services license.

  8. If your IDE Services Server is connected to the internet, your licenses will appear in your License Vault within 2 hours. To speed up the process, you can force-refresh your license.

    If your IDE Services Server does not have an internet connection, you'll need to refresh your license manually for the changes to take effect. Refer to If your IDE Services Server is offline for instructions.

Managing and tracking license usage

Last modified: 15 July 2024