Step 1. Create and run your first Python project
Before you start
Make sure that the following prerequisites are met:
You are working with PyCharm Community or Professional.
You have installed Python itself. If you're using macOS or Linux, your computer already has Python installed. You can get Python from python.org.
Creating a Python project
To get started with PyCharm, let’s write a Python script.
Let’s start our project: if you’re on the Welcome screen, click New Project. If you’ve already got a project open, choose File | New Project.
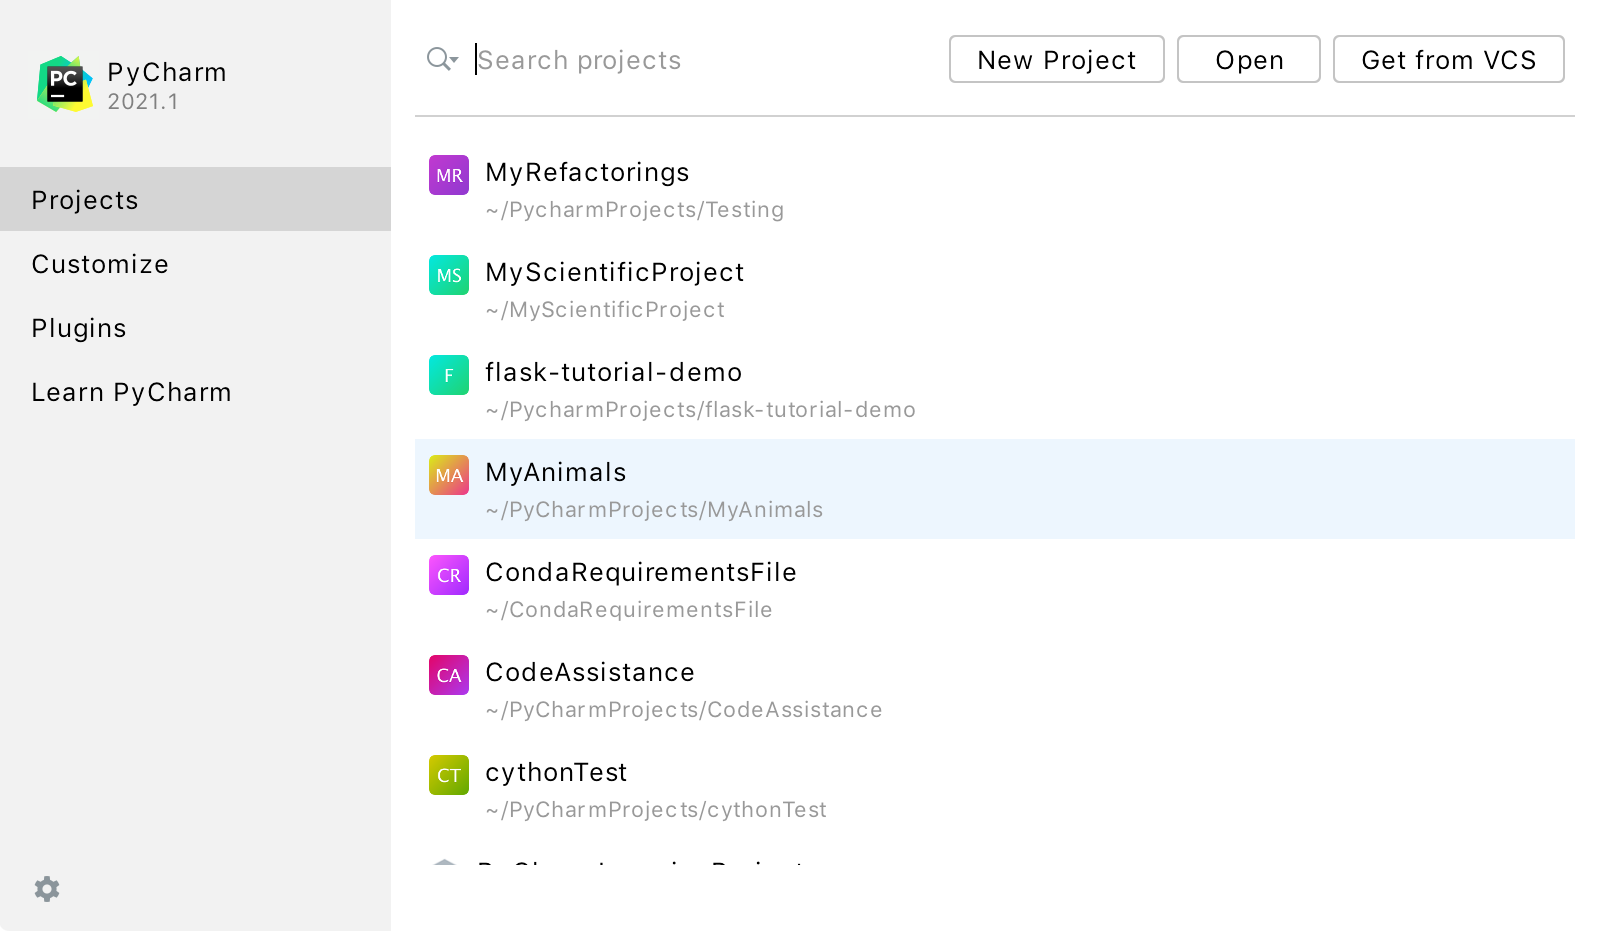
In this tutorial we’ll create a simple Python script, so we’ll choose Pure Python. This template will create an empty project for us.
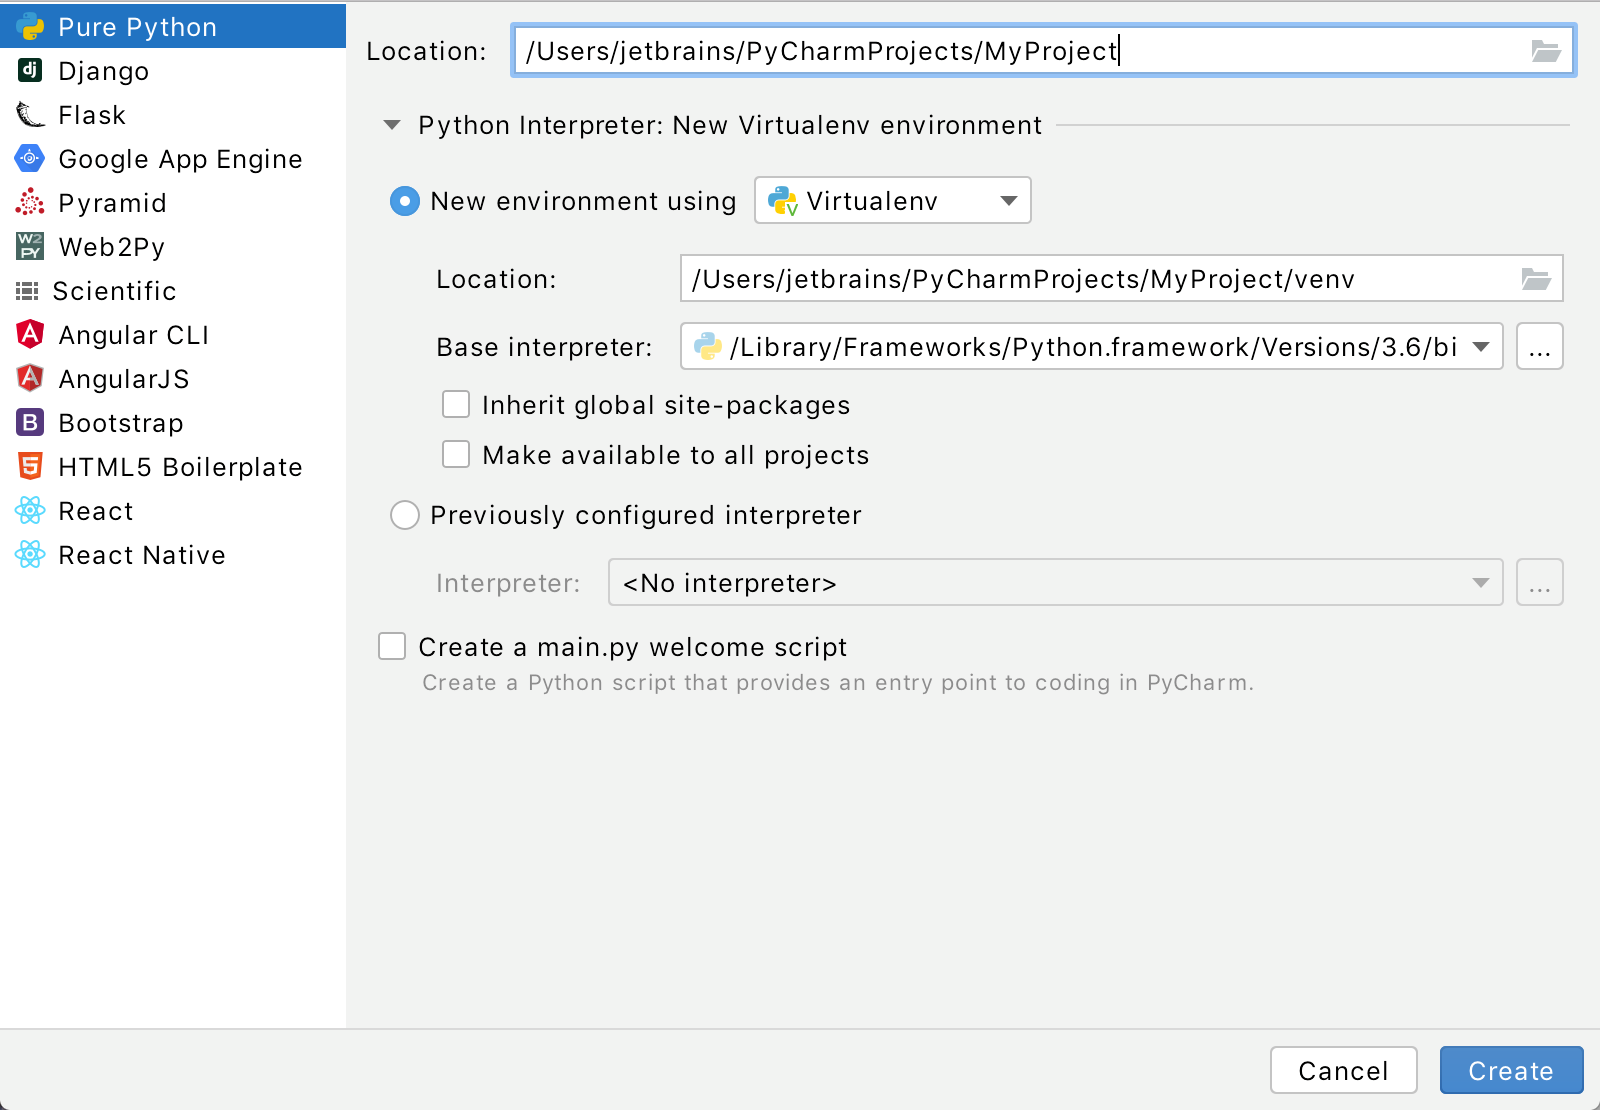
Choose the project location. To do that, click button next to the Location field, and specify the directory for your project.
Also, deselect the Create a main.py welcome script checkbox because you will create a new Python file for this tutorial.
Python best practice is to create a virtualenv for each project. To do that, expand the Python Interpreter: New Virtualenv Environment node and select a tool used to create a new virtual environment. Let's choose Virtualenv tool, and specify the location and base interpreter used for the new virtual environment. Select the two check boxes below if necessary.
When configuring the base interpreter, you need to specify the path to the Python executable. If PyCharm detects no Python on your machine, it provides two options: to download the latest Python versions from python.org or to specify a path to the Python executable (in case of non-standard installation).
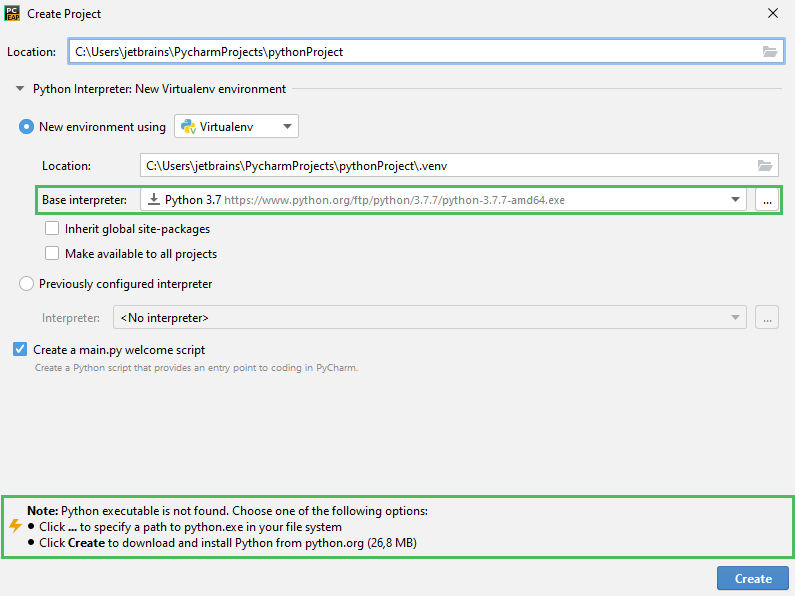
Then click the Create button at the bottom of the New Project dialog.
If you’ve already got a project open, after clicking Create PyCharm will ask you whether to open a new project in the current window or in a new one. Choose Open in current window- this will close the current project, but you'll be able to reopen it later. See the page Open, reopen, and close projects for details.
Creating a Python file
Select the project root in the Project tool window, then select File | New ... from the main menu or press Alt+Insert.
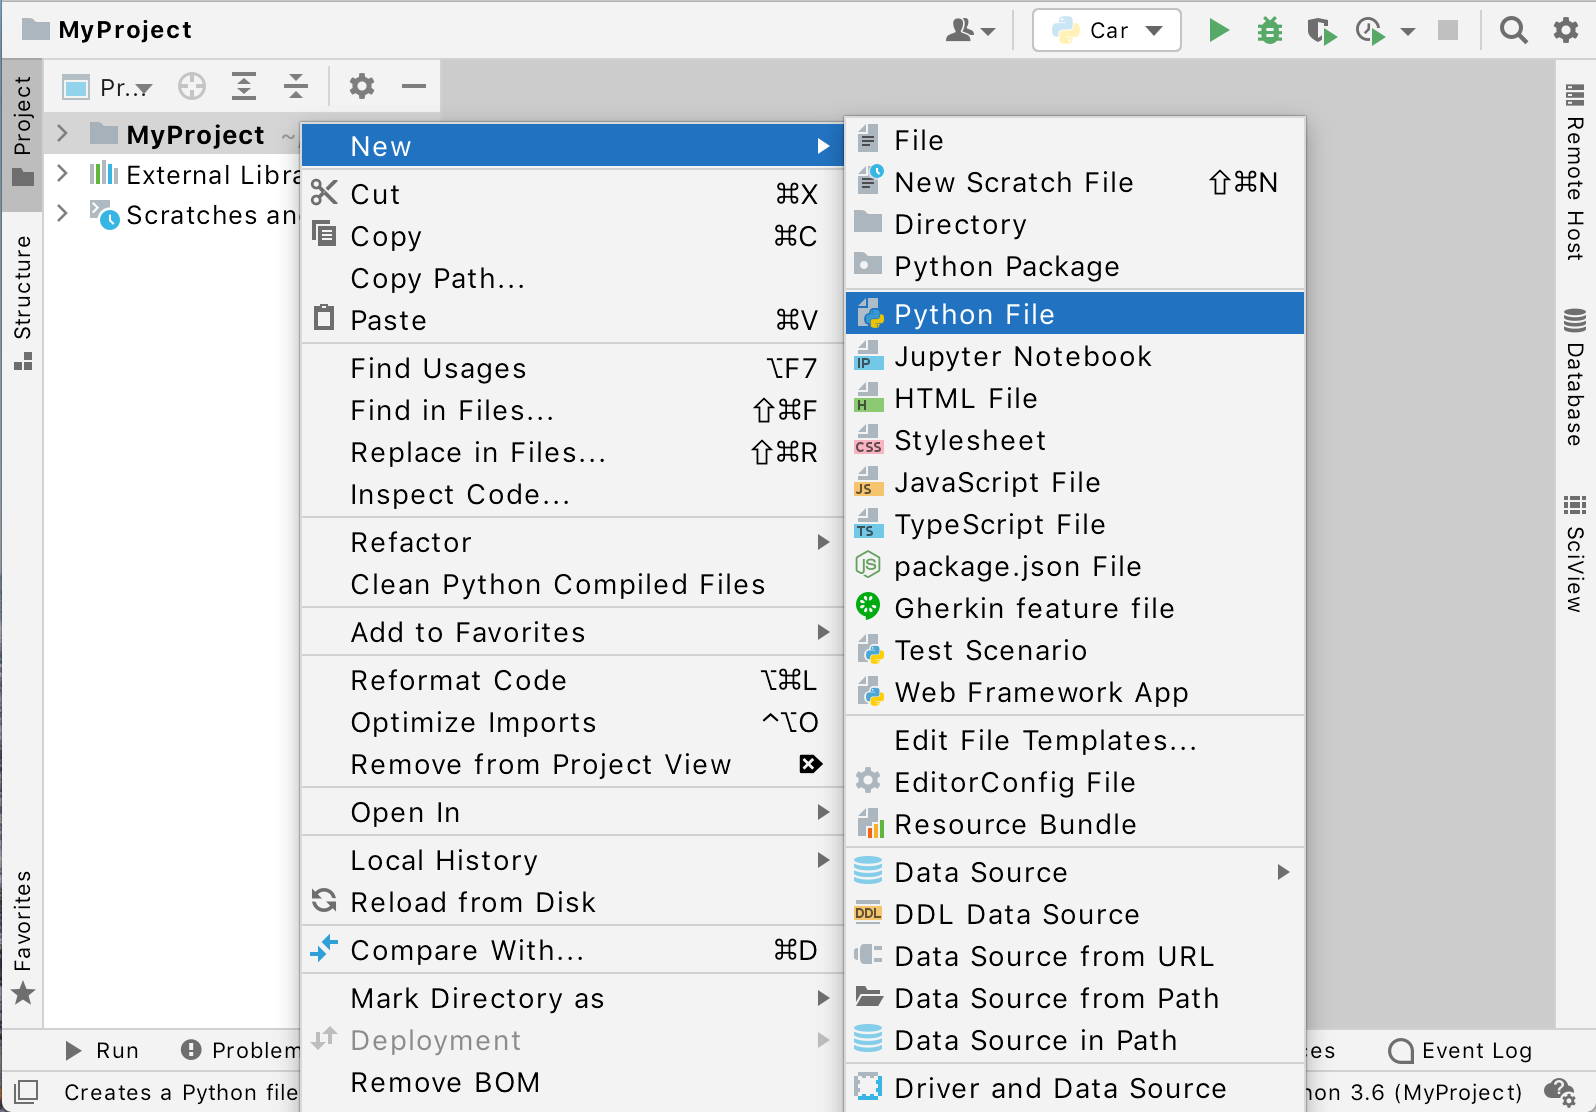
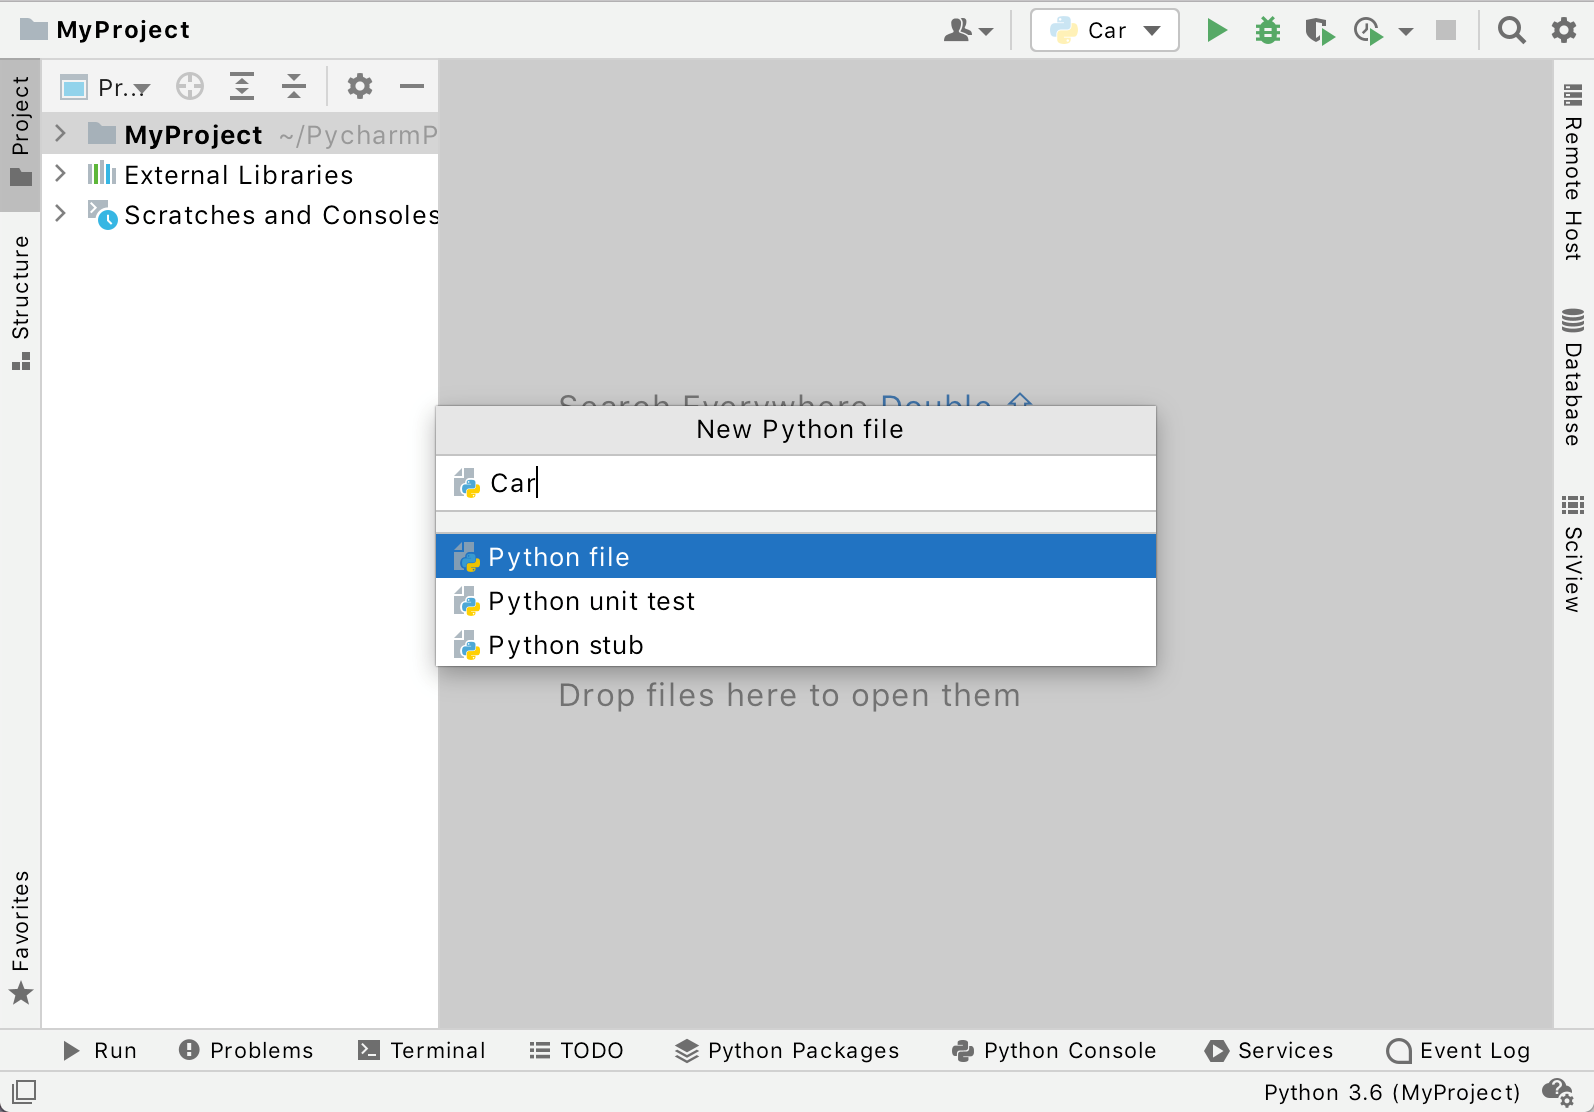
Choose the option Python file from the popup, and then type the new filename.
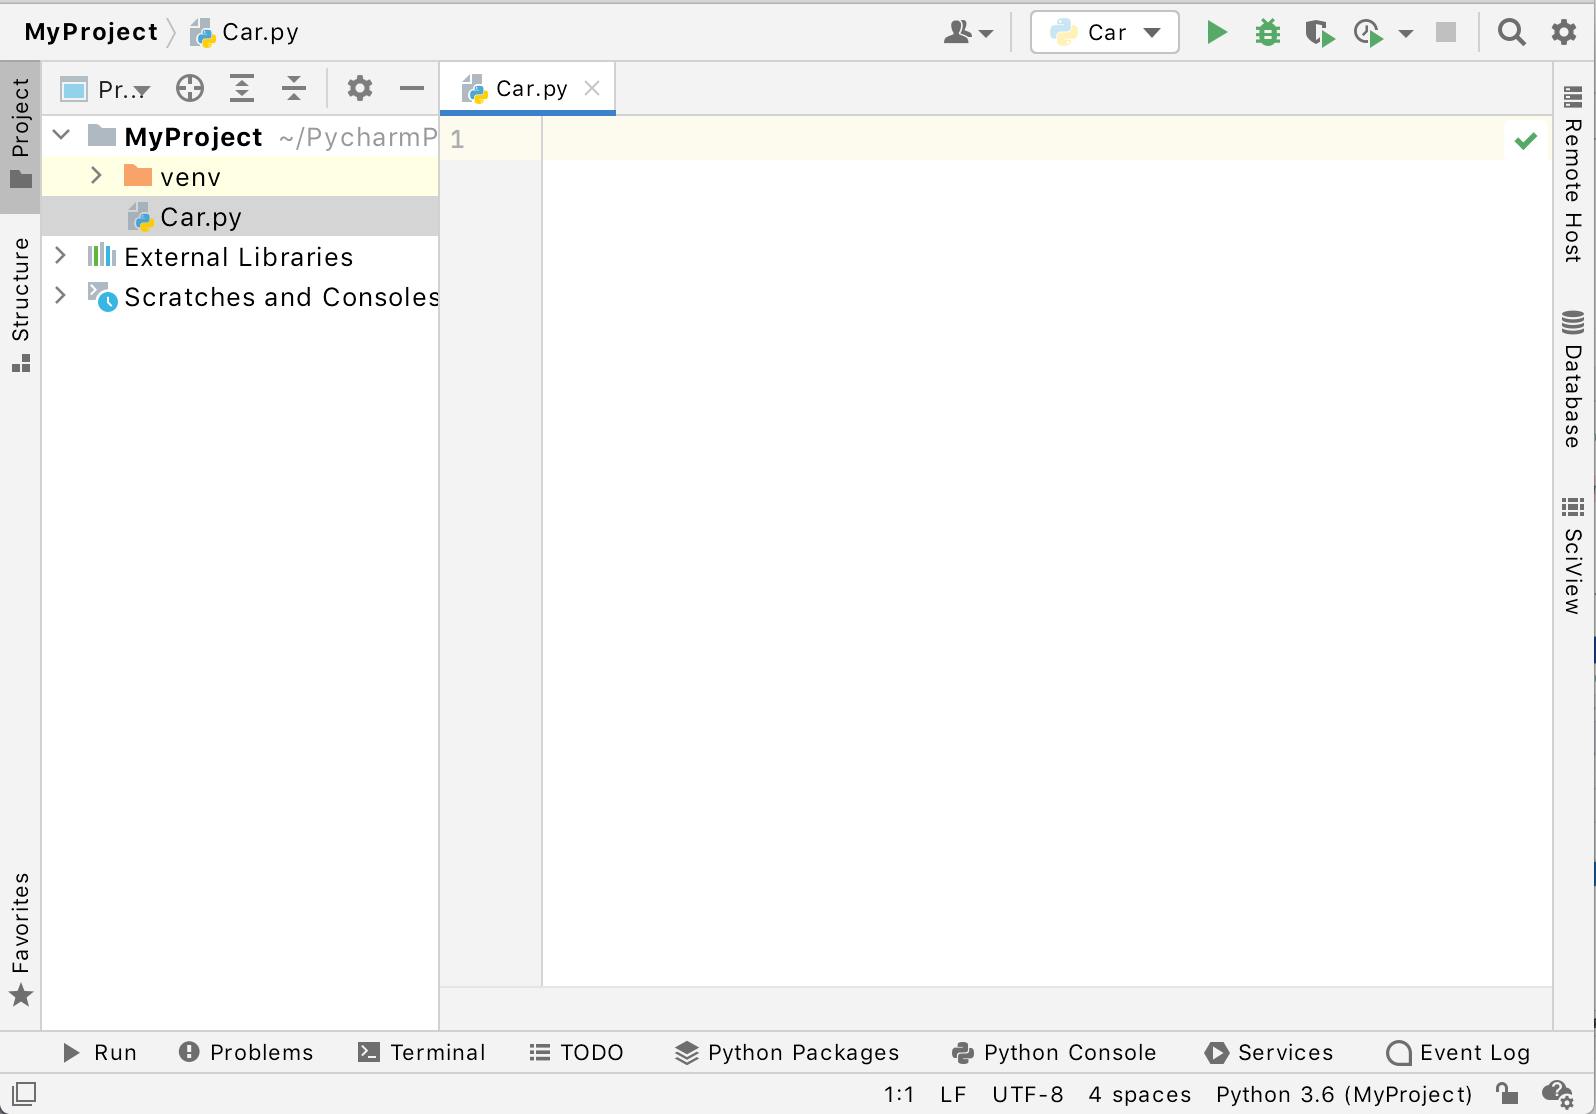
PyCharm creates a new Python file and opens it for editing.
Editing source code
Let's first have a look at the Python file we've just generated.
Immediately as you start typing, you should see that PyCharm, like a pair-programmer, looks over your shoulder and suggests how to complete your line. For example, you want to create a Python class. As you just start typing the keyword, a suggestion list appears:
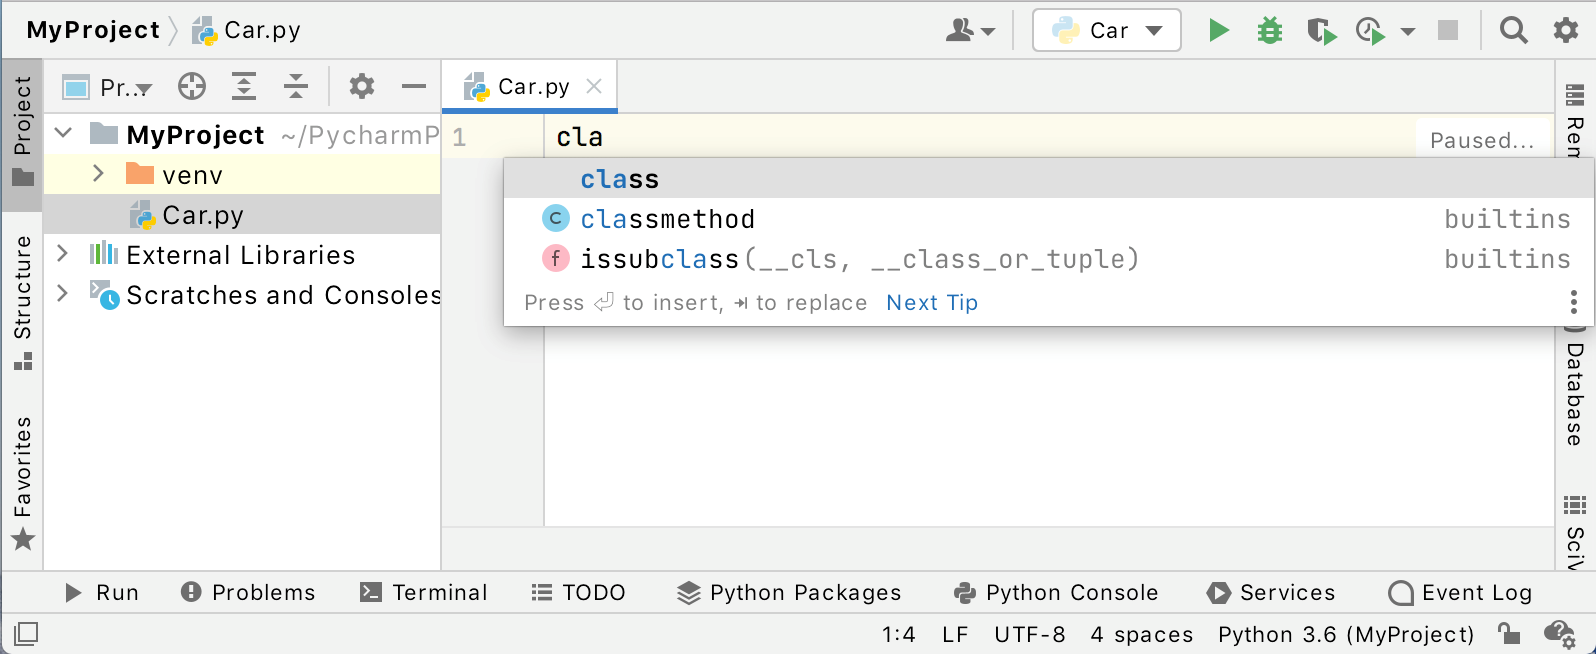
Choose the keyword class and type the class name (Car here).
PyCharm immediately informs you about the missing colon, then expected indentation:
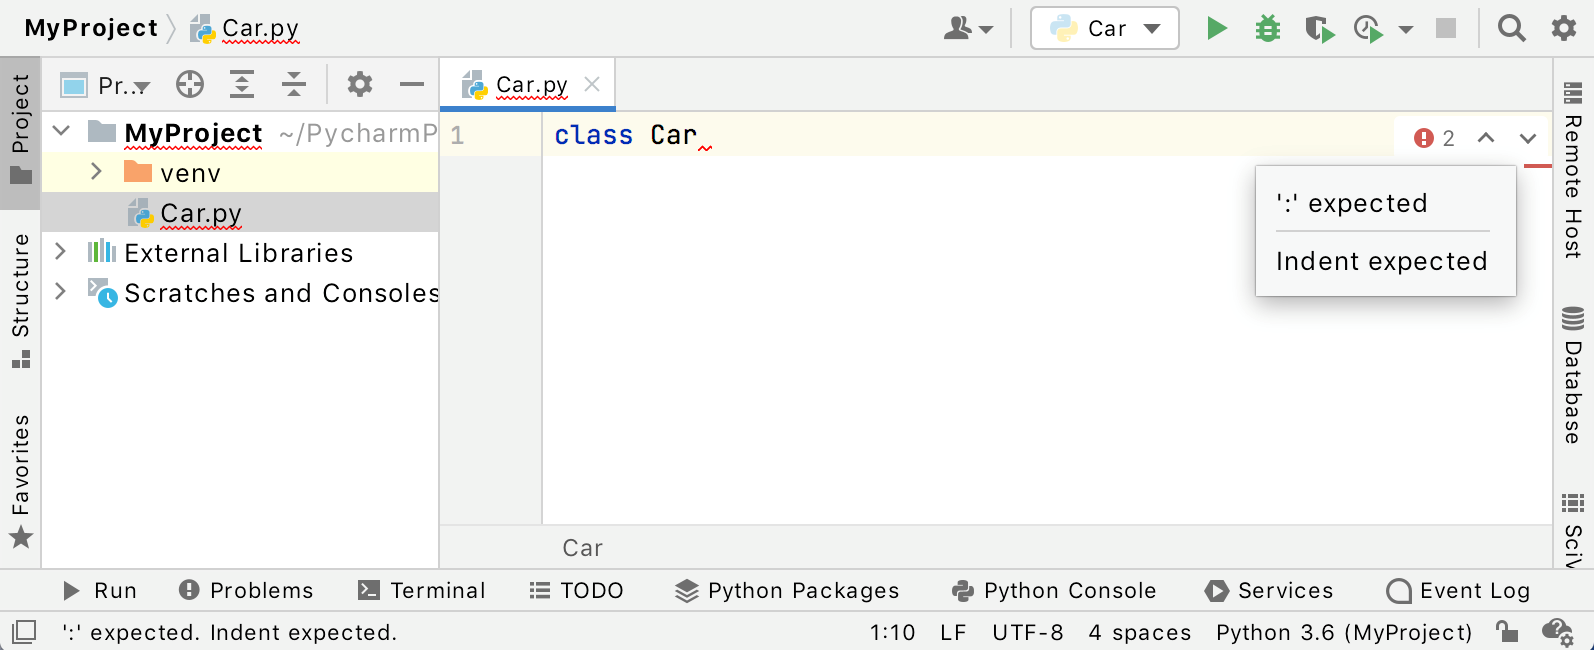
Note the stripes in the scrollbar. Hover your mouse pointer over a stripe, and PyCharm shows a balloon with the detailed explanation.
Since PyCharm analyses your code on-the-fly, the results are immediately shown in the inspection indicator on top of the scrollbar. This inspection indication works like a traffic light: when it is green, everything is OK, and you can go on with your code; a yellow light means some minor problems that however will not affect compilation; but when the light is red, it means that you have some serious errors.
Let's continue creating the function __init__: when you just type the opening brace, PyCharm creates the entire code construct (mandatory parameter self, closing brace and colon), and provides proper indentation:
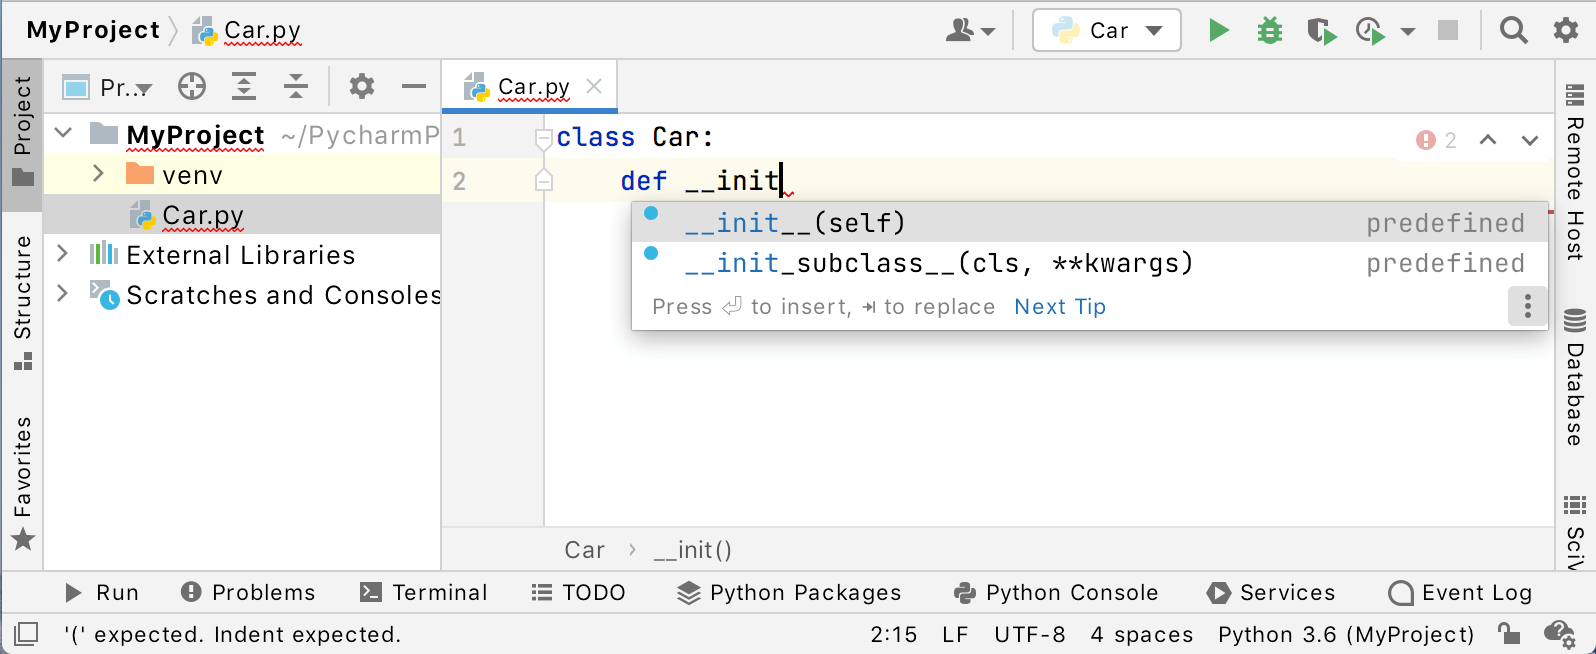
For the example, let's use this code: (you can either type it yourself, or use the copy button in the top right of the code block here in the help):
warning
This application is intended for Python 3
class Car:

    def __init__(self, speed=0):
        self.speed = speed
        self.odometer = 0
        self.time = 0

    def say_state(self):
        print("I'm going {} kph!".format(self.speed))

    def accelerate(self):
        self.speed += 5

    def brake(self):
        self.speed -= 5

    def step(self):
        self.odometer += self.speed
        self.time += 1

    def average_speed(self):
        if self.time != 0:
            return self.odometer / self.time
        else:
            pass


if __name__ == '__main__':

    my_car = Car()
    print("I'm a car!")
    while True:
        action = input("What should I do? [A]ccelerate, [B]rake, "
                 "show [O]dometer, or show average [S]peed?").upper()
        if action not in "ABOS" or len(action) != 1:
            print("I don't know how to do that")
            continue
        if action == 'A':
            my_car.accelerate()
        elif action == 'B':
            my_car.brake()
        elif action == 'O':
            print("The car has driven {} kilometers".format(my_car.odometer))
        elif action == 'S':
            print("The car's average speed was {} kph".format(my_car.average_speed()))
        my_car.step()
        my_car.say_state()
Running your application
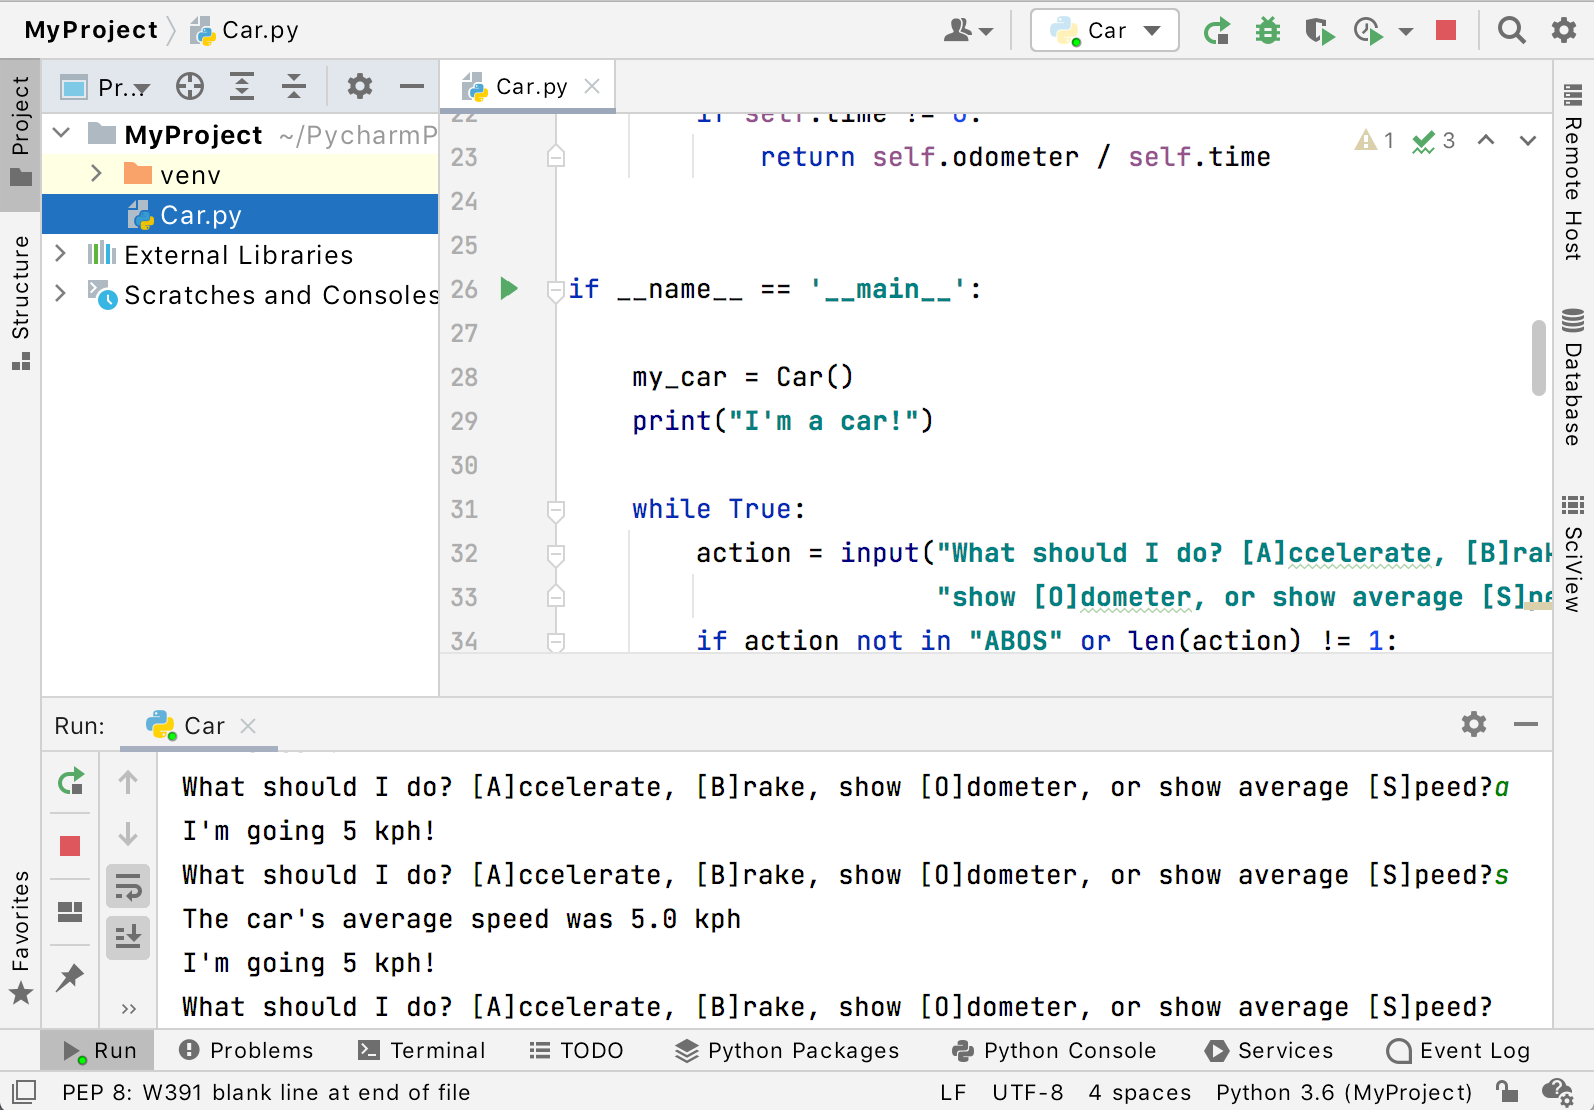
You can right-click the editor, and from the context menu choose to run the script Ctrl+Shift+F10, but we suggest a better solution: since our script contains a main function, there is an icon ![]() in the gutter. If you hover your mouse pointer over it, the available commands show up:
in the gutter. If you hover your mouse pointer over it, the available commands show up:
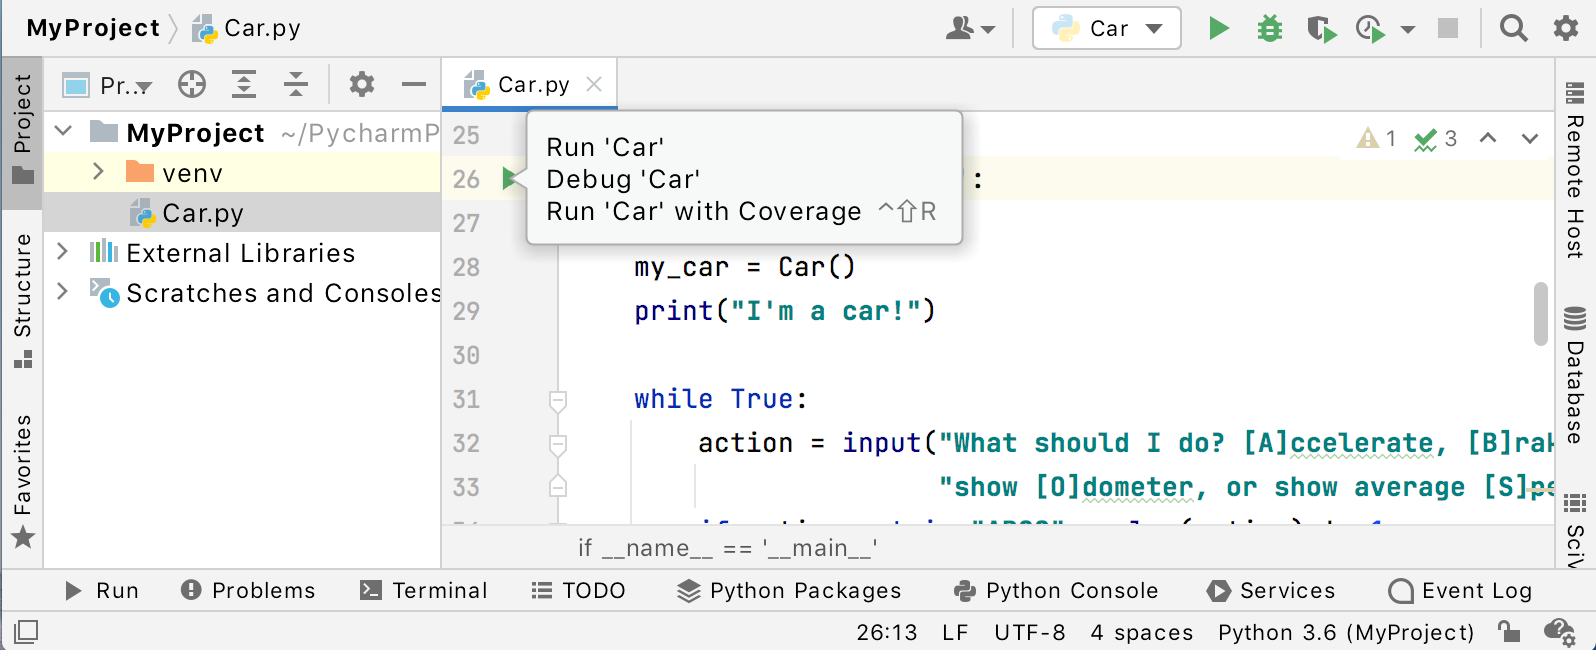
If you click this icon, you'll see the popup menu of the available commands. Choose Run Car:
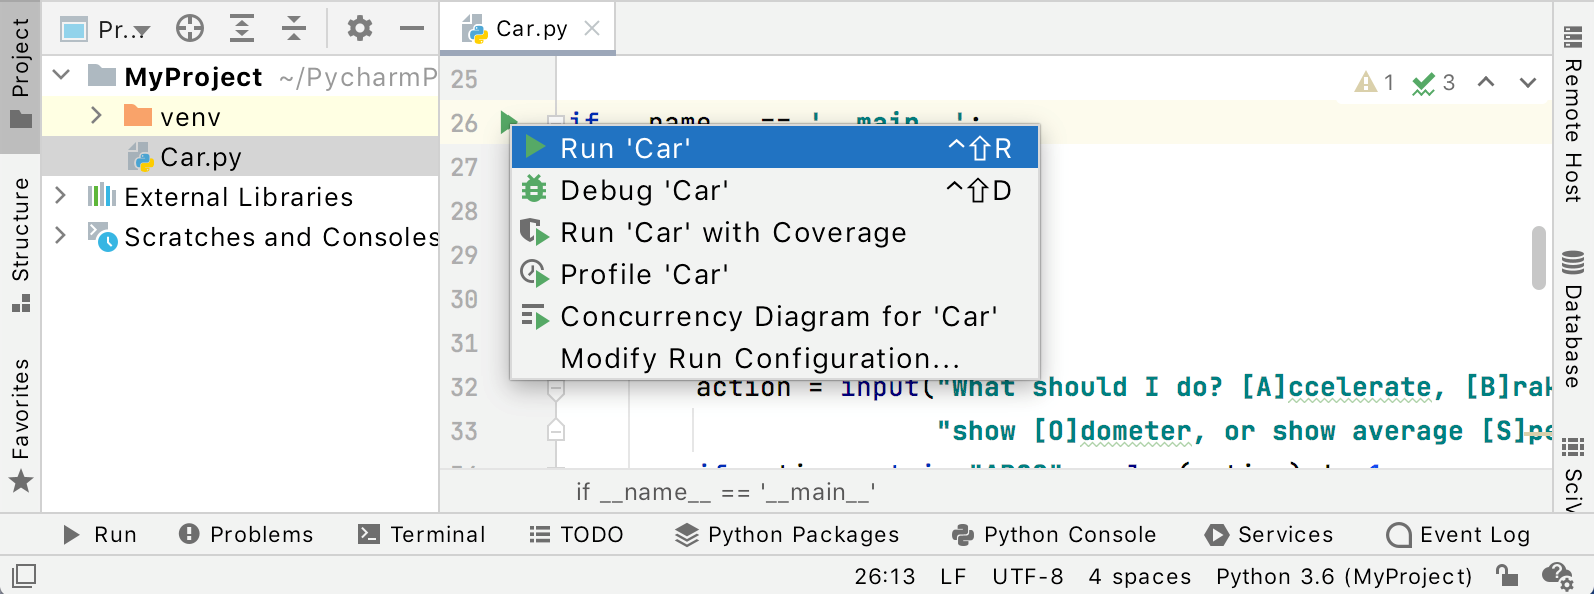
A console appears in the Run tool window.
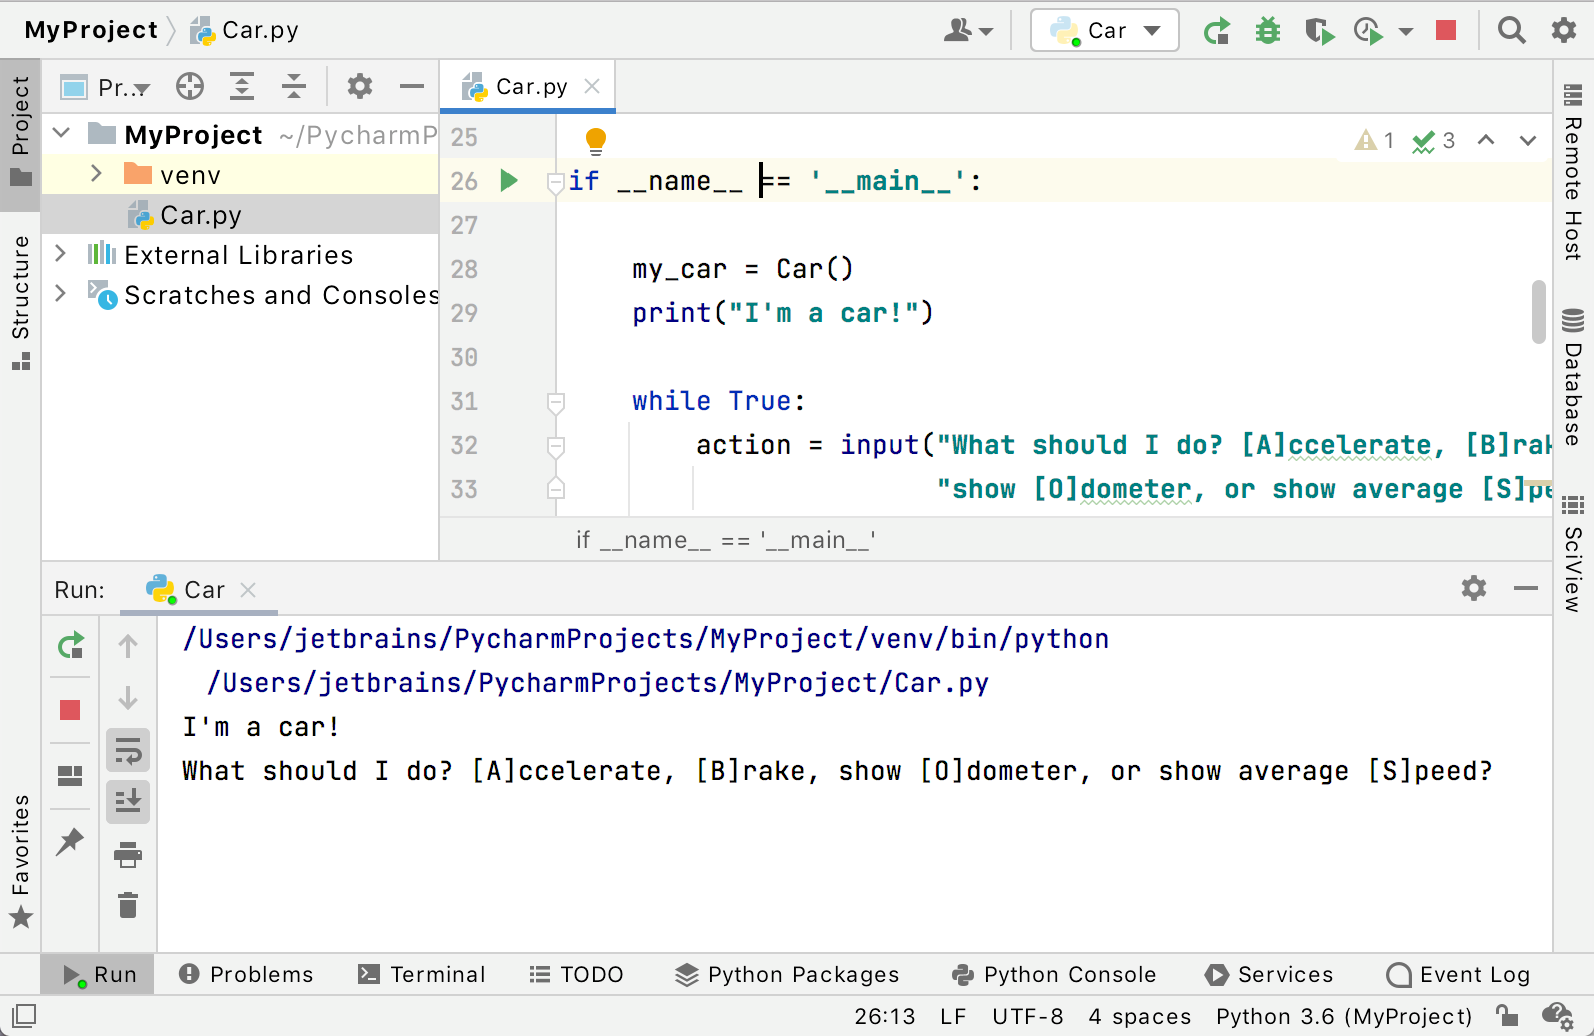
See the sections under Running node for more details about configuring how your code is executed by PyCharm.
Run/debug configuration
When we run the script just now, PyCharm created a temporary run/debug configuration for us. Let’s first save this configuration: go to the run configuration dropdown on the top-right of the editor, and choose Save configuration.
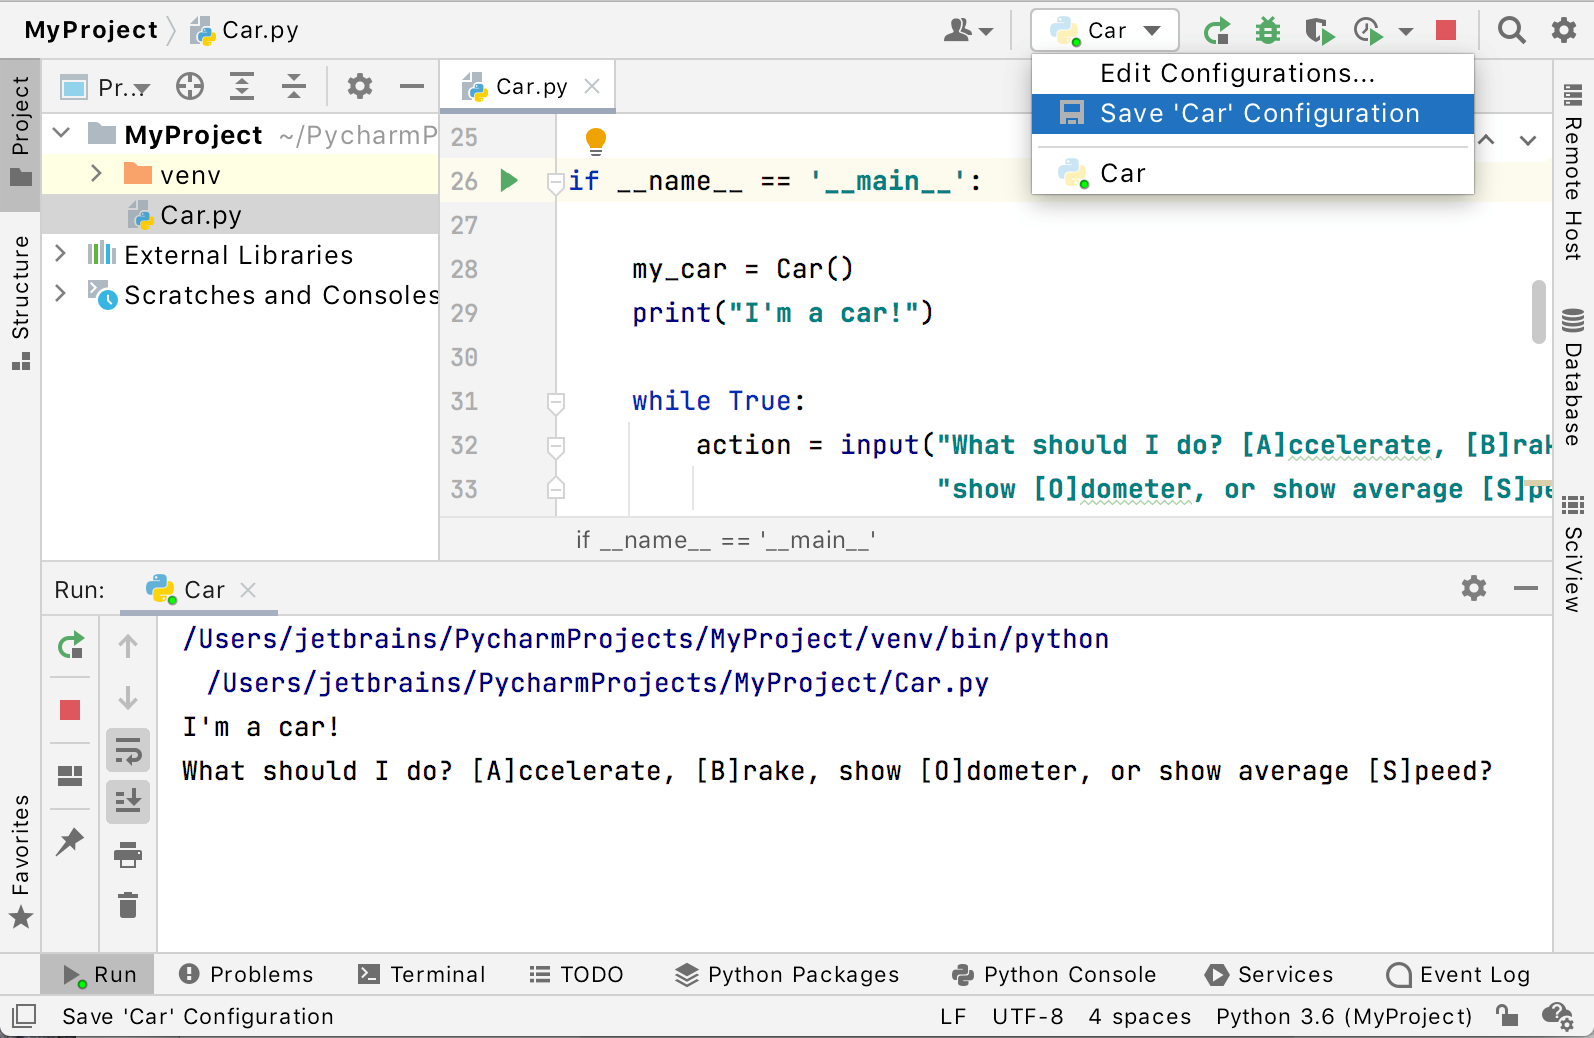
Afterwards, choose Edit Configurations to have a look at what is happening here.
warning
Do not set up a working directory for the default Run/Debug Configurations listed under the Templates node. This may lead to unresolved targets in newly created Run/Debug Configurations.
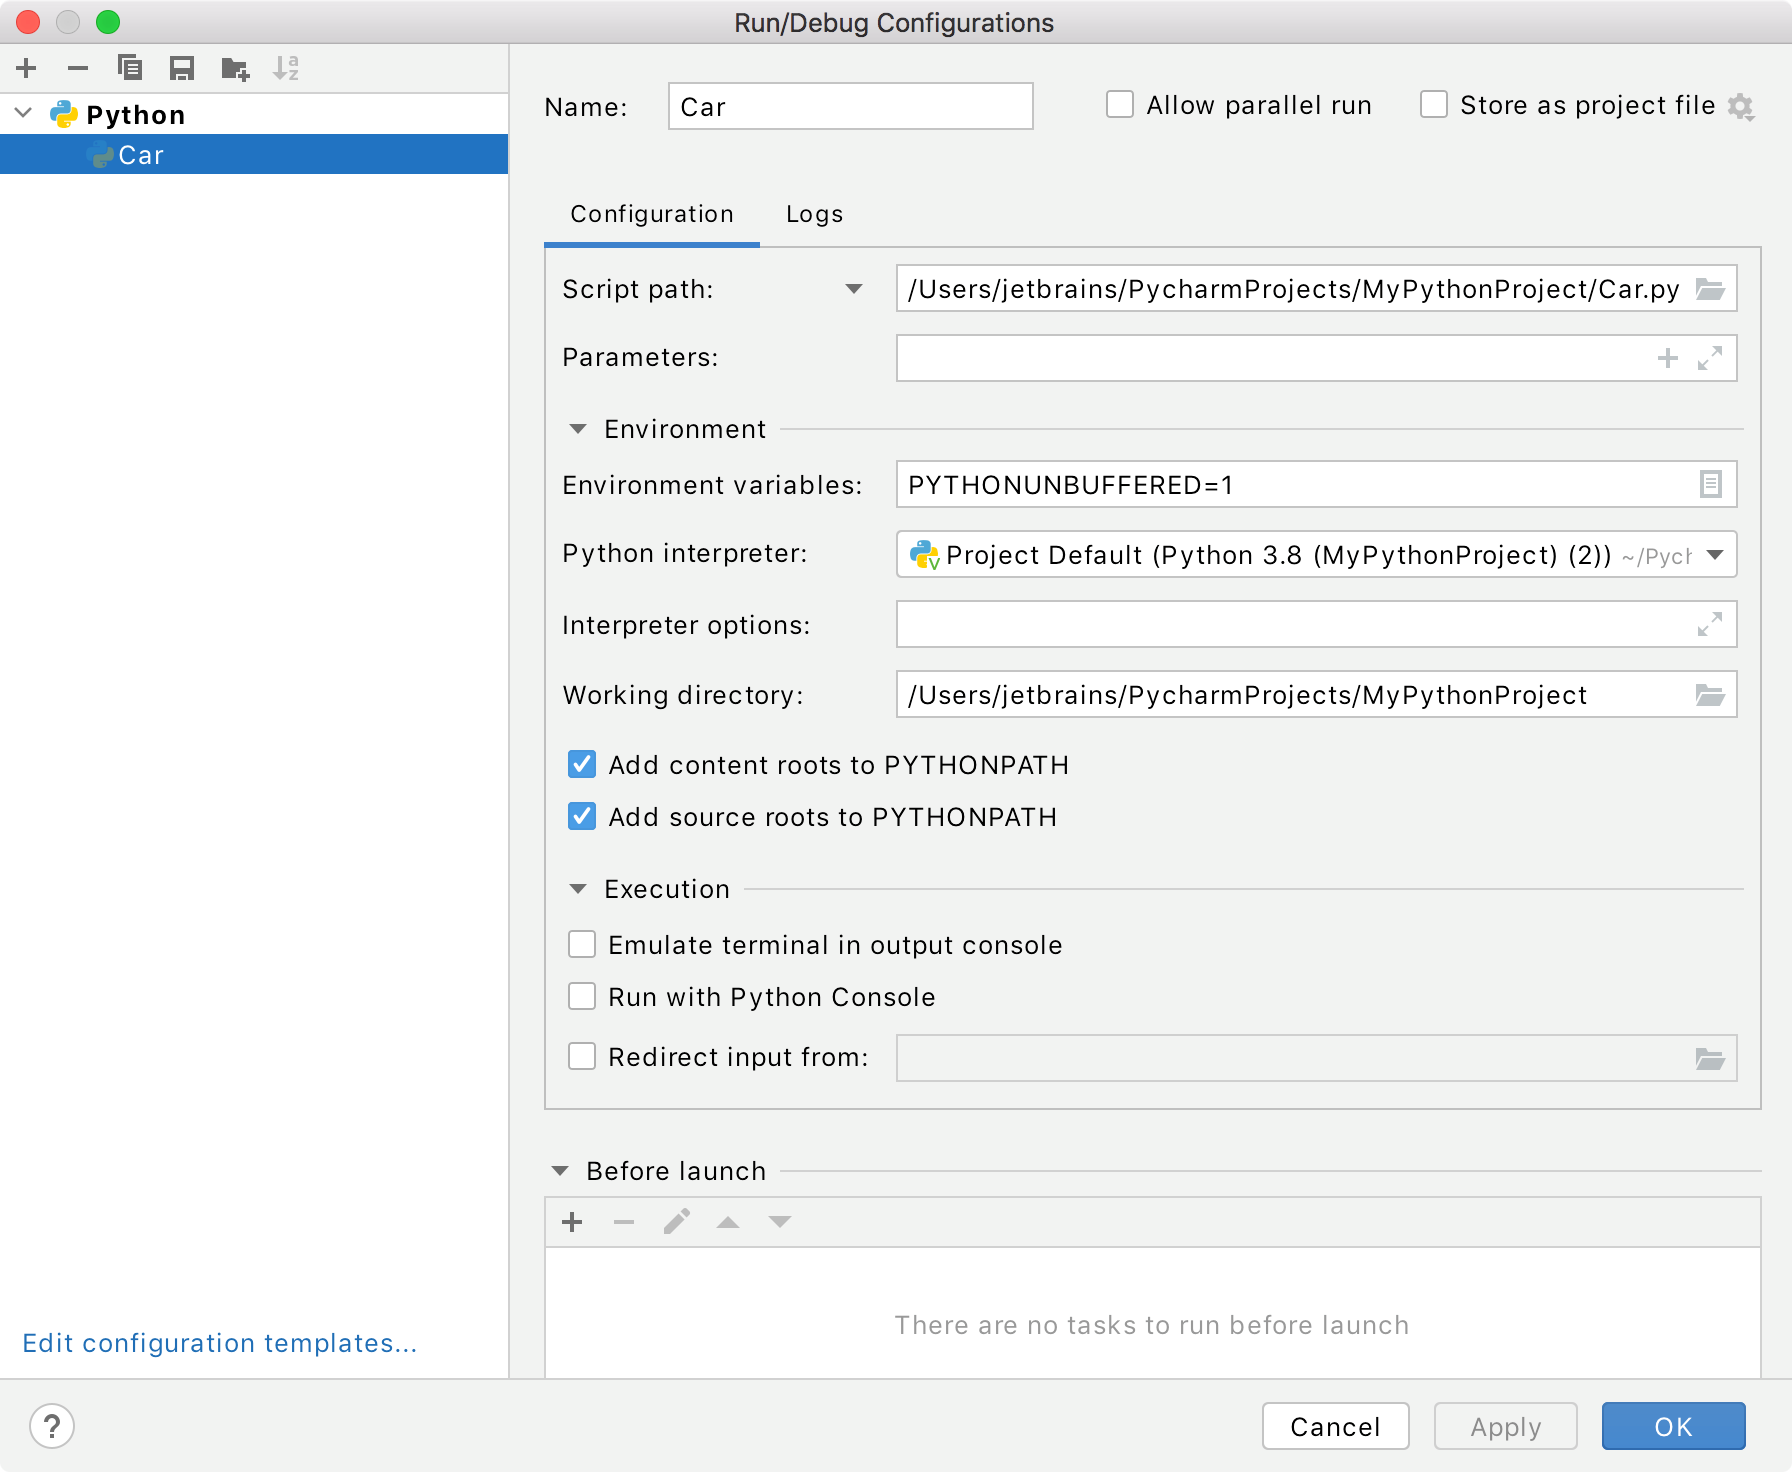
If you’d like to change how your program is executed by PyCharm, this is where you can configure various settings like: command-line parameters, work directory, and more. See run/debug configurations for more details.
If you’d like to start the script using this Run configuration, use the button next to the dropdown.
Summary
Congratulations on completing your first script in PyCharm! Let's repeat what you've done with the help of PyCharm:
Created a project.
Created a file in the project.
Created the source code.
Ran this source code.
Saved the run/debug configuration.
In the next step, learn how to debug your programs in PyCharm.