Create a Single-Job Pipeline
Last modified: 06 October 2024This tutorial demonstrates how to create a Pipeline with one Job and two Steps. Both steps utilize Maven to build and test the sample solution.

Create a Maven Step
Fork the Sample Java App with Maven repository (contains a simple Java app and unit tests for it).
Click New Pipeline... and wait for TeamCity to use the OAuth connection you provided to scan a VCS and display the list of available repositories. Click the forked library to create a new Pipelines project.

Once you choose a repository, TeamCity creates a new Pipeline with an empty Job. Click this Job to select it, and click the Script tile under the Steps section.

The Script runner is your default go-to option for any building task. It executes commands in the agent machine's CLI, which means you can use it for anything: navigate to a required path (
cd /users/John.Doe/.BuildServer), create required files and folders (cat output.txt), run any custom tools (dotnet test --logger trx), and so on.In Step settings, enter the
mvn -B -DskipTests clean packageas the script content.TeamCity detects that you entered Maven commands, and suggests switching to a dedicated runner that allows you to specify a path to POM file, choose the required Maven version, enable parallel tests, and more.

Specialized runners feature additional settings tailored to the specific tool, which makes it easier to set up a build step. Click the corresponding link to convert your Script runner to Maven.

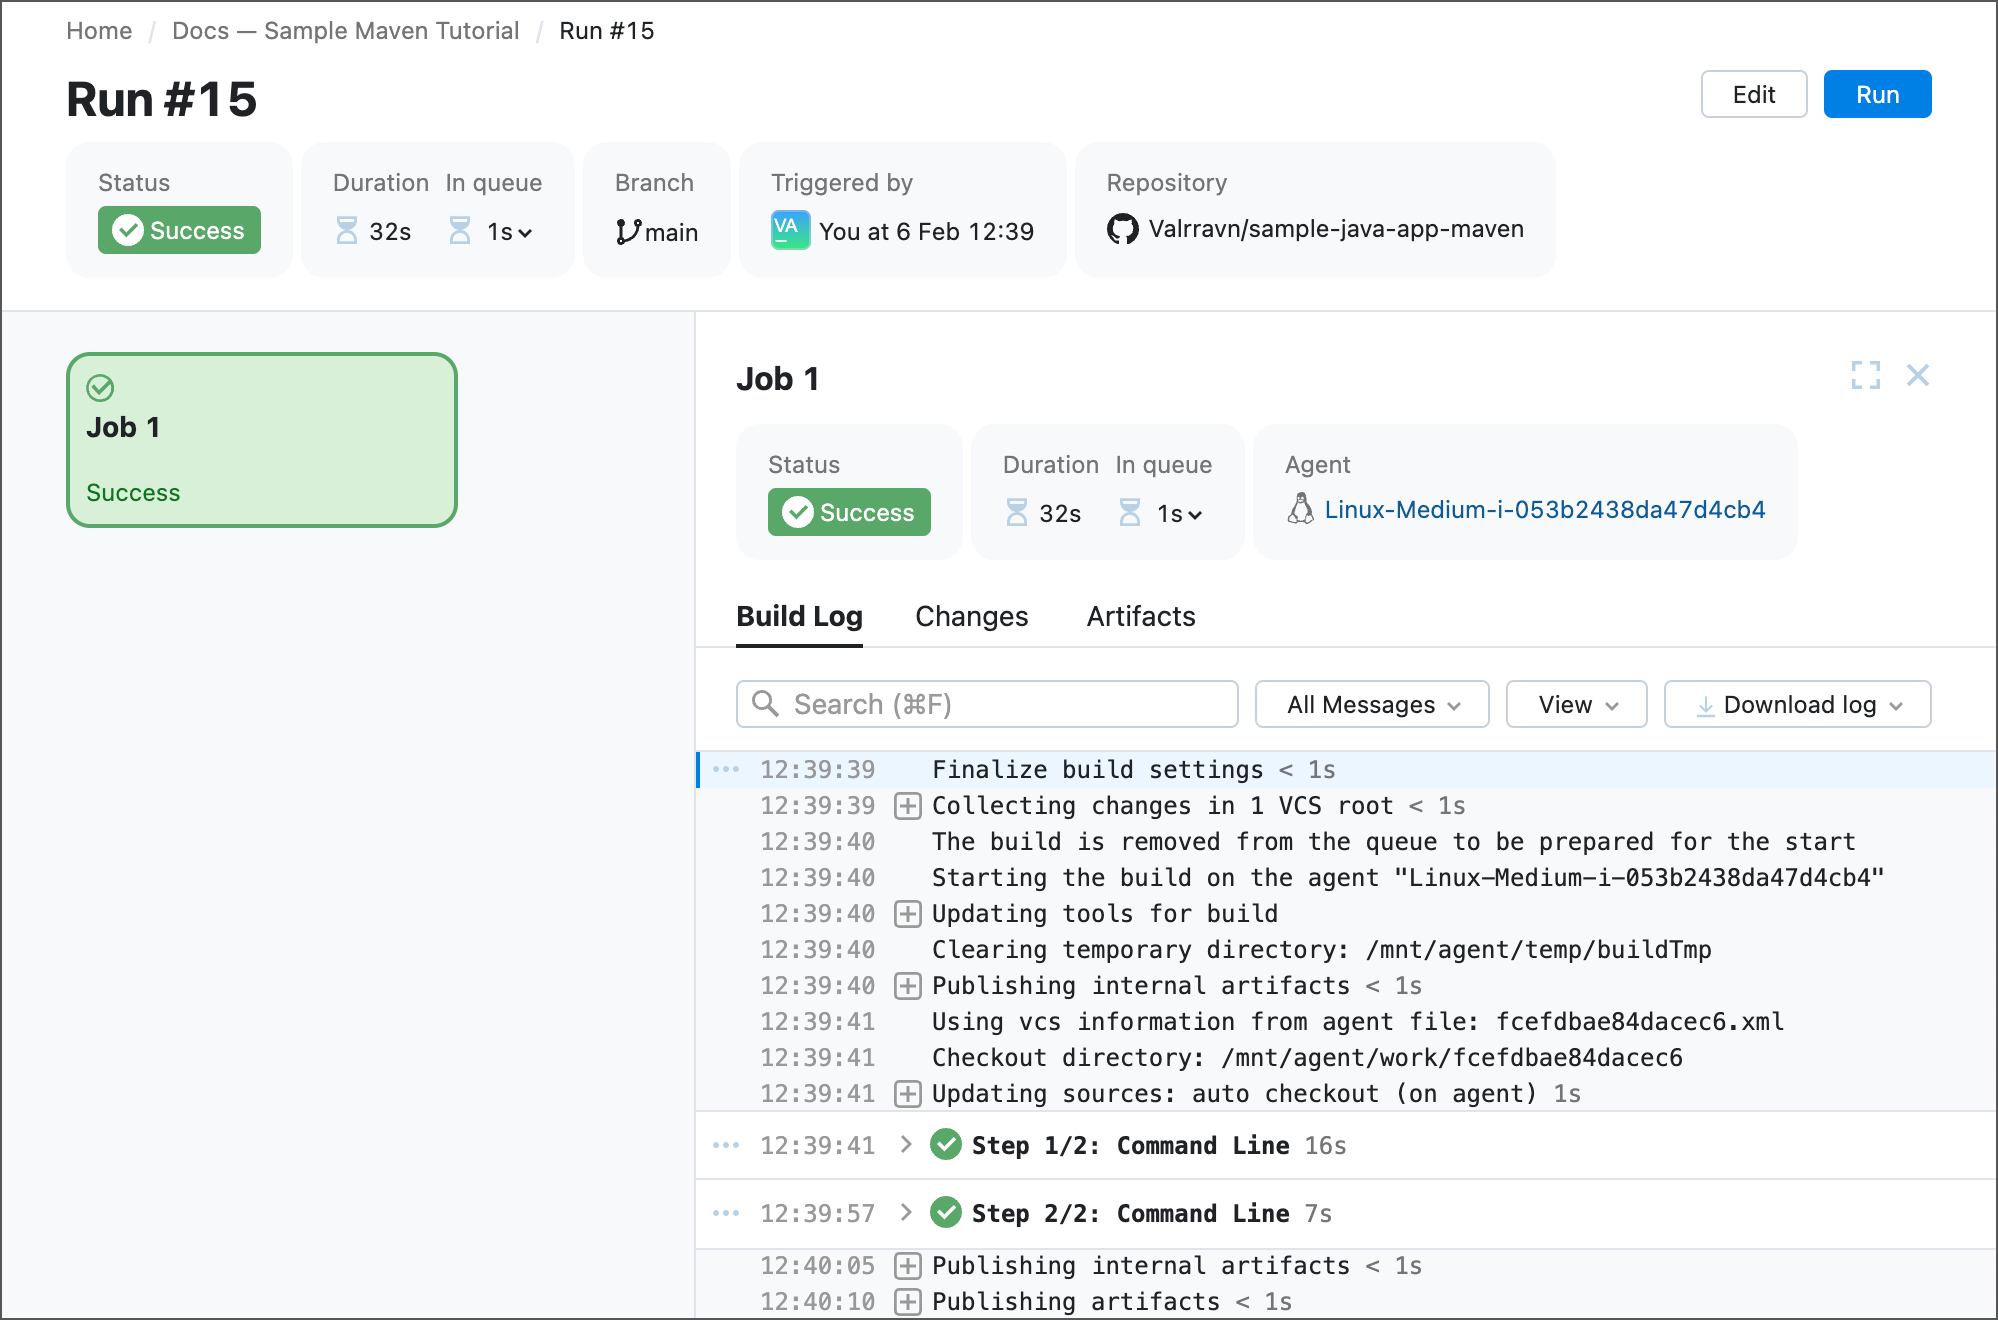
Click Save and Run. You will be redirected to the build results page with detailed information about this run.
tip
To view detailed run information for any build, go to Pipelines, select a required Pipeline, and click a build number whose results you want to view.
Depending on the agent that runs your Pipeline (JetBrains-hosted or self-hosted), the Pipeline may fail because the app's
pom.xmlfile names Maven version 3.8.6 as the minimal supported version (the <version>[3.8.6,)</version< line). The agent may not have a required version installed or use an older version by default.
To fix this issue, toggle the Edit switch in the top right corner to navigate back to Pipeline settings. Go to step settings...

...and choose a compatible version of Maven under Advanced settings.

Run the Pipeline again and ensure it finishes correctly.
Add a Script Step
Our first step skipped all unit tests. We can add the second Step to test the project after the first Step finishes.
In Job settings, add the second Step. To do so, click the Script tile.

Type
mvn testin the Script content field. This time ignore the suggestion to convert the common CLI runner to a dedicated Maven one.
If you attempt to run the Pipeline now, Step 2 may run into the same problem as Step 1 did: Maven version mismatch. In Step 1, we solved this issue by choosing the specific Maven version in step setting. The generic Script runner does not have the Maven version setting, so we need to use another solution.
The industry-wide method to run a task in an environment that has all required tooling installed is running it inside a Docker container. In TeamCity Pipelines you can do this in just a few clicks: enable the Run in Docker option and specify the Docker Image name in the field below. For example, if you require the latest Maven 3.9, you can run your Step in the
maven:3.9.0-eclipse-temurin-11container.
note
The image used in this step is a public image available from Docker Hub in anonymous mode. If you need to pull a private image (or to avoid violating anonymous rate limits), set up the Docker Integration.
Save and run the Pipeline. Both Steps should now be able to finish successfully.
YAML Configuration
The final Pipeline should have the following YAML configuration. You can go to Pipeline settings, switch the editing mode from Visual to YAML, and compare your current settings with this reference configuration to check whether some of your settings are missing or have different values.
name: Sample Java App Maven
jobs:
  Job 1:
    steps:
      - type: maven
        goals: '-B -DskipTests clean package'
        maven-version: bundled_3_8
      - type: script
        script-content: mvn test
        docker-image: maven:3.9.0-eclipse-temurin-11
    runs-on: Linux-Medium
Thanks for your feedback!