Upgrade with minimal downtime
If your Upsource contains big projects, upgrading it to a new major version can take a long time, as the project and review data needs to be imported to a new instance, which means Upsource services won't be available to its users during the upgrade. However, there is a solution to minimize downtime. The procedure is more complicated then a regular upgrade and involves additional steps.
Navigate to http://your-host-name:port_for_upsource/hub/settings/ and switch Hub to a read-only mode by clicking the corresponding button.
In this mode users can still access all Upsource features but they are not allowed to create/delete projects and modify any user data (including roles, groups, permissions etc.).
Return to the Upsource administration screen and create a backup. Leave your existing Upsource installation running.
Download and unpack the zip archive with a new Upsource build.
Start the new Upsource instance:
<upsource_home>\bin\upsource.bat startIt will open Configuration Wizard in your default browser:

Click Upgrade.
In this step, select the location of the backup of your previous installation to upgrade from:

The location of a backup is a date-specific directory inside the backups folder.
Click Next.
Now you can verify and change (if necessary) your system settings and location of system directories:
Make sure that Application Listen Port is not the same as in the old installation. Change the port if the old installation is using the same default value.
Make sure that the data, temp, and logs folders differ from the ones configured for the old Upsource instance. (The old running instance will stop if another instance accesses the same logs folder.)
You can also switch from the HTTP to HTTPS mode and vice-versa regardless of your previous set-up:

Click Upgrade when you're done.
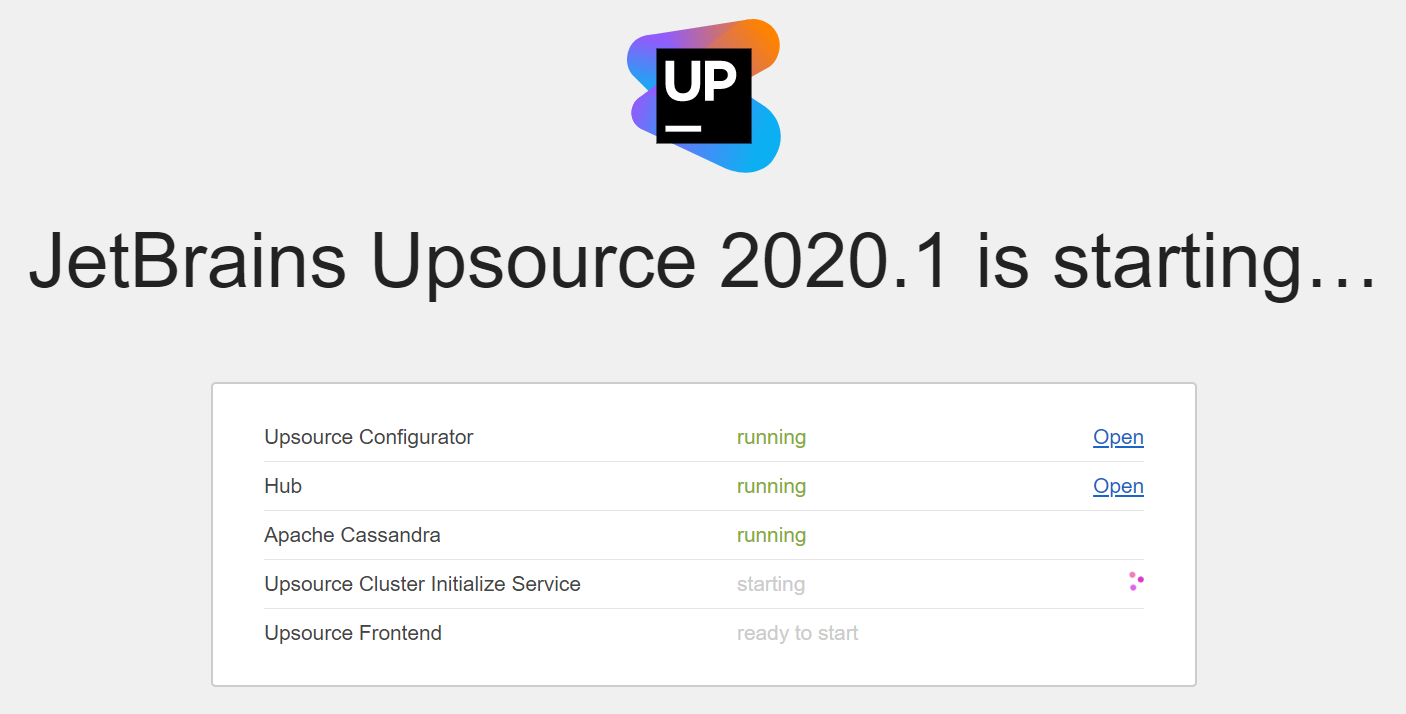
Wait a little for Upsource to launch its components:

As soon as it's done, it will open its welcome page.
Wait until all data is imported and indexed. You can monitor the progress on the main page.
Switch the old Upsource instance to a read-only mode.
Create a backup once again.
Import the review data from the last backup of the old Upsource instance. Using the command line, go to the lib directory of your new Upsource instance:
<new_upsource_home>/liband run the following command:
upsource-console.bat import-review "<backup_directory>\data\.backup\review"For example:
upsource-console.bat import-review "C:\upsource-2018.1.344\backups\2018 May 22 18-05-41\data\.backup\review"Stop both Upsource instances — the old one and the new one.
Change the listen port and base URL of your new Upsource instance to the ones used in the old instance:
Using the command line, switch to the bin directory of your new Upsource instance:
<new_upsource_home>/binand run the following command:
upsource.bat configure --listen-port XXXX --base-url http://upsource.mydomain.com:XXXXwhere XXXX is the listen port number of your old Upsource instance.
Do not specify the base URL if your setup uses proxy and you don't intend to change its settings.
Start your new Upsource instance.