Using custom or third-party JDBC drivers
Datalore supports attaching custom JDBC drivers to establish connections to databases, that are not natively supported in Datalore.
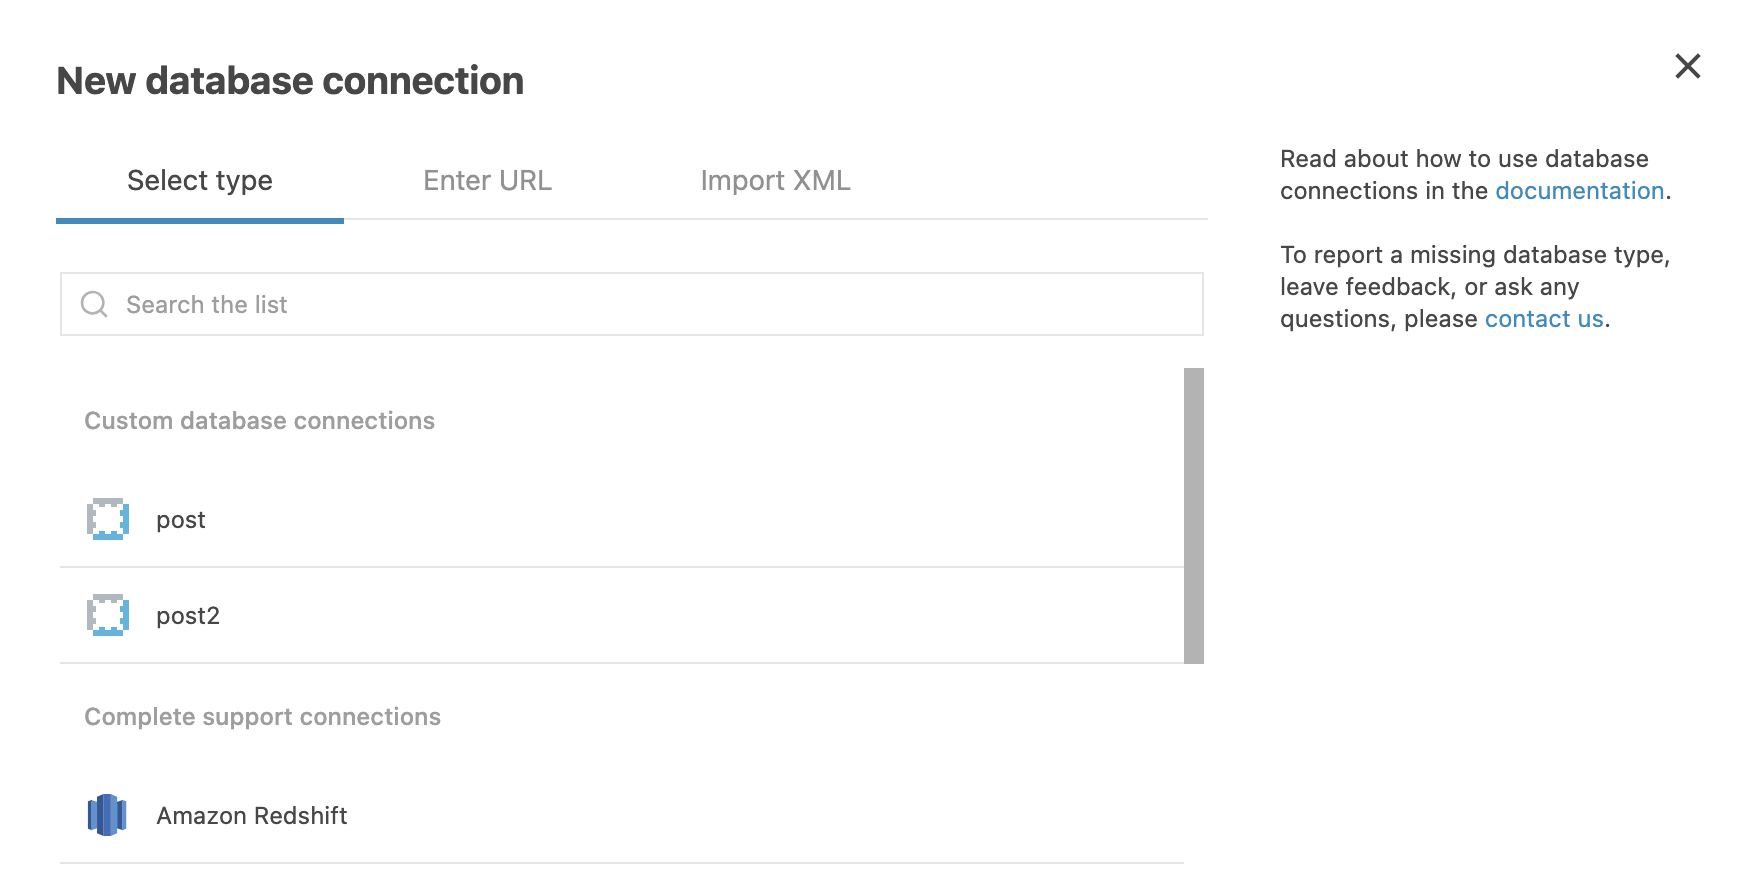
After such a driver is attached, the user can select the respective database connection type in the New database connection dialog.
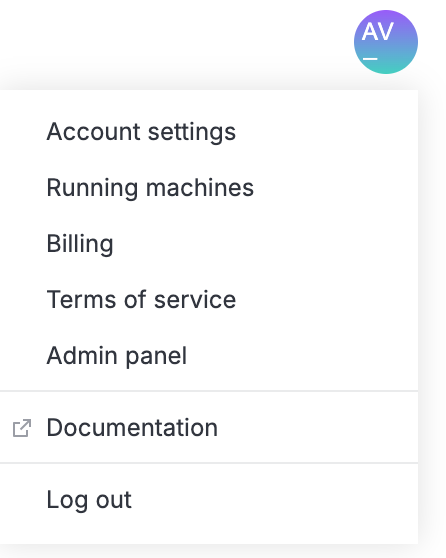
Click the avatar in the upper right corner of the screen and select Admin panel.

From the sidebar of the Admin panel, select Data. You will be on the Customer driver tab. Your further steps are made on this tab.
tip
The sidebar of the panel is resizable: you can collapse/expand it using the icon in its upper right corner or drag the resize handle that appears when hovering over the sidebar's right border.

Click the New custom driver button.
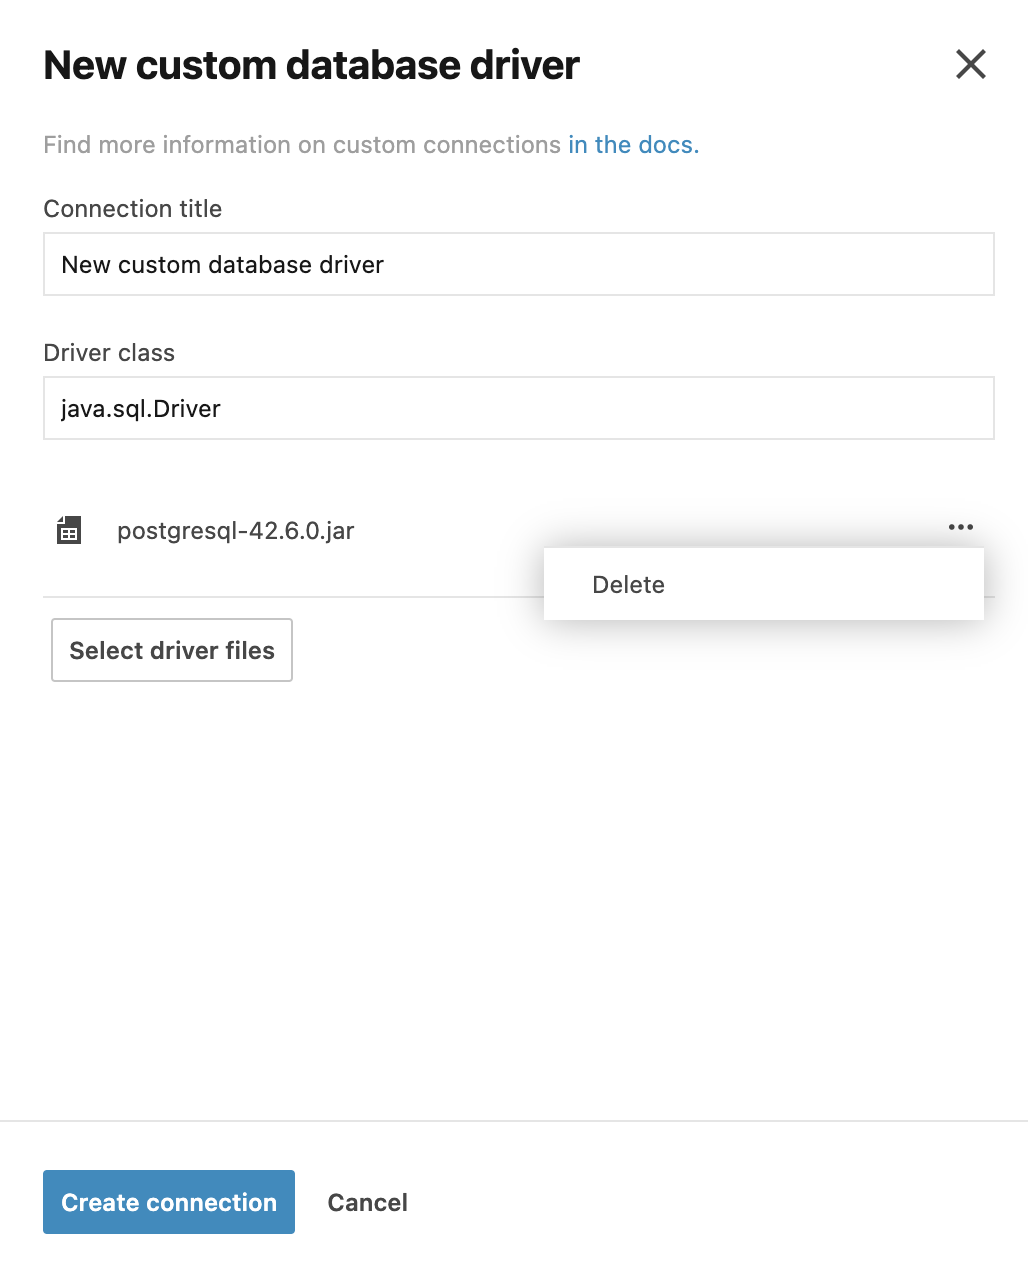
In the New custom database driver dialog, provide a connection title and a driver class in the respective fields.
Click the Select driver files button. This will open your file browser window.
Use the browser window to find and select the driver file.
(Optional) To cancel adding the selected file, do one of the following:
Click Stop while uploading the file
Click the ellipsis after the file is uploaded and select Delete

After the file browser window is closed and the file is uploaded, click the Create connection button. This will add the selected driver to the list and close the dialog.
Result
The added driver will be presented as a custom database connection type in the New database connection dialog.

Find more details about configuring database connections in Configure a database connection.
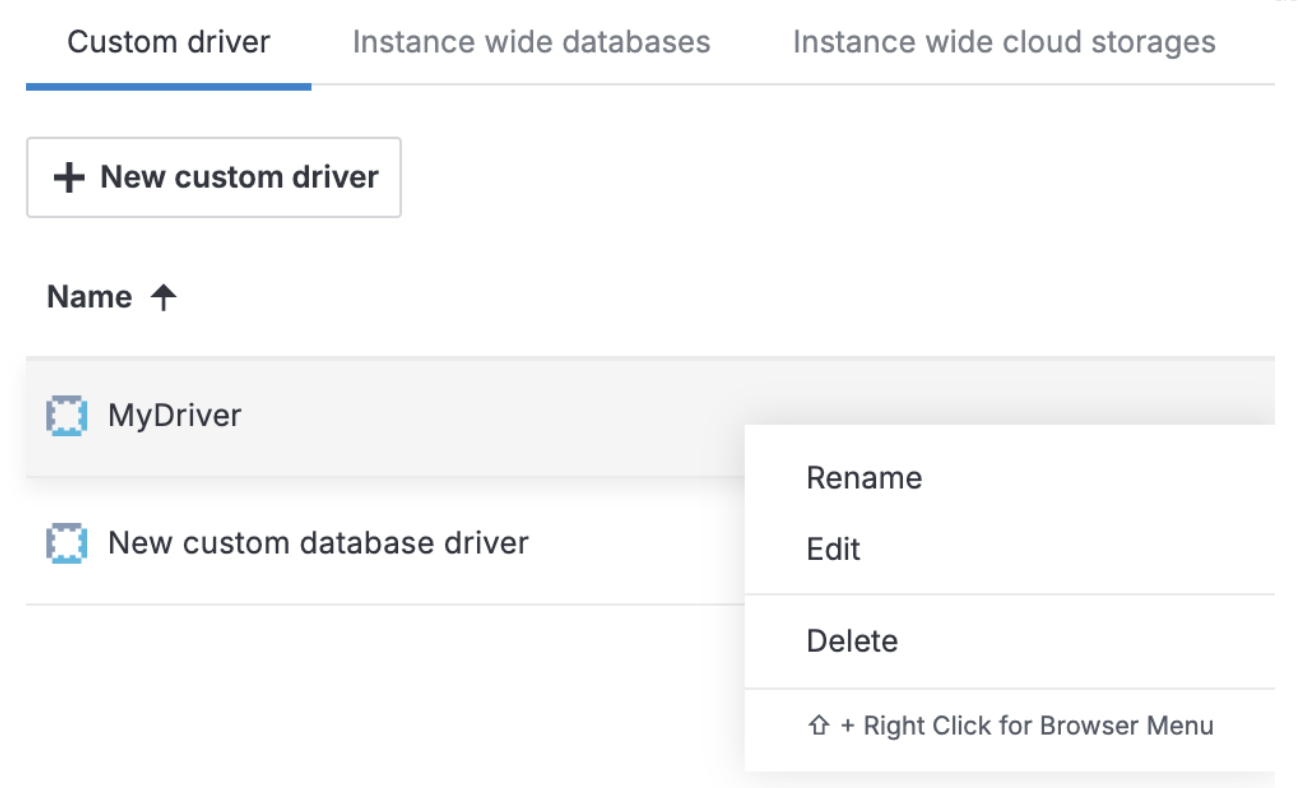
Go to Admin panel | Data. On the Custom driver tab, you can view the list of all added driver files.
Right-click the ellipsis for the driver you want to edit and select Edit from the popup menu.

tip
If you only need to rename the item, select Rename, provide a new name, and press Enter.
In the Edit custom database driver dialog, make the required changes.
To save the changes and finish the procedure, click the Update connection button.
note
Keep in mind that by deleting a custom JDBC driver you delete all database connections using this driver.
Go to Admin panel | Data. Under Supply custom database driver files, you can view the list of all added driver files.
Click the ellipsis for the driver you want to delete and select Delete from the dropdown menu.
In the confirmation dialog, click the Delete custom driver button.
Thanks for your feedback!
