Connect to an SMB/CIFS folder
The article explains how to connect to an SMB/CIFS folder.
Create an SMB/CIFS folder connection
Open the New cloud storage connection dialog. The step depends on whether you want to add a new data source to workspace resources or attach it to a notebook.
On the Home page, select the workspace to which you want to add a folder.
From the left-hand menu of the selected workspace, select Data and switch to the Cloud storages tab. This will open the list of all workspace cloud storage connections.
On the Cloud storages tab, click the Add button in the upper right corner.
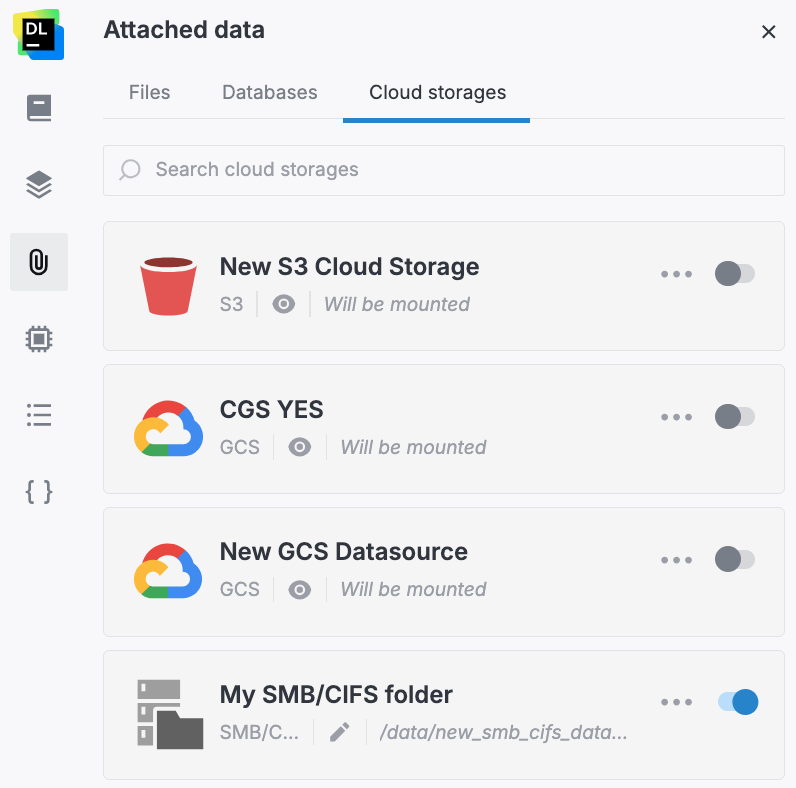
Open the Attached data tool from the left-hand sidebar.
Switch to the Cloud storages tab. You will see the list of all cloud storage connections available from the respective workspace.
At the bottom of the tab, click New cloud storage.
In the New cloud storage connection dialog, select SMB/CIFS.
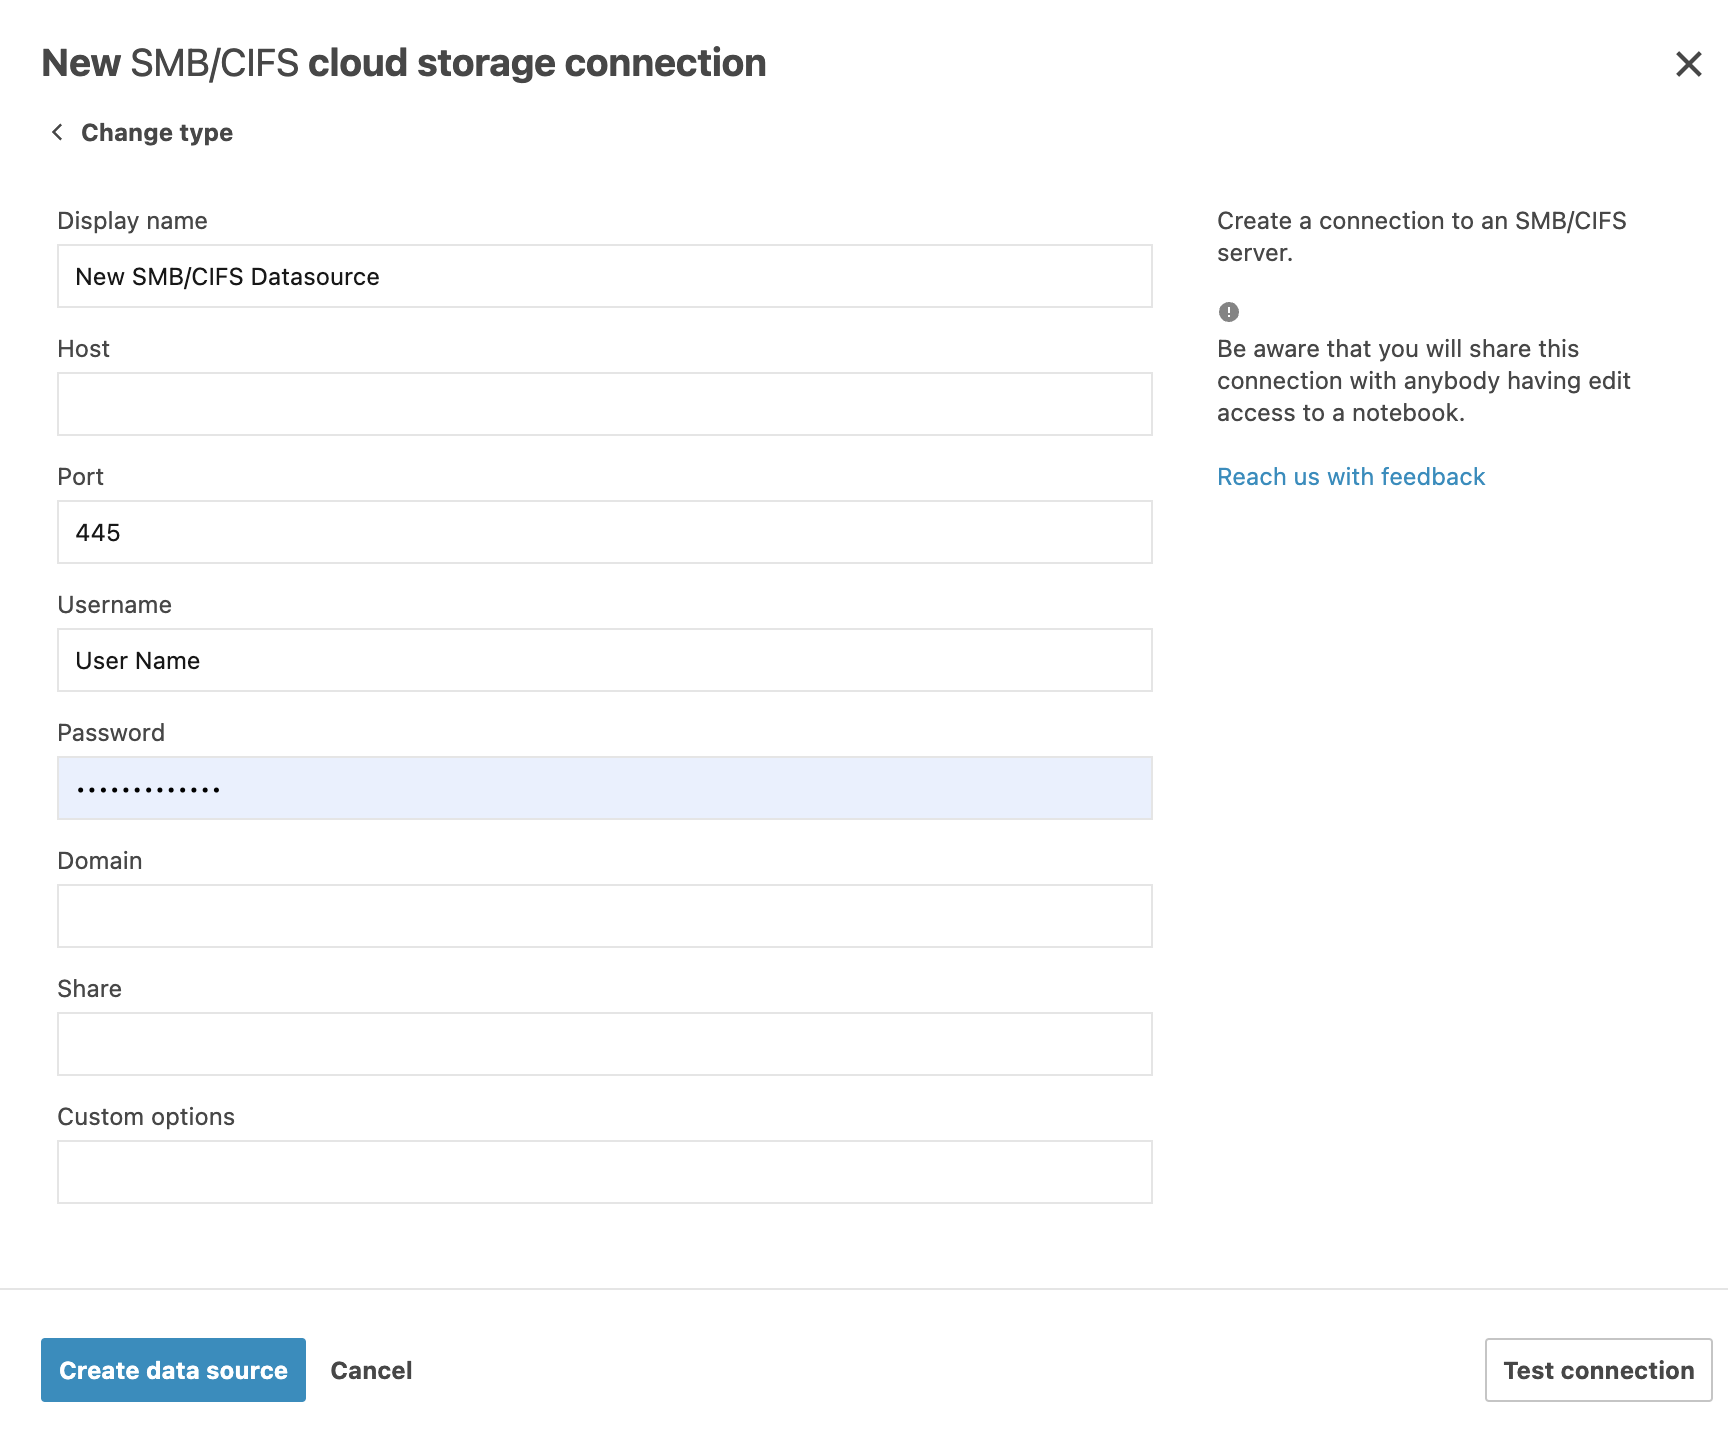
In the New SMB/CIFS cloud storage connection dialog, fill in the following fields:
Display name: to specify the name for this data source in your system
Host: to specify the SMB server hostname
Port: to specify the SMB port
Username and Password: to specify the user credentials
Domain (Optional): to specify the SMB server domain
Custom options: to specify additional parameters
(Optional) Click Test connection to make sure the provided parameters are correct.
Click Create and close to finish the procedure.
Results and further actions
If created for a specific notebook, the new connection will be automatically added to the workspace. You can later attach this data source to any other notebook from this workspace.
If created for a workspace, this connection is added to the workspace cloud storages and can be attached to any notebook from this workspace.
Keywords
cloud storages, cloud storage connection, attach data, data sources, SMB/CIFS, connect to remote foldersconnect to remote storages