Create a Project
Any time you're ready to start working on a new goal or initiative, create a dedicated project to help you track and manage your efforts.
When you create a project in YouTrack, the following operations are performed automatically:
You are granted the Project Admin role in the project.
You are set as the Project owner in the general project settings.
You are added to the project team. This assignment grants you any roles that are assigned to members of the project team in the project.
You are added to the set of values for the Assignee field for issues in the project.
A saved search with the name Unassigned in <project ID> is automatically generated with your user account as its owner. This saved search uses the query
project: <project ID> #{Unassigned}. You are automatically subscribed to notifications when new issues are created in the project.You can access and update this saved search at any time in your YouTrack profile. For more information, see Tags and Saved Searches.
To create a project:
From the main navigation menu, select
Projects.
On the Projects page, click the New project button.
The first page of the project setup assistant opens.

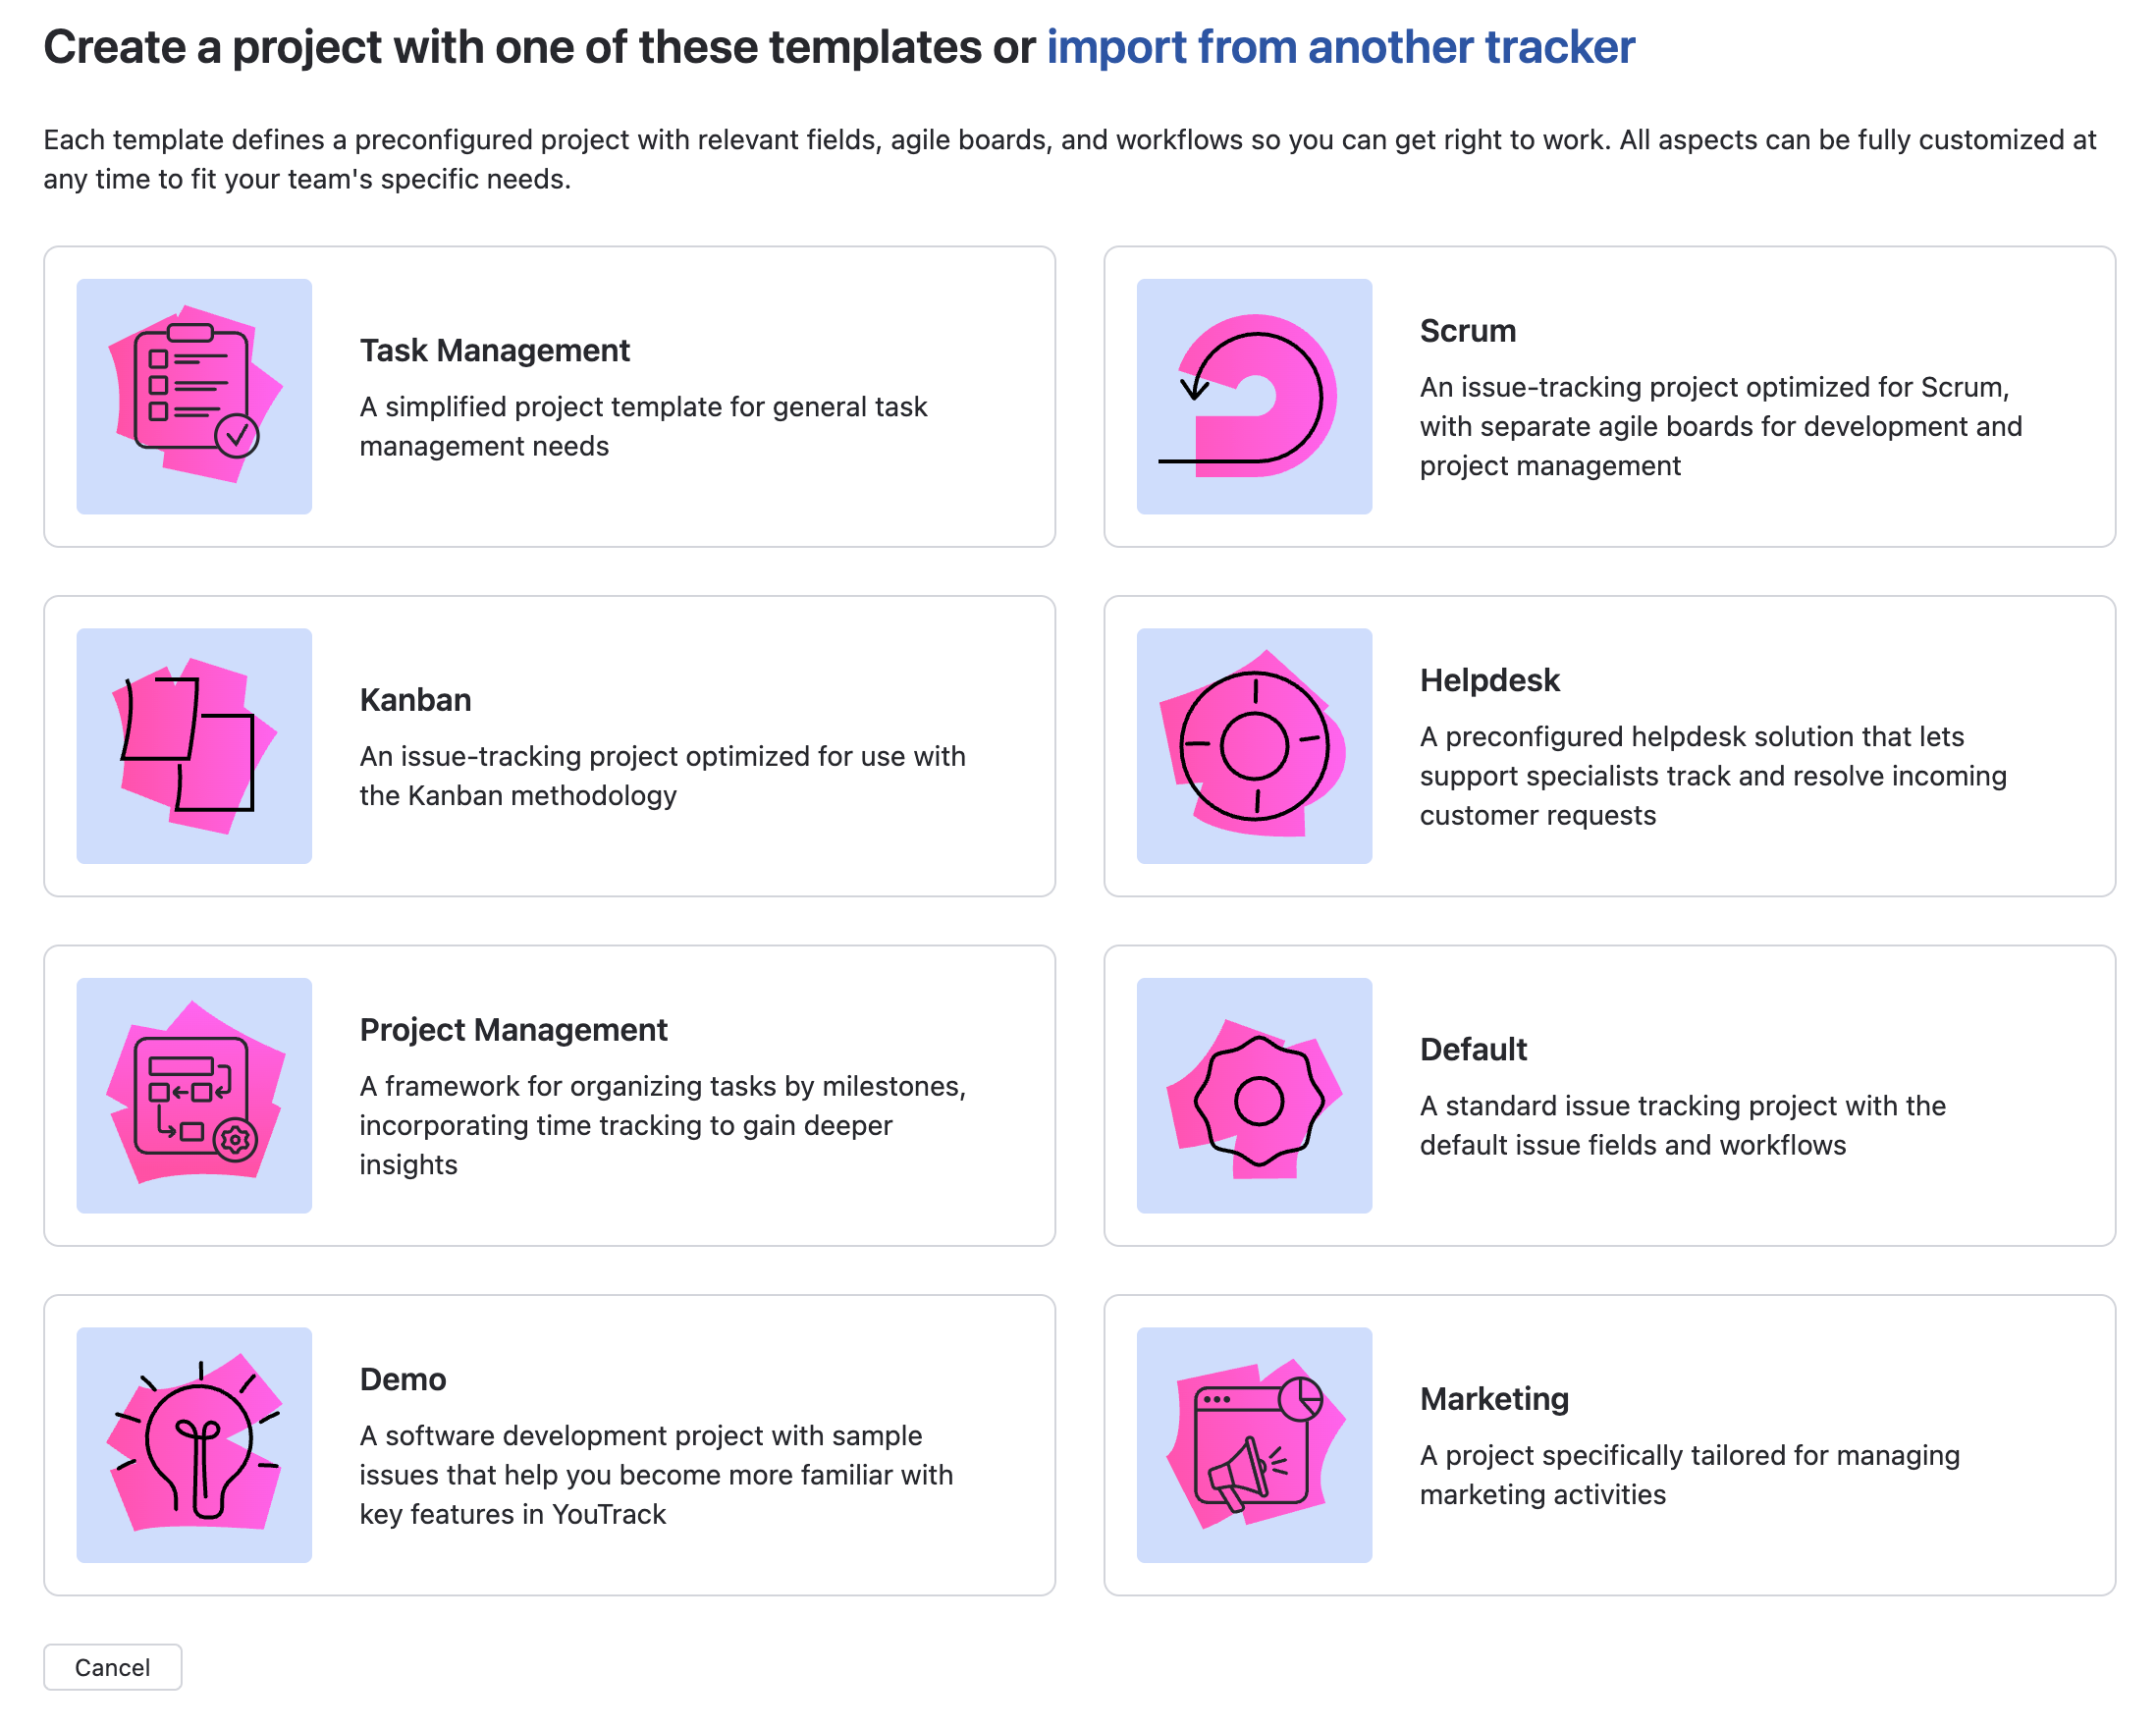
Choose which template you want to use to create the project. You can select from a set of predefined project templates or a custom project template.
For a description of the predefined project types, see Project Templates.
For a description of custom project templates, see Custom Project Templates.
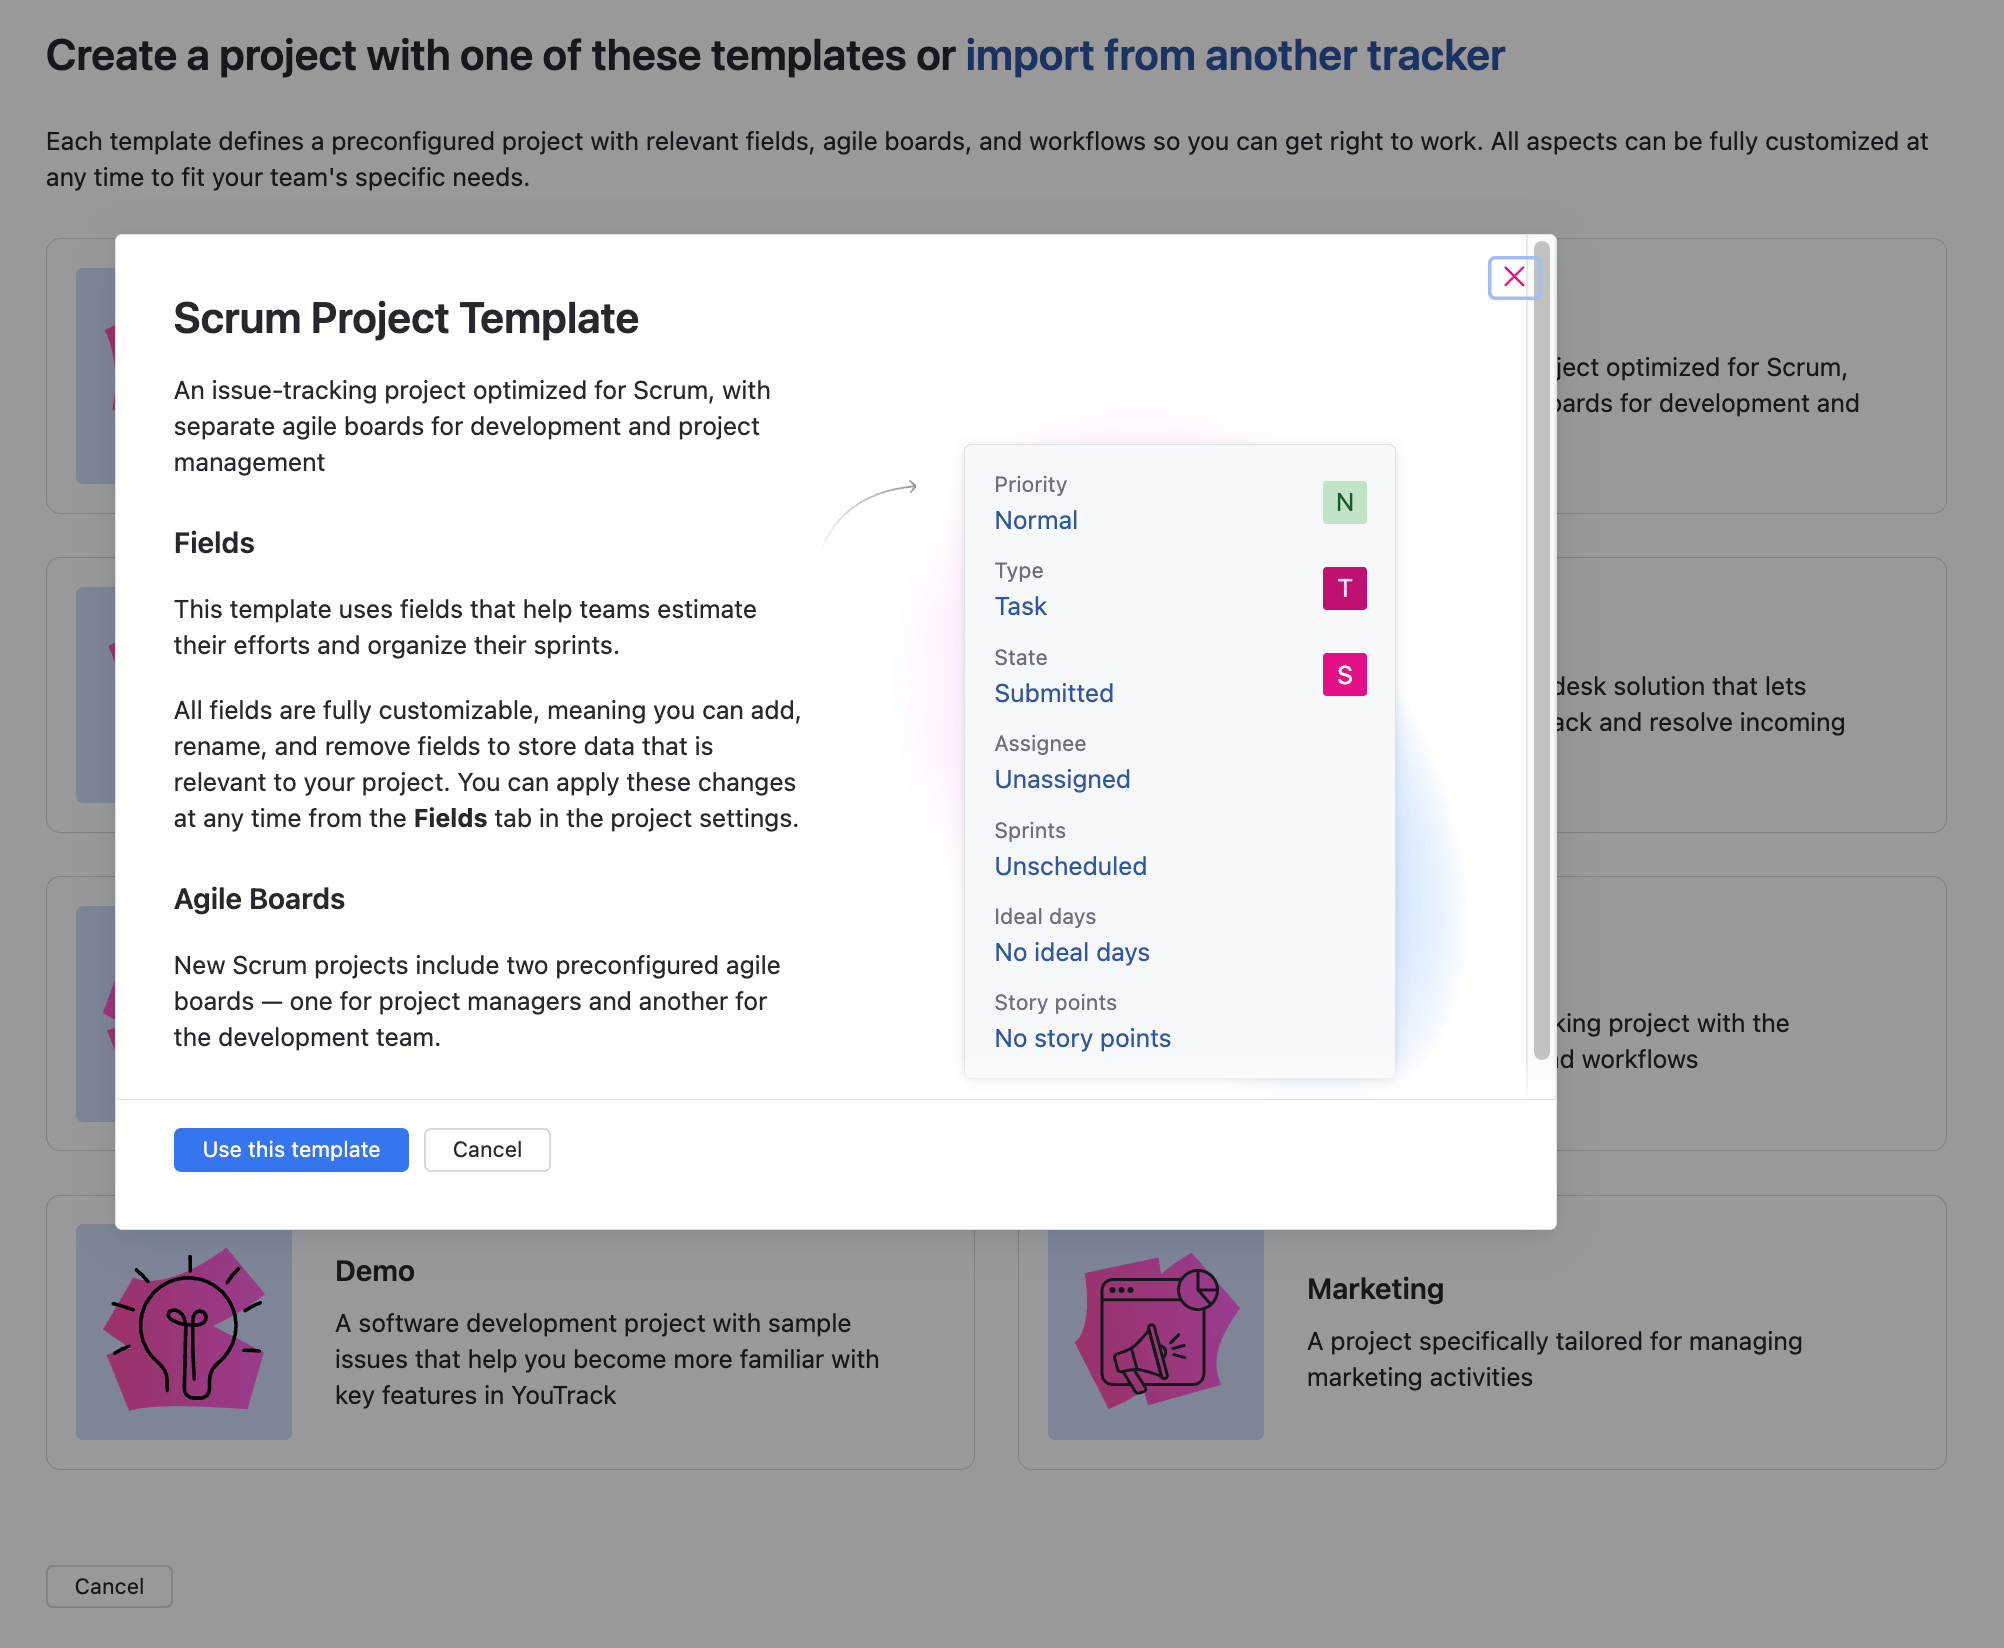
Select a template to display a detailed description. Click the Use this template button to continue to the next step in the setup assistant.

Enter a name for your project.
Click the image thumbnail to upload a custom logo.
If you want to customize additional settings in your project, click to expand the More settings section of the page. The following settings are available:
Setting
Description
Project ID
Enter a value to customize the auto-generated project ID. This value must be unique in the system.
Starting number
To start numbering issues with a number other than 1, enter a value in the Starting Number input field.
Description
Enter an optional description of the project.
Organization
Select an optional organization to which the new project should belong.
When done, click the Create project button.
A new project with the specified settings is created.
The project profile page opens. Here, you can add users to the project team.
To configure advanced project settings, click the Edit project link.
For more information, see Configure a Project.
You are granted the Project Admin role in the new project.
You are set as the Project owner in the general project settings.
You are added to the project team. This assignment grants you the Contributor role in the project.
You are added to the set of values for the Assignee field for issues in the project. Any user or group that is later added to the project team is also added to the set of values for the Assignee field.
A saved search with the name Unassigned in <project ID> is automatically generated with your user account as its owner. This saved search uses the query
project: <project ID> #{Unassigned}. You are automatically subscribed to notifications when new issues are created in the project.You can access and update this saved search at any time in your YouTrack profile. For more information, see Tags and Saved Searches.