Notebook structure
In Datalore, a notebook is a sequence of cells in a linear order presented on one or several worksheets.
A cell is a basic structural unit of a notebook, created for a specific purpose and edited by specific rules. You can use the following types of cells in Datalore notebooks:
Code cells are used for coding in the programming language selected for the notebook.
Markdown cells are used to provide explanatory or descriptive texts to your code.
Interactive control cells are used to enable interactivity in your notebook, which allows customizing the output without manually changing the code. These cells are a crucial part of creating interactive reports.
Chart cells are used to build advanced charts based on DataFrames without manually writing the required code.
SQL cells are used to query attached databases and other data sources.
Metric cells are used to track numerical values in your code and compare them to others.
Export to database cells are used to append DataFrames to attached database tables.
When you create a notebook and open it in the Datalore editor, it is one empty code cell. This is where you start your work on the notebook. As you complete this cell, you will add and edit the next one, and so on.
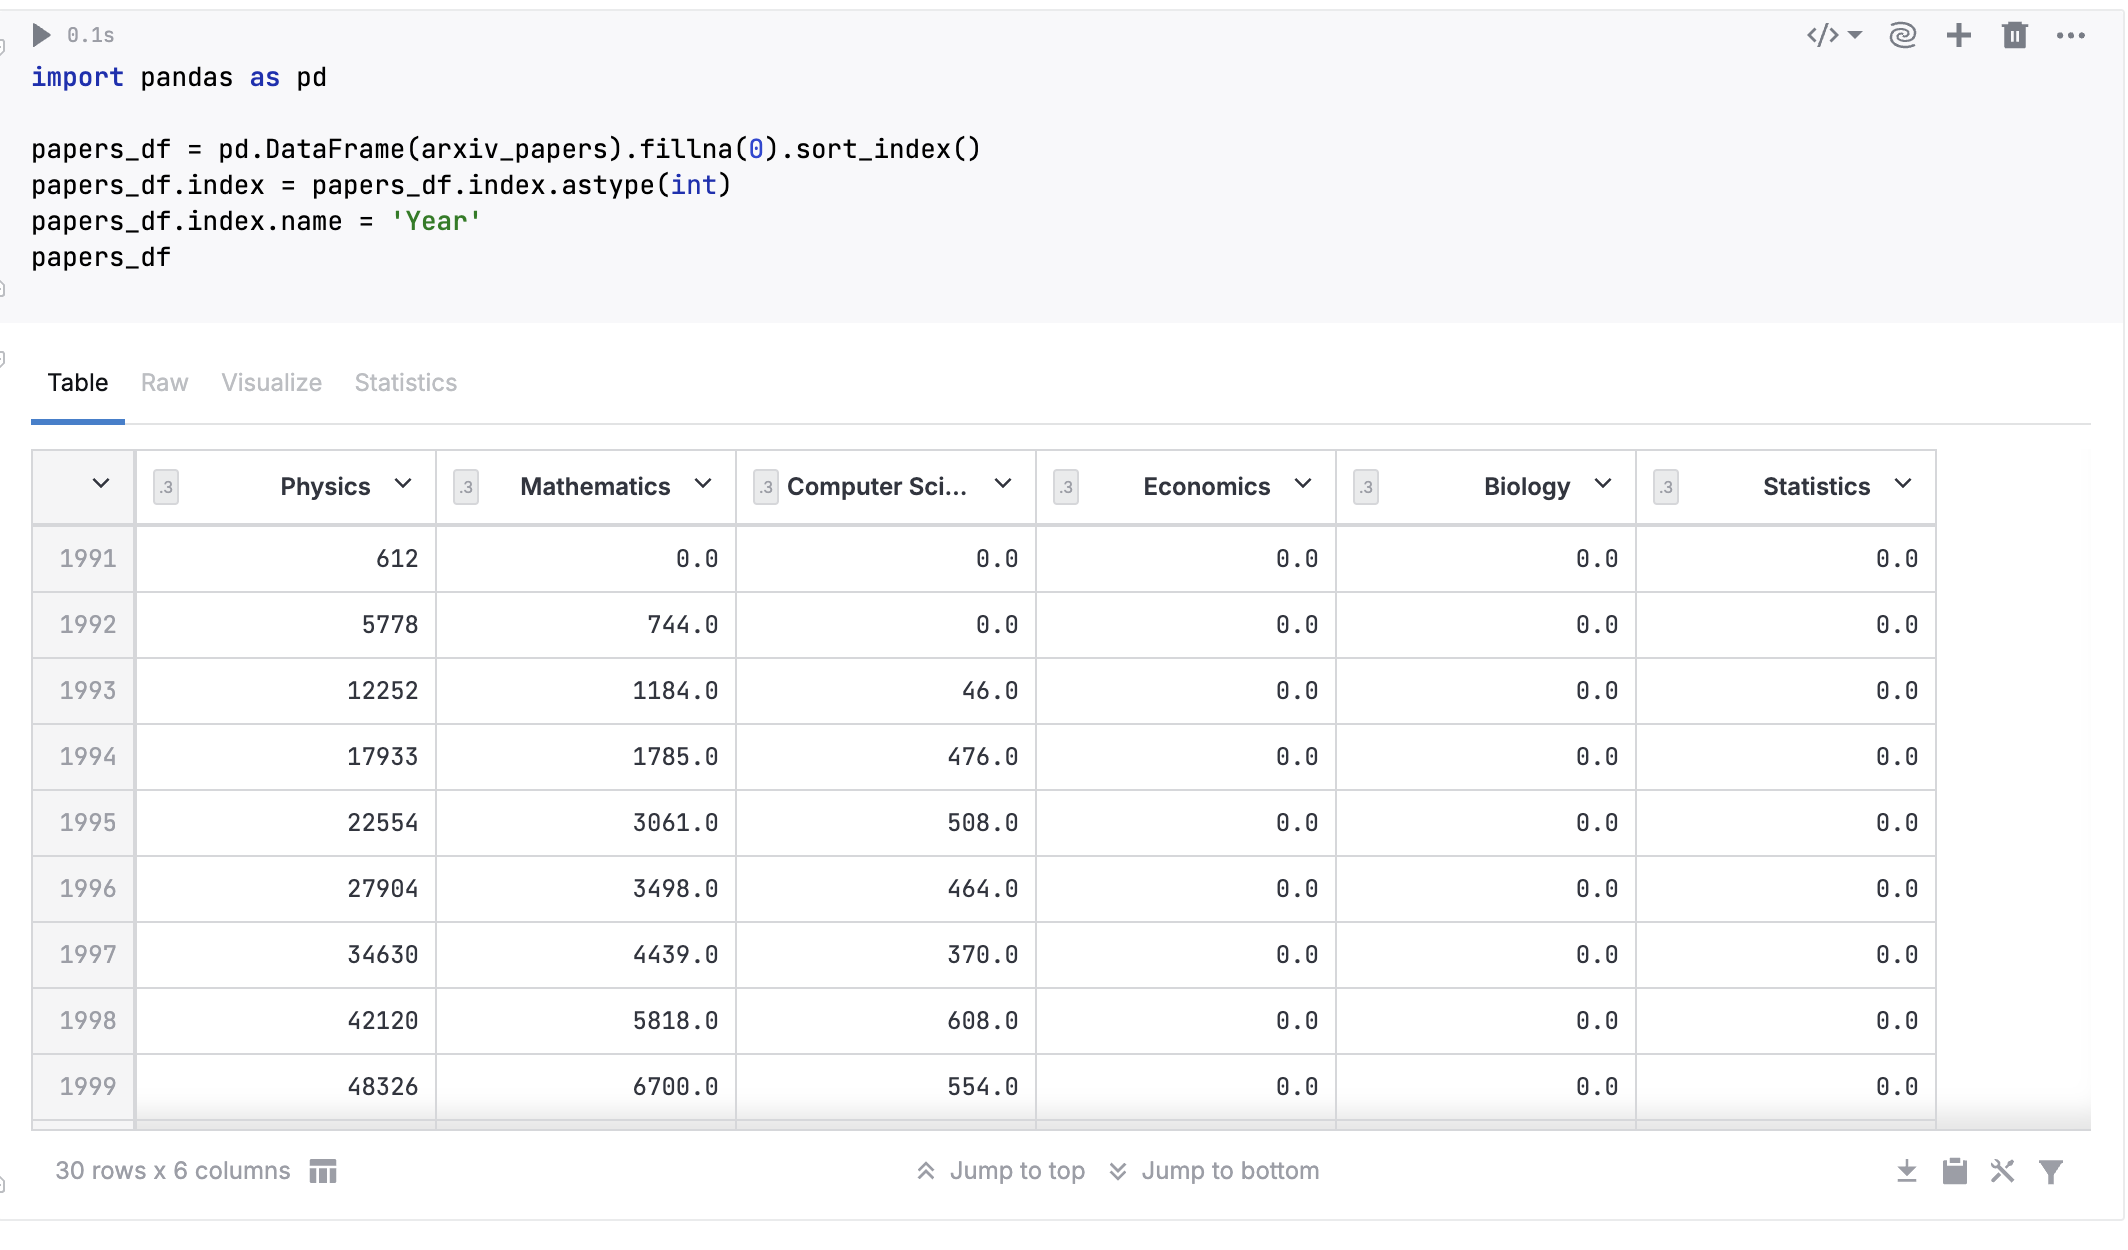
This is how a Python code cell looks with its output displayed:

A Markdown cell with its output looks like this:

By default, every notebook is presented on one worksheet. This means you can see all your work on one scrollable page. If your notebook is big enough and has a large amount of data, you may want to organize its content into multiple worksheets. To create a new worksheet, click the + icon in the lower left corner of the editor.
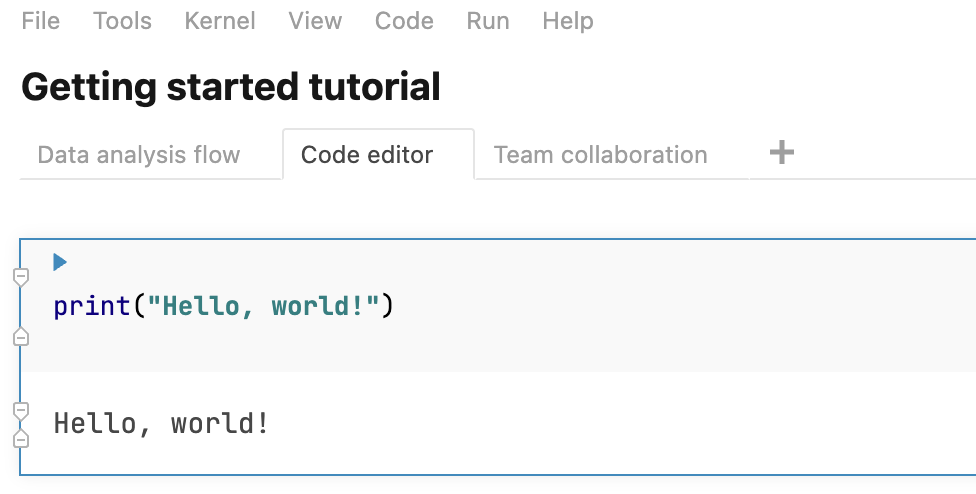
All worksheets in a notebook share the same files, and newly created worksheets inherit the environment of those created earlier. For example, the notebook shown below consists of three worksheets: Code editor, Data analysis flow, and Team collaboration.

To create a worksheet, click the + icon in the lower left corner of the editor.
For further options, right-click the worksheet you want to manage. This will open a popup menu.

Use the popup menu for the following options:
Rename worksheet: select the option, provide a new name in the Rename dialog, and click OK.
Duplicate worksheet: select the option to add a worksheet with the same content to the notebook.
Delete worksheet: select the option to delete the worksheet from the notebook. Click OK in the Confirmation dialog to confirm the action.
note
You cannot delete a worksheet if there are no other worksheets in this notebook.
notebook parts, notebook cells, structure notebook, worksheets, use editor, editor basics, edit code, edit notebook