Assign profiles
Last modified: 19 December 2024IDE Services provides you with several ways to assign profiles to existing users:
Assign a single profile to several users from the Users page
Assign a single profile to users or groups from Profile details
Assign one or several profiles to the same user
Synchronize user groups configured on the identity provider's side (Okta, Microsoft Entra ID, Google, and so on) with profiles in IDE Services
Users page: Assign a profile to several users
Open the Users page.
Using checkboxes, select several users in the table and click Assign profile.

In the Assign Profile dialog, select the desired profile from the list and click Assign.

Profile details: Assign a profile to users or groups
On the Profiles page, click the name of the profile you want to edit.
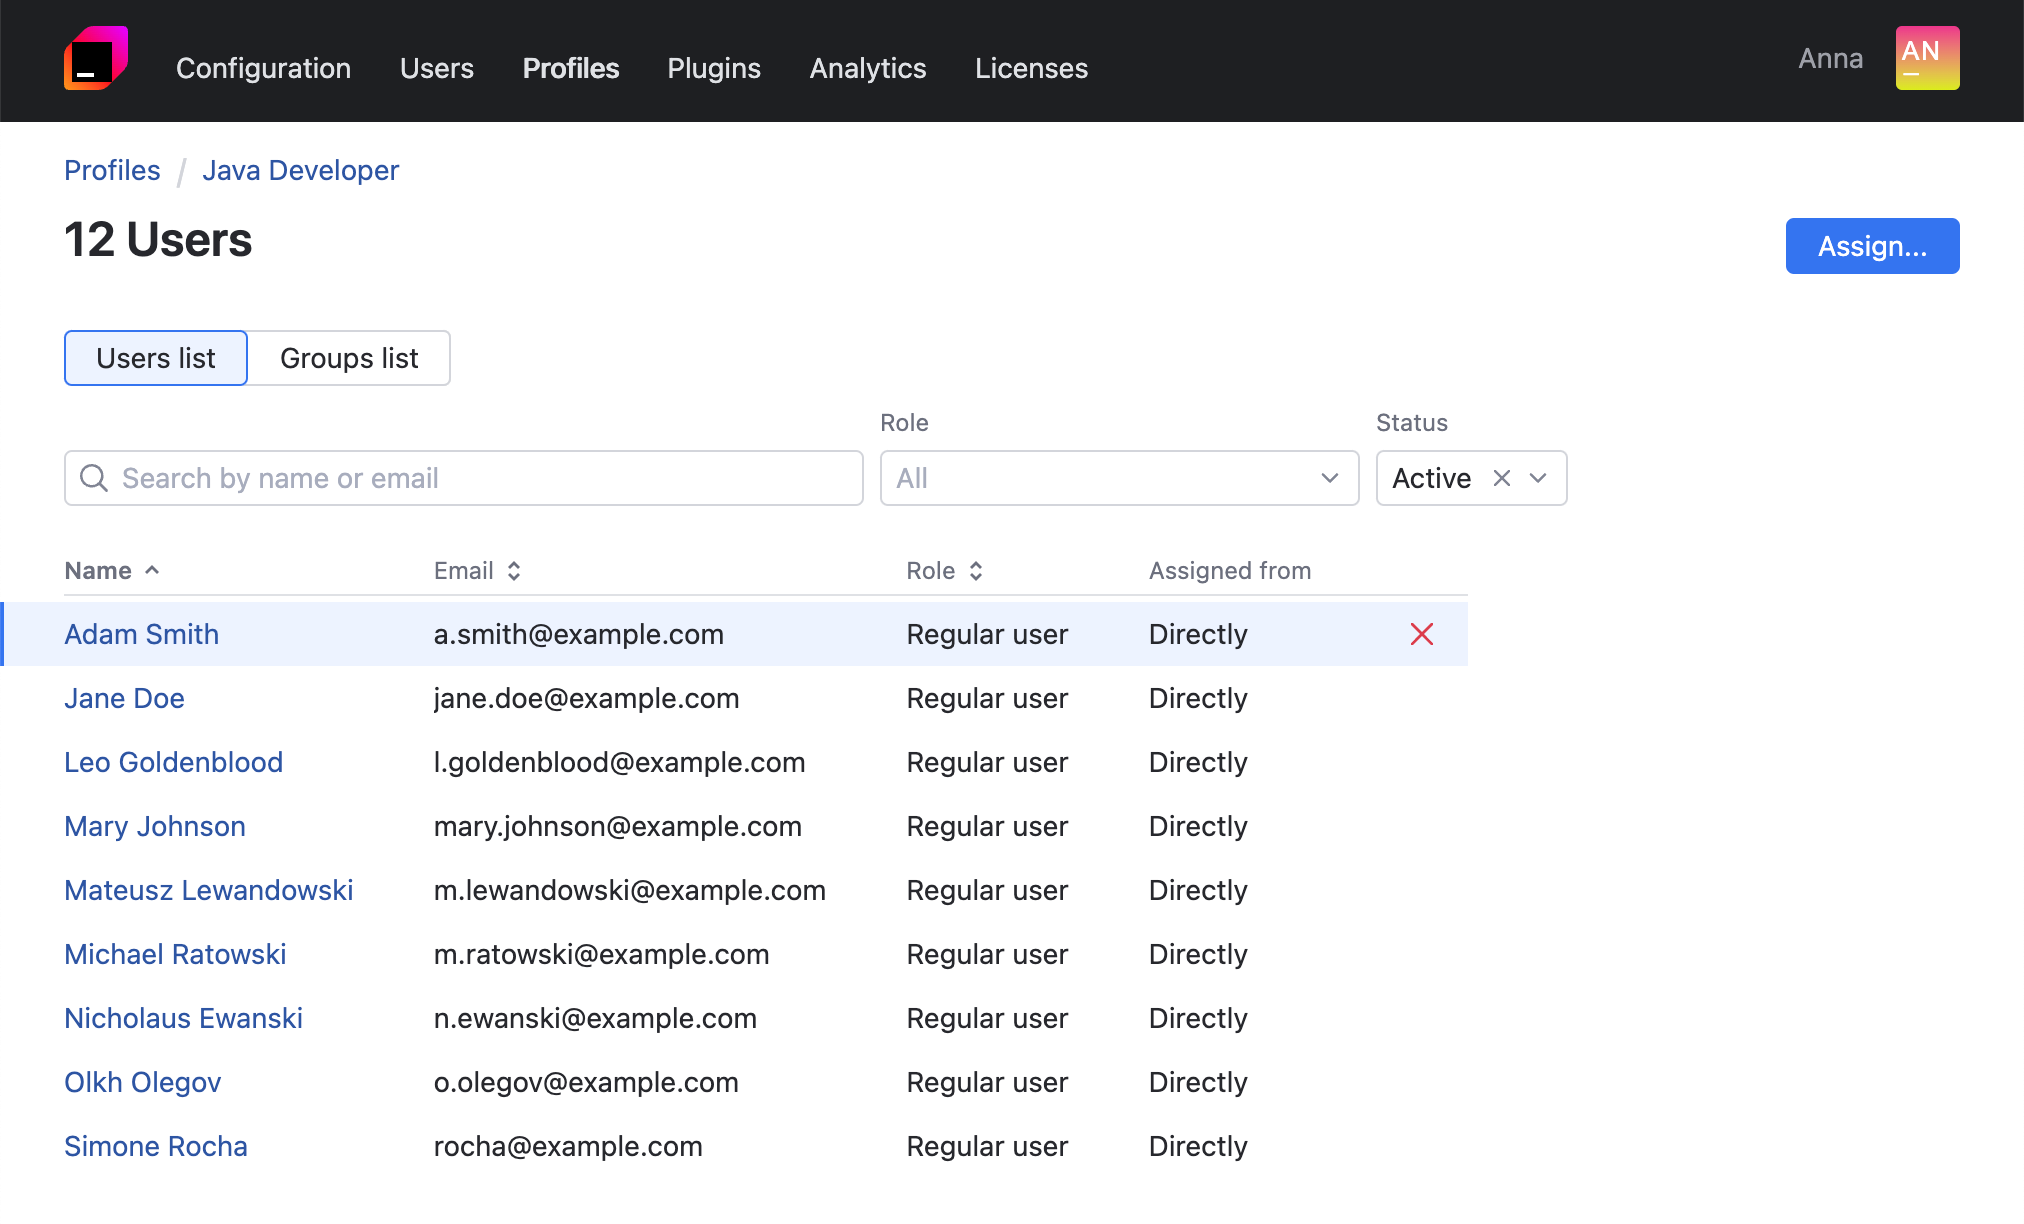
In the top right corner of the screen, click the link showing the number of profile users.

IDE Services will redirect you to the page with a list of users and groups that have the current profile assigned.
Click the Assign button.

In the dialog that opens, use the search field to find the required users quickly. Click Assign next to the name of a user or group to assign the profile.

Close the dialog when you're ready.
User details: Assign one or several profiles to one user
Open the Users page and click the user's name.
In the editor that opens, click Assign profile and select the necessary profile from the list.

If necessary, assign more profiles to the user by repeating the operation.
Click Save changes on the banner.
Sync a user group from IdP with a profile
Users imported from identity providers (Okta or Microsoft Entra ID) do not get default profiles automatically. To enable auto-assignment of a default profile to such users, as well as any other profile of your choice, proceed as follows:
Since the IdP group is in sync with your IDE Services, new users added to it on the IdP end will be recognized and automatically assigned the specified profile.