Profiles
Last modified: 19 March 2025Profiles in IDE Services allow you to specify which configurations are available to users or user groups. This includes access to the functionality of IDE Provisioner, Code With Me Enterprise, and AI Enterprise.
Each profile is set up to include everything a developer needs to fulfill their work duties. For example, John is a Java developer and the corresponding Java Developer profile is assigned to their user in IDE Services. This profile allows John to start and participate in Code With Me sessions with their colleagues, gives access to the latest versions of IDEs in the Toolbox App, and enables AI-powered features in available JetBrains tools.
All users automatically get the Default profile, where you can configure the settings on the organization level.
Key points
Each user must have at least one assigned profile.
You can set a profile as Default and configure necessary settings on the organization level.
A default profile is automatically assigned to all users, except for those imported from an identity provider, such as Okta or Microsoft Entra ID.
To enable auto-assignment, you can sync an imported user group with the default profile.
Manage profiles
Create a new profile
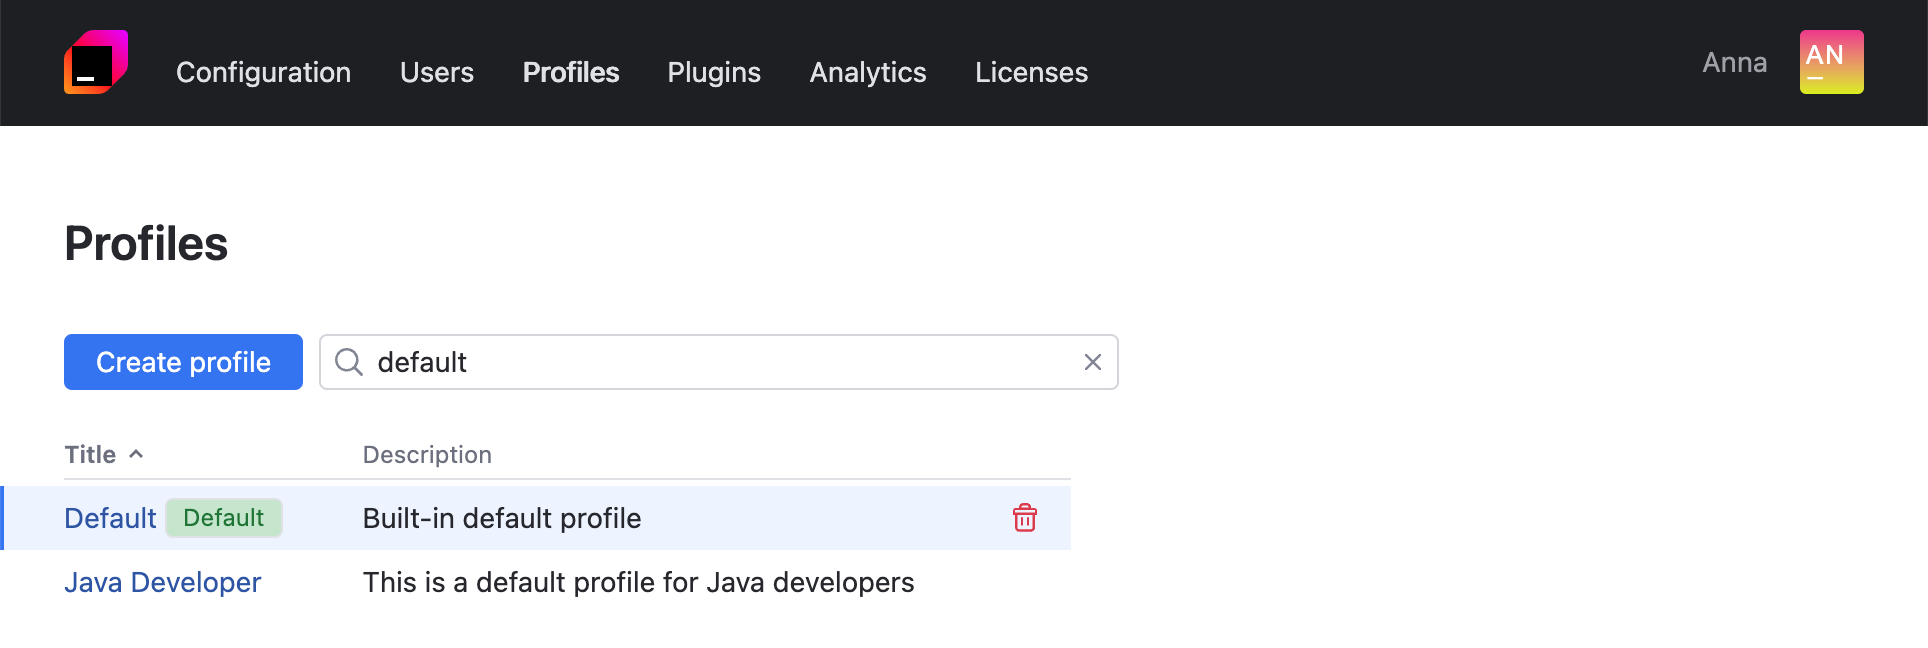
In the Web UI, open the Profiles page. Click the Create profile button.
In the Create New profile dialog, specify the profile title and description. If you want to assign this profile to new users automatically, select the Default checkbox.
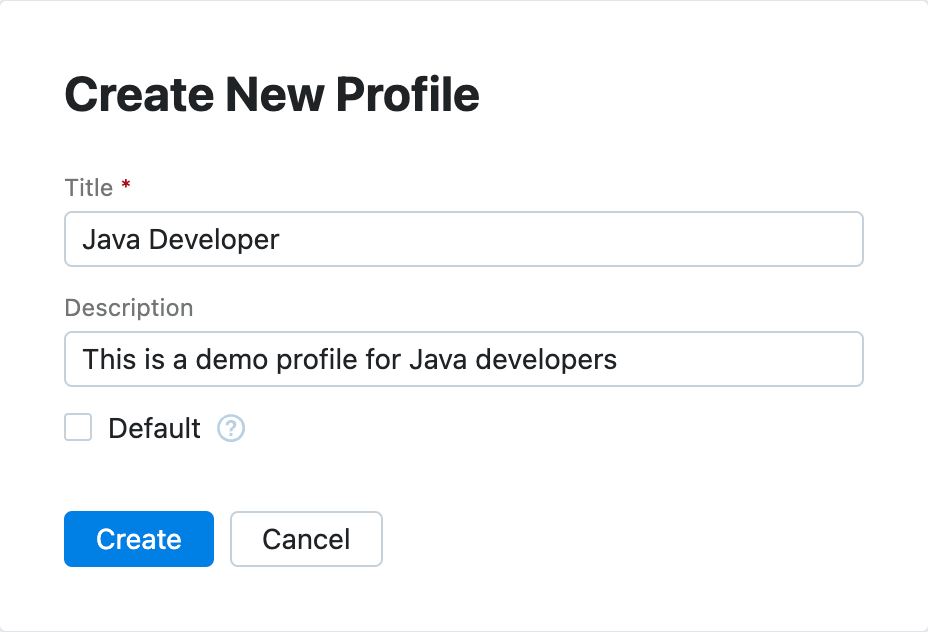
Click Create. IDE Services will redirect you to the profile editor.
Edit profile details
On the Profiles page, click the name of the profile you want to edit.
Click
in the top right corner of the screen and select Edit profile.
Change the title, description, or the value of the Default option for the profile. Click Save to submit the changes.
Click Save changes to update the profile.
View the list of profile users
On the Profiles page, click the name of the profile you want to edit.
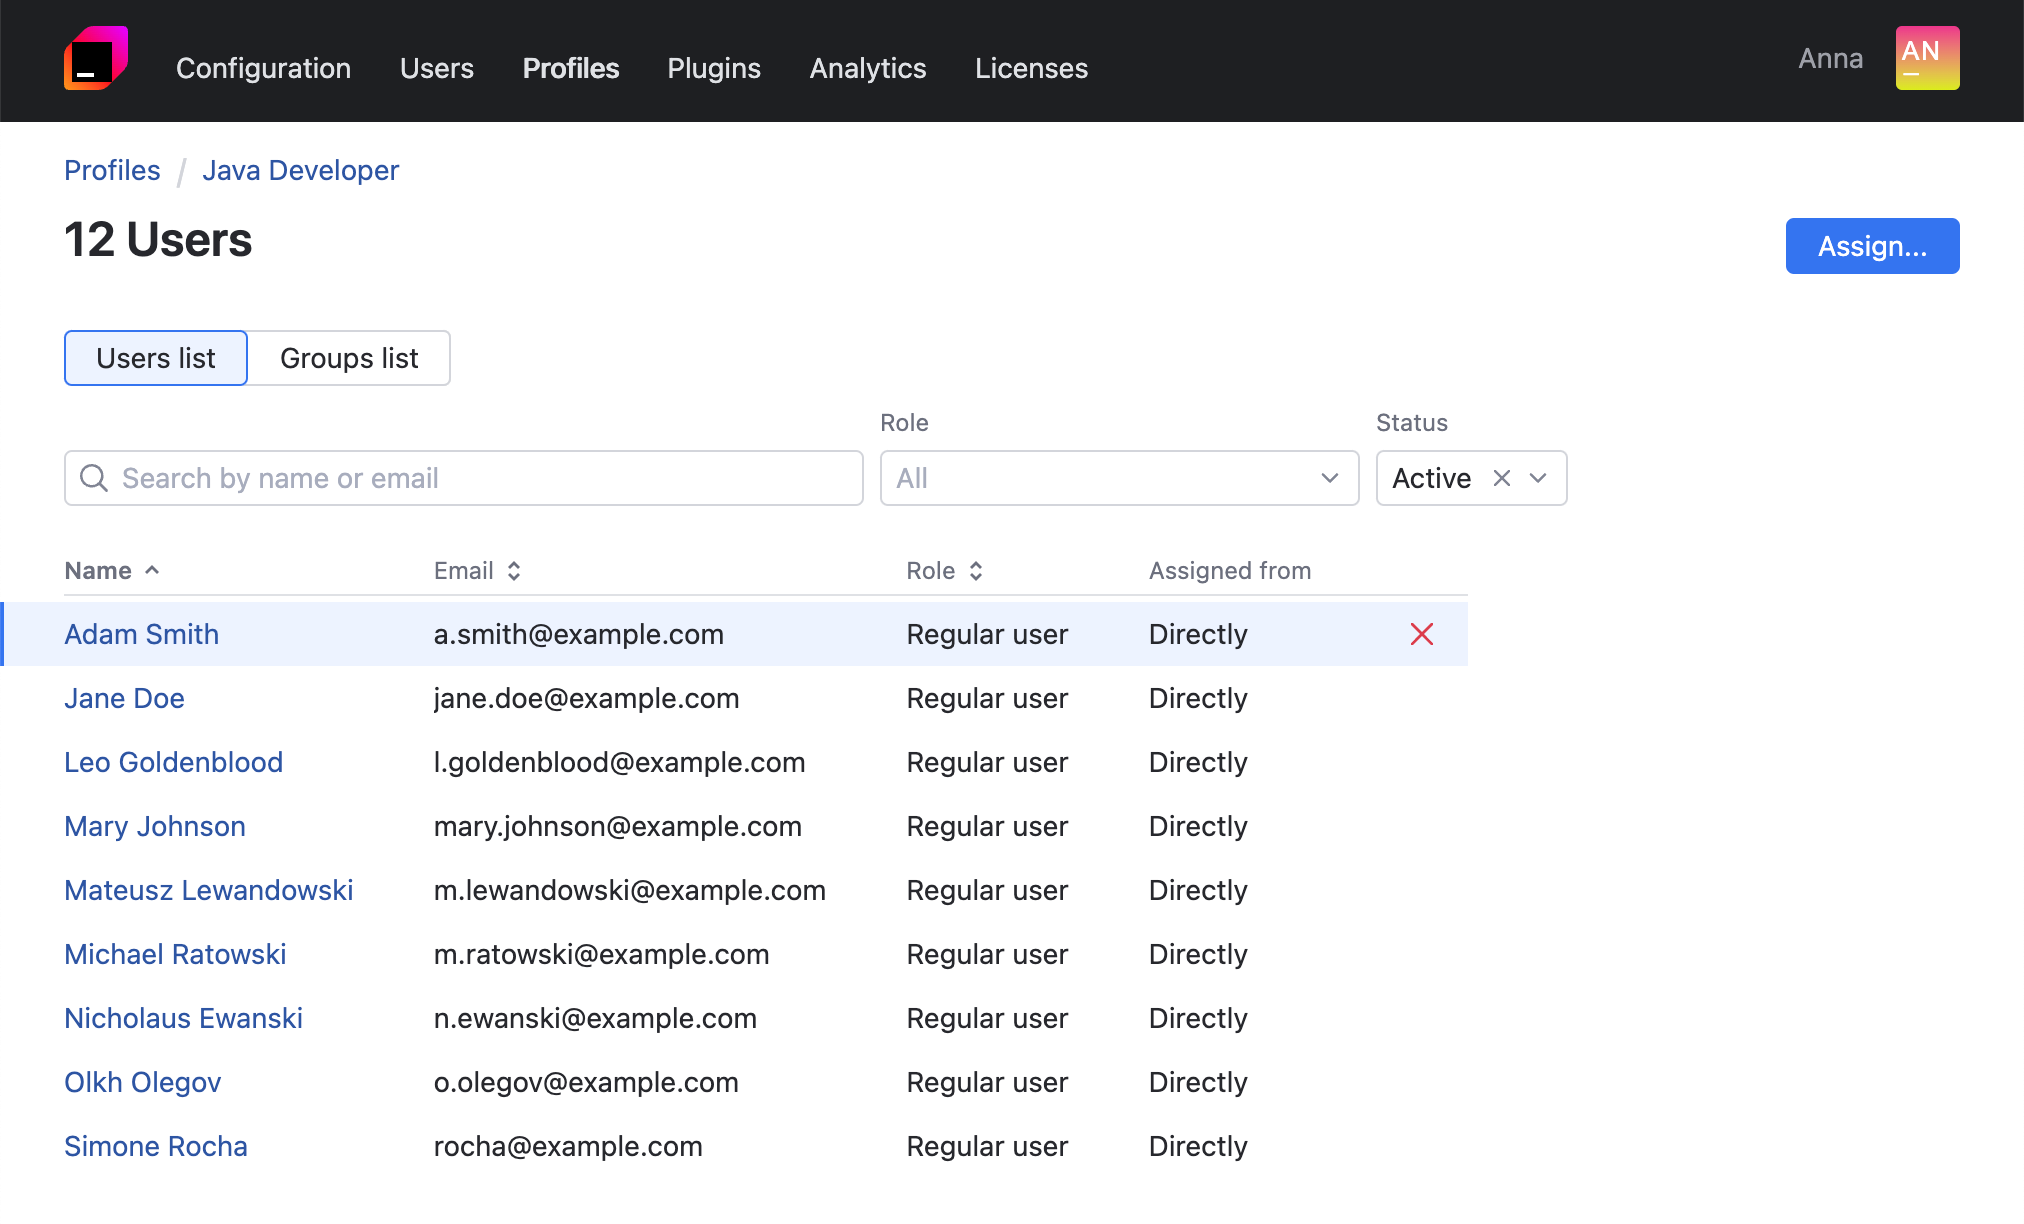
In the top right corner of the screen, click the link showing the number of profile users.

IDE Services will redirect you to the page with a list of users that have the current profile assigned. You can quickly navigate to user accounts and view their details, assign the current profile to other users, and unassign the profile.
View the list of groups
On the Profiles page, click the name of the profile you want to edit.
In the top right corner of the screen, click the link showing the number of profile users. Then, navigate to the Groups list tab.
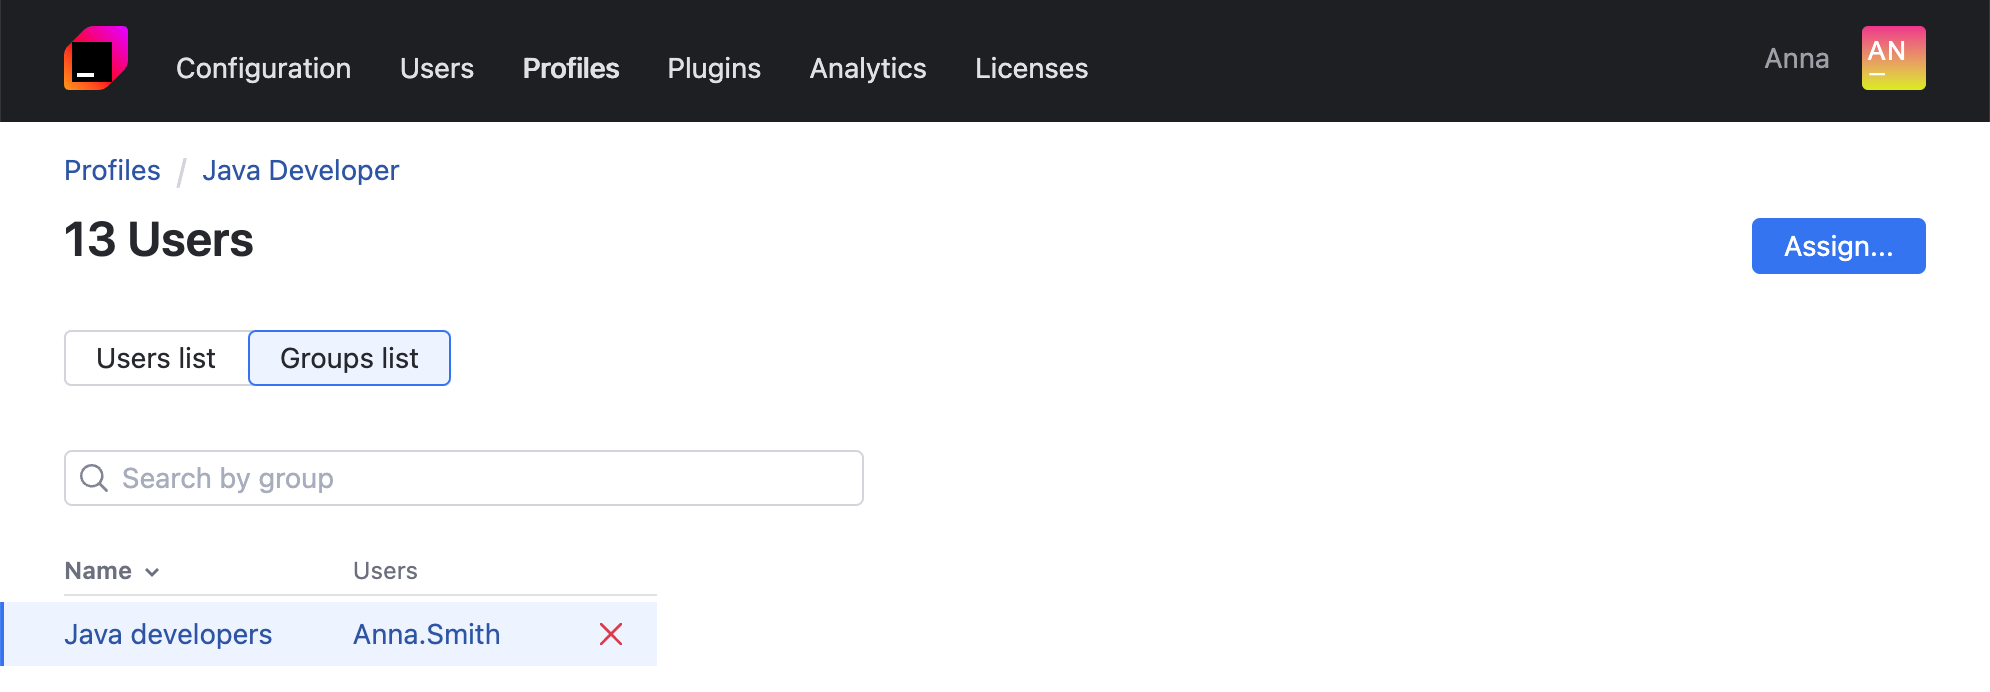
You can navigate to user accounts, see the full list of users included in the group, assign the current profile to another user group, or unassign the profile.
Manage IDE Services products in profiles
IDE Provisioner
Enable IDE Provisioner in a profile
Developers can access IDE Provisioner features like preconfigured settings, the organization's private plugin repository, and approved JetBrains tools only after you enable the product for the organization and in their respective profiles.
note
You can configure Toolbox App settings even when IDE Provisioner is disabled.
In the Web UI, open the Profiles page.
Click the name of the profile, for which you want to enable IDE Provisioner.
Navigate to the IDE Provisioner tab and click the Enable for profile button.

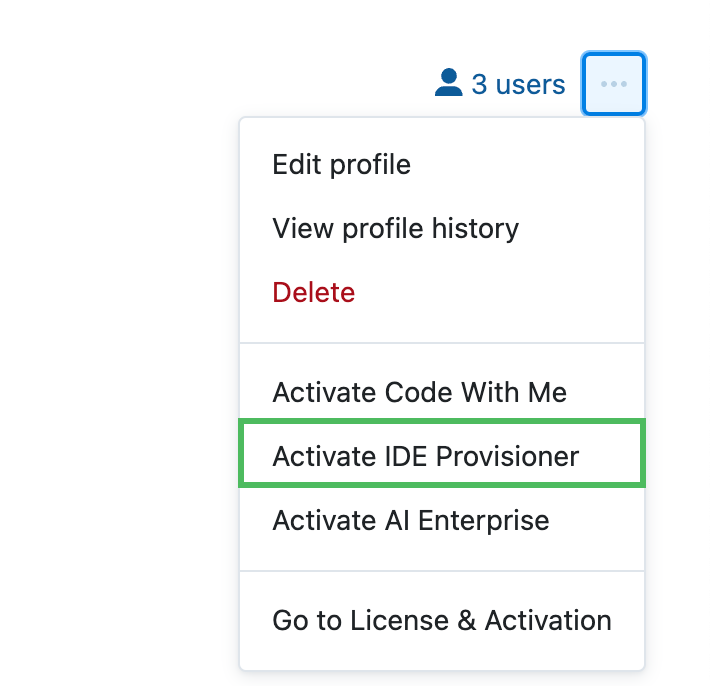
Alternatively, click
in the top right corner of the screen and select Activate IDE Provisioner.
Configure the profile:
Disable IDE Provisioner in a profile
In the Web UI, navigate to the Profiles page.
Click the name of the profile, for which you want to disable IDE Provisioner.
Click
in the top right corner of the screen and select Disable IDE Provisioner.
Multiple profiles assigned to the same user
You can assign multiple profiles to one user. In this scenario, IDE Provisioner configurations are merged as follows:
Applications: application lists are summed up and the developer can access all available versions from all profiles.
Restrictions: restrictions are summed up similarly to applications. In case the same application version is restricted in several profiles, the restriction with the earliest effective date takes precedence.
VM Options and IDE settings: the current implementation treats VM options and IDE settings as ordered lists, which are linked in a specific order. This means that if any setting conflicts with earlier ones, it'll take precedence and override them when applied by the IDE. In simpler terms, the last setting in the list will be used.
VM Option defining the memory heap size (
-Xmx): if this option is configured in several profiles assigned to the same user, the value with the largest number takes precedence.Plugins: IDE Provisioner handles both auto-installed and disabled plugins in a similar manner, incorporating them into a unified set. However, there are some nuances when it comes to auto-installed plugins since they contain version information instead of plugin IDs.
To handle auto-installed plugins, IDE Provisioner first groups entries from all assigned profiles by plugin ID. IDE Provisioner then sorts these entries using semantic versioning comparator, prioritizing null values. This allows for identifying either the newest plugin if there's a null version entry or the matching version if one is specified.
When a plugin is configured to be auto-installed in multiple custom channels across two or more profiles, IDE Provisioner selects the lexicographically first channel in addition to
Stable. For example, if one profile auto-installs the plugin to theAlphachannel, and another toBeta, as a result, the plugin version fromAlphawill be installed.The IDE then determines and updates to the latest available version from both
Stableand the custom channel, in this caseAlpha.In case the same plugin is configured as both auto-installed and disabled, it'll be installed but remain disabled.
tip
You can review any user's setting configuration in Users | <username> | Aggregated Settings.
Code With Me Enterprise
Enable Code With Me Enterprise in a profile
To allow developers to create and participate in Code With Me sessions, you need to enable the product for the organization and in the respective profiles.
In the Web UI, open the Profiles page.
Click the name of the profile, for which you want to enable Code With Me Enterprise.
Navigate to the Code With Me tab and enable the Enable Code With Me for profile users option. Save the profile changes.

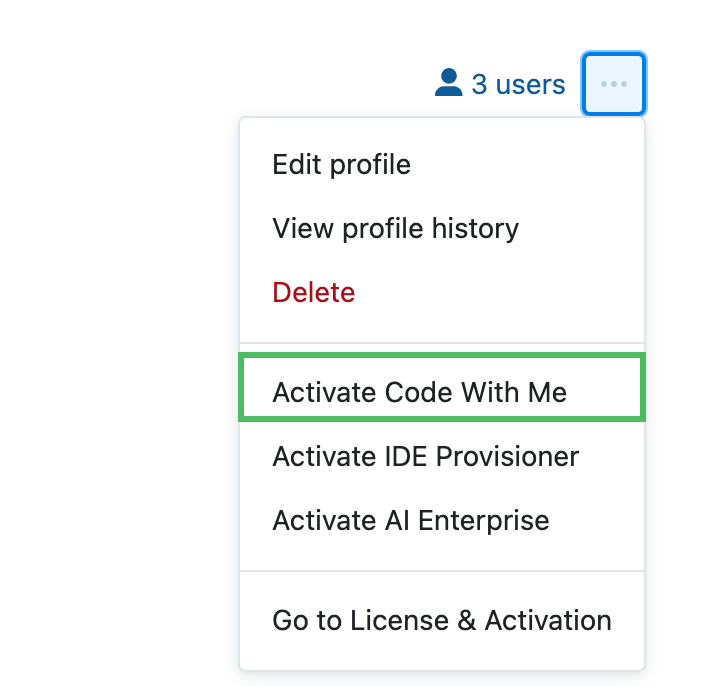
Alternatively, click
in the top right corner of the screen, select Activate Code With Me, and save the profile changes.
Disable Code With Me Enterprise in a profile
In the Web UI, navigate to the Profiles page.
Click the name of the profile, for which you want to disable Code With Me Enterprise.
Navigate to the Code With Me tab and disable the Enable Code With Me for profile users option. Save the profile changes.
Alternatively, click
in the top right corner of the screen, select Disable Code With Me, and save the profile changes.
AI Enterprise
Enable AI Enterprise in a profile
To allow developers in your organization to use AI-powered features in JetBrains tools, you need to enable AI Enterprise for the organization and in the respective profiles.
note
The AI Enterprise functionality is compatible with IntelliJ-based IDEs version 2024.1 and later.
In the Web UI, open the Profiles page.
Click the name of the profile for which you want to enable AI Enterprise.
Navigate to the AI Enterprise tab and select the Enable AI Enterprise for profile users option.
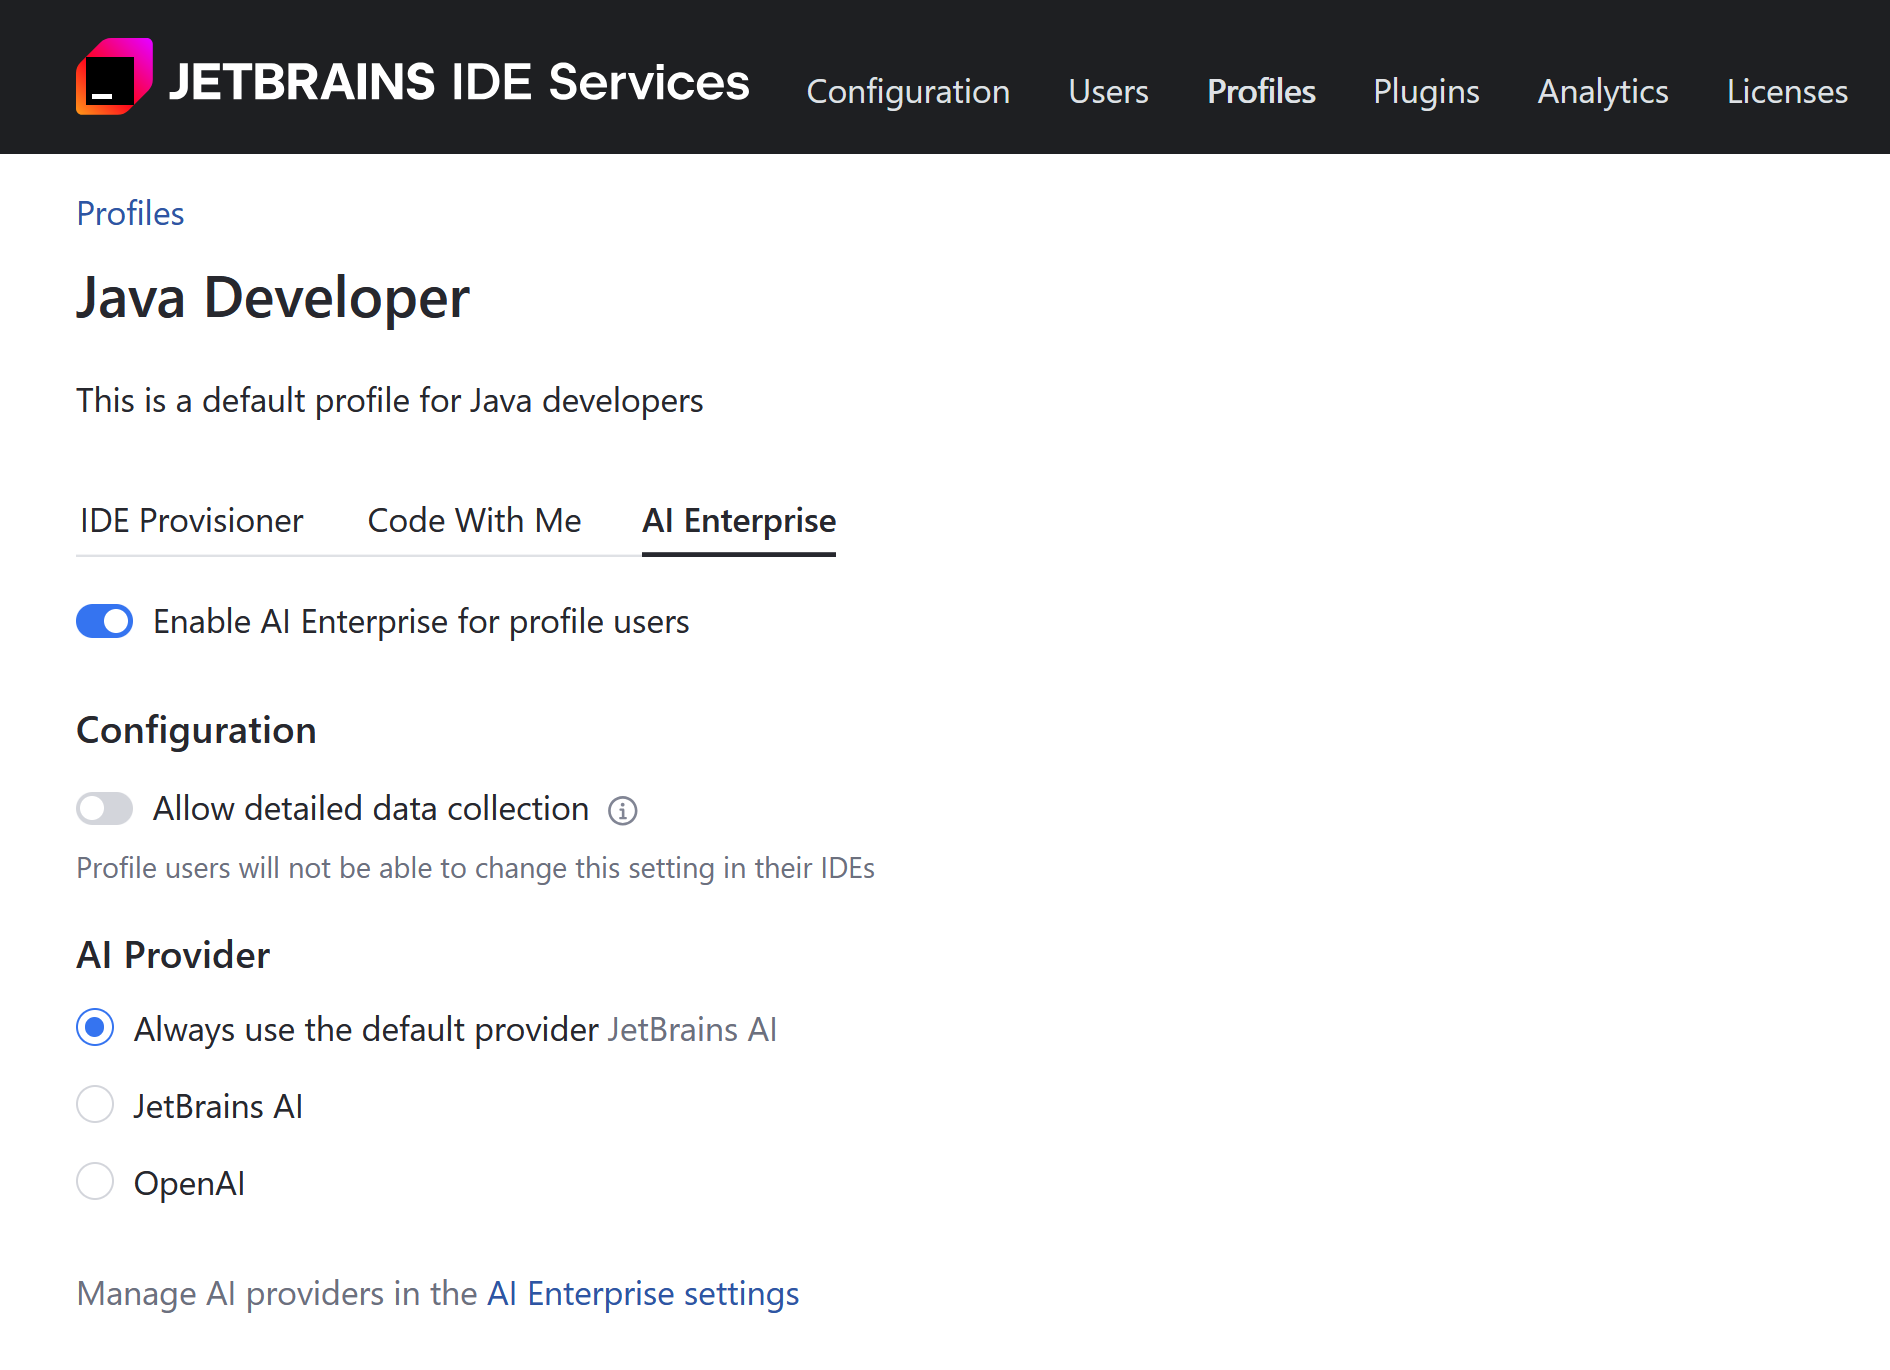
Allow detailed data collection. Collecting AI interaction data helps improve LLM performance. Read more about detailed data collection.
Choose the AI Provider for this profile. This option is visible if more than one AI provider has been enabled on the organization level in the AI Enterprise settings.
Choose Always use the default provider to automatically follow the organization level selection of a default provider.
Save your changes when done.
Disable AI Enterprise in a profile
In the Web UI, open the Profiles page.
Click the name of the profile, for which you want to enable AI Enterprise.
Navigate to the AI Enterprise tab and disable the Enable AI Enterprise for profile users option. Save the profile changes.
Alternatively, click
in the top right corner of the screen, select Disable AI Enterprise, and save the profile changes.
Add Toolbox settings
IDE Services provides you with an option to pre-configure Toolbox App settings related to tool updates and user statistics.
note
You can configure Toolbox App settings in profiles even if IDE Provisioner is not enabled.
On the Profiles page, click the name of the profile you want to edit.
In the Settings section, click
and select Toolbox settings.
In the Configure Toolbox Settings dialog, configure Toolbox App settings:
Update Toolbox app automatically: if enabled, the Toolbox App will update automatically. Use the dropdown list to select whether a developer can change the value of this setting in the Toolbox App.
Update tools automatically: if enabled, JetBrains tools will update automatically via the Toolbox App. Use the dropdown list to select whether a developer can change the value of this setting in the Toolbox App.
Send anonymous user statistics: if enabled, the Toolbox App will send anonymous feature usage statistics to JetBrains. Use the dropdown list to select whether a developer can change the value of this setting in the Toolbox App.
Show Services tab: if enabled, the Toolbox App will display the Services tab.
Show JetBrains Account login: if enabled, the Toolbox App will display the JetBrains Account login form in settings.
"Check for updates" frequency: specify the desired frequency for the Toolbox App to check for updates. If not specified, the Toolbox App will use the default update frequency — once in 120 minutes. If the setting is configured in another profile assigned to the user, the Toolbox App will use this value.
Click Save.
Productivity tips
- Quickly test profile changes
By default, changes in profiles are delivered to developer machines within two hours. In case you need to quickly test how configurations from a particular profile work, you can speed up the process with the following actions:
To quickly update VM options and plugins, close your IDE and check for updates in the Toolbox App.
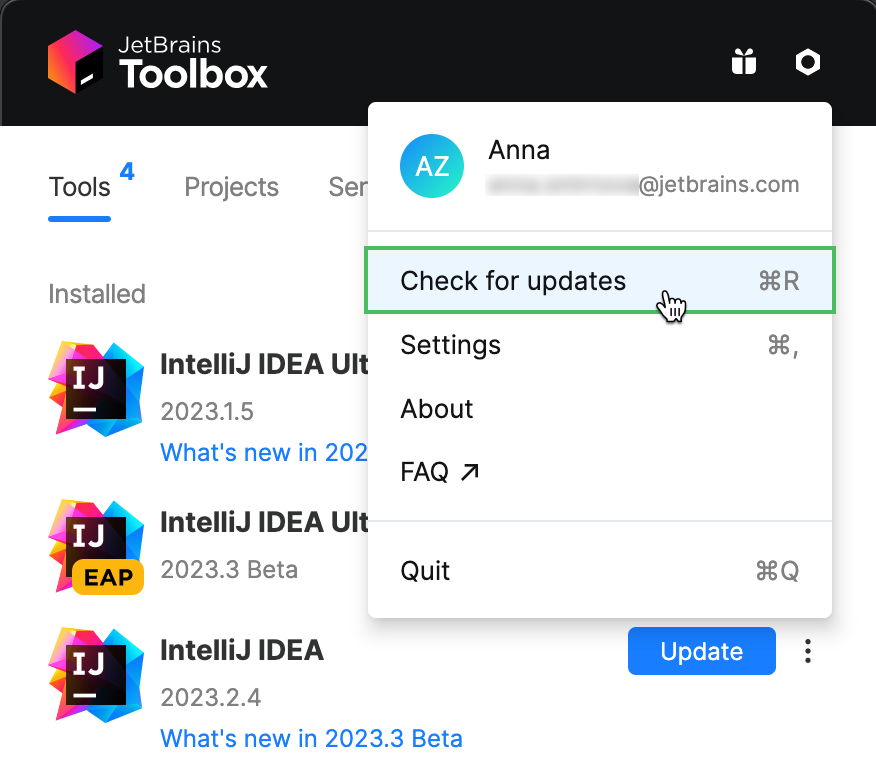
Then, launch your IDE again.
To quickly receive new IDE settings, restart your IDE.
Alternatively, use the Refresh managed settings action in your IDE to update the list of propagated settings.
