User management
Last modified: 14 March 2025In IDE Services, users can be created in several ways:
Developers enable Enterprise mode and log in to the Toolbox App using the credentials of an OAuth 2.0 provider configured in the organization. In this case, new IDE Services users are created automatically.
An administrator configures user and group synchronization between the identity provider and IDE Services. For more details, refer to User import and synchronization
An administrator uses the IDE Services API to import users with their permissions and profiles to IDE Services. For more details, refer to Bulk import of users and permissions via REST API.
An administrator adds developers manually using the Web UI.
Add users via the Toolbox App
After you set up the client machine configuration, you need to distribute it to developer machines using one of the ways:
Place the resulting machine configuration file in a dedicated location on developer machines
Share an invitation link with the developers in your organization
Share the IDE Services Server URL
Once the client machine configuration file appears on a developer's machine, they will have the possibility to log in and enable Enterprise mode in the Toolbox App and thus, connect to the IDE Services Server.
For login, developers need to use the credentials configured in the OAuth 2.0 service used in your organization.
After logging in to the Toolbox App, the user will automatically appear on the IDE Services Server.
Distribute the client machine configuration file
In the Web UI, open the Users page. Click the Add user button in the top right corner of the page, and select By client machine configuration file.

In the Share Client Machine Configuration, click Download the client machine configuration file.
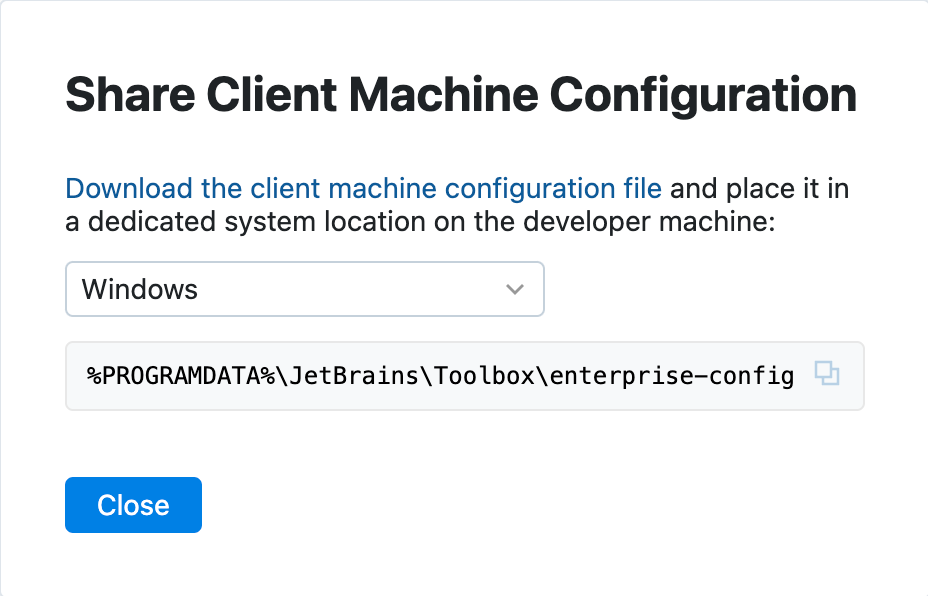
Place the downloaded file in the dedicated location on a developer machine, depending on the operating system:
%PROGRAMDATA%\JetBrains\Toolbox\enterprise-config.json(Windows)/Library/Application Support/JetBrains/Toolbox/enterprise-config.json(macOS)/usr/share/jetbrains-toolbox/enterprise-config.json(Linux)
After this, the developer can join the organization in the Toolbox App.
Share an invitation link
In the Web UI, open the Users page. Click the Add user button in the top right corner of the page, and select By invitation link.
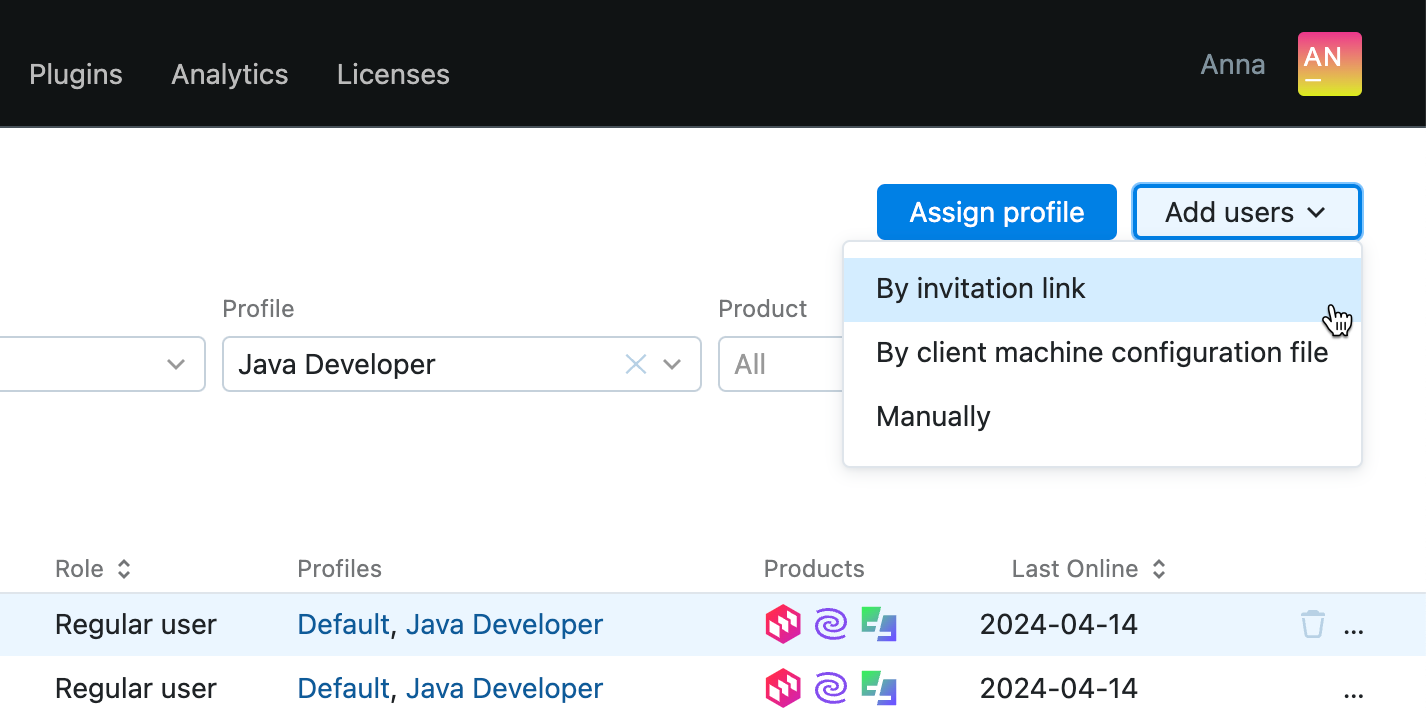
In the Invite Developers, copy the provided link and share it with the developers in your organization.

Following the link adds the client machine configuration file on the developer machine and launches the Toolbox App.
Create users manually
In the Web UI, open the Users page. Click the Add user button in the top right corner of the page, and select Manually.
In the opened New User popup, specify the following user details:
OAuth Subject: specify the user ID obtained from the OAuth 2.0 service provider.
Username: specify the name of the current user.
E-mail: specify the email of the current user.
Role: select whether the current user is a system administrator or a regular user.
Profiles: select profiles you want to assign to the current user from the list. You can assign several profiles to the user at once.
Active: use the switcher to define the status of the current user: active or deactivated. IDE Services can't manage deactivated users.
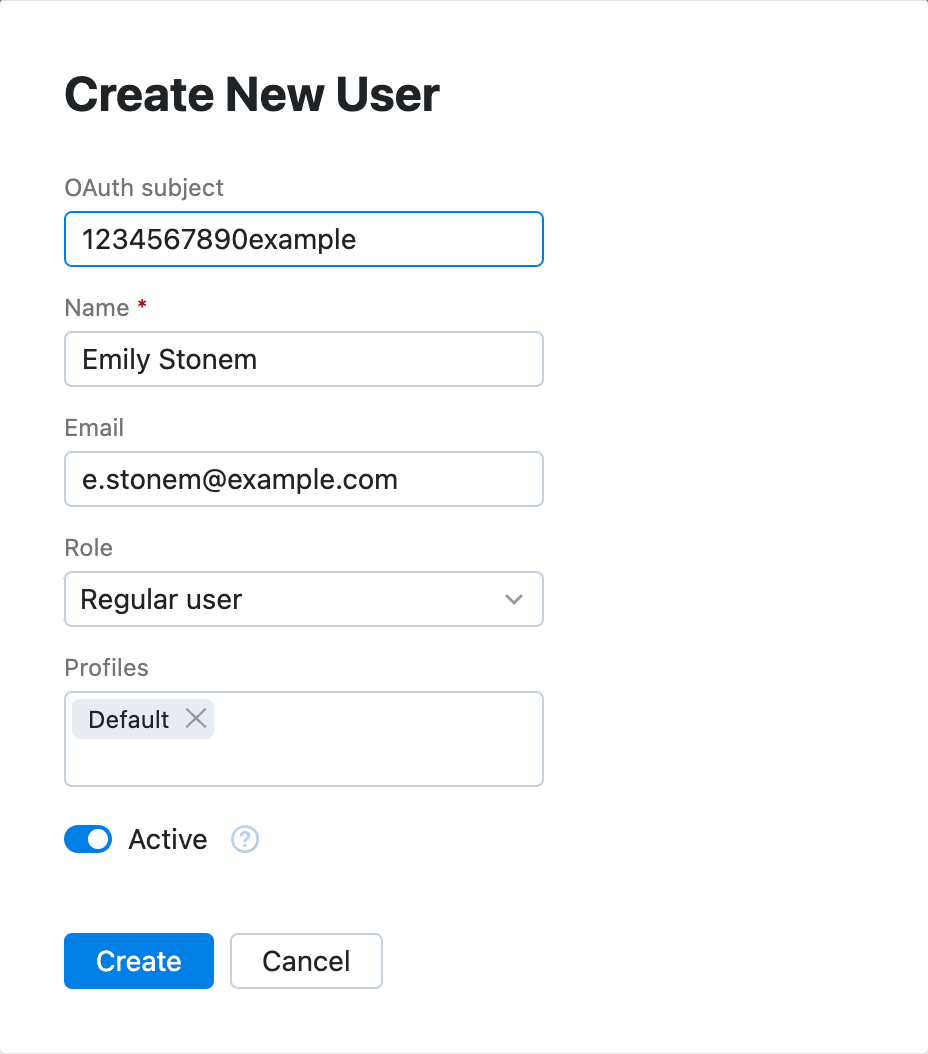
Click Create to save the changes.
Manage existing users
Edit user details
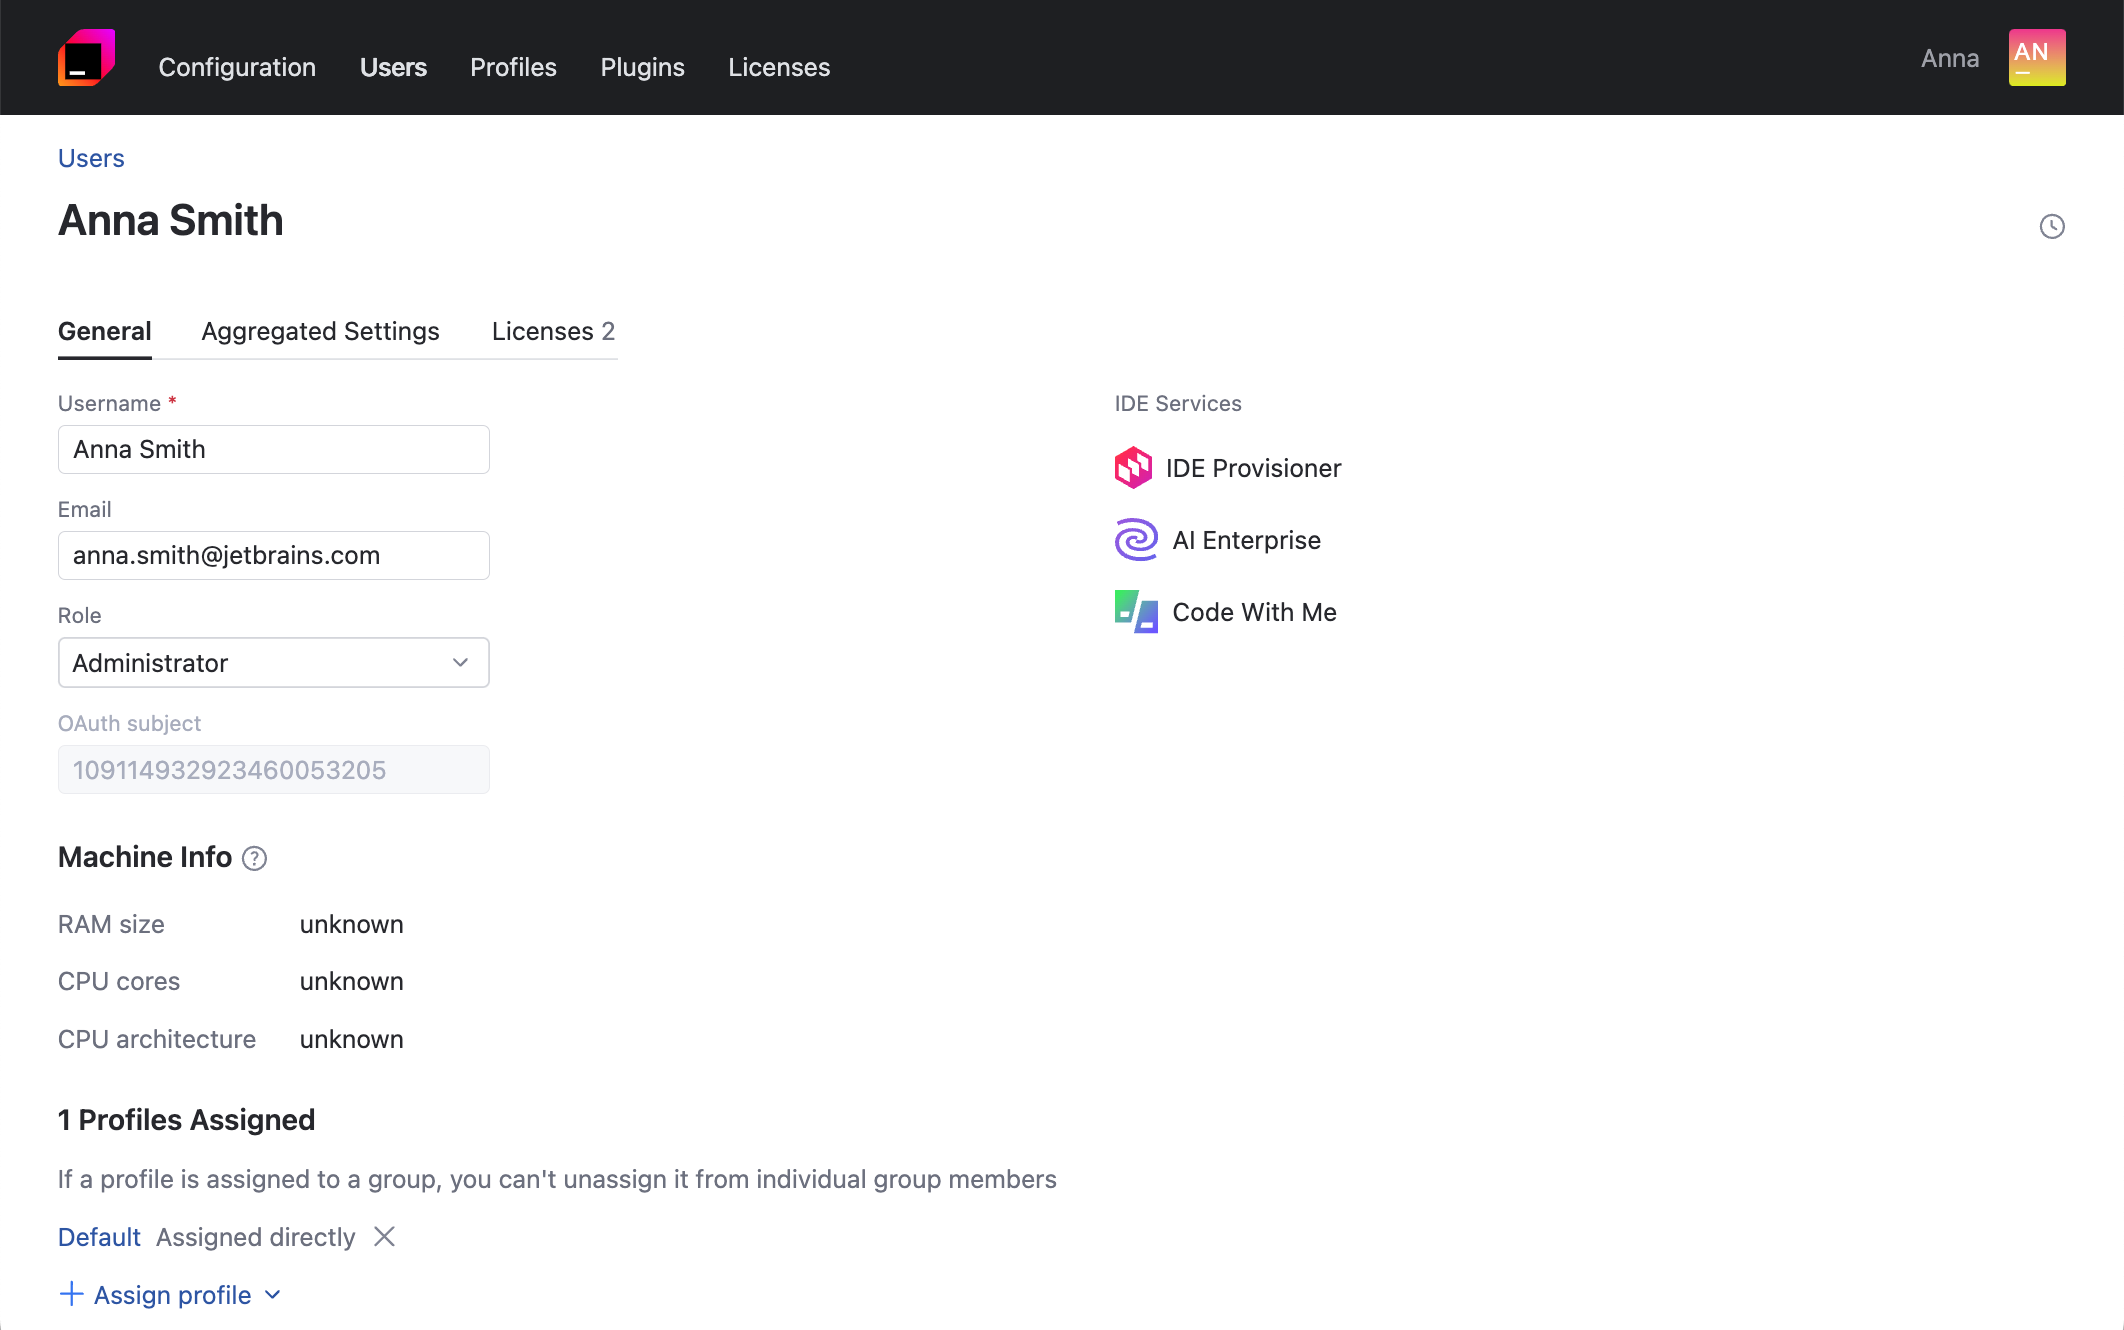
To edit user details, click the user's name.
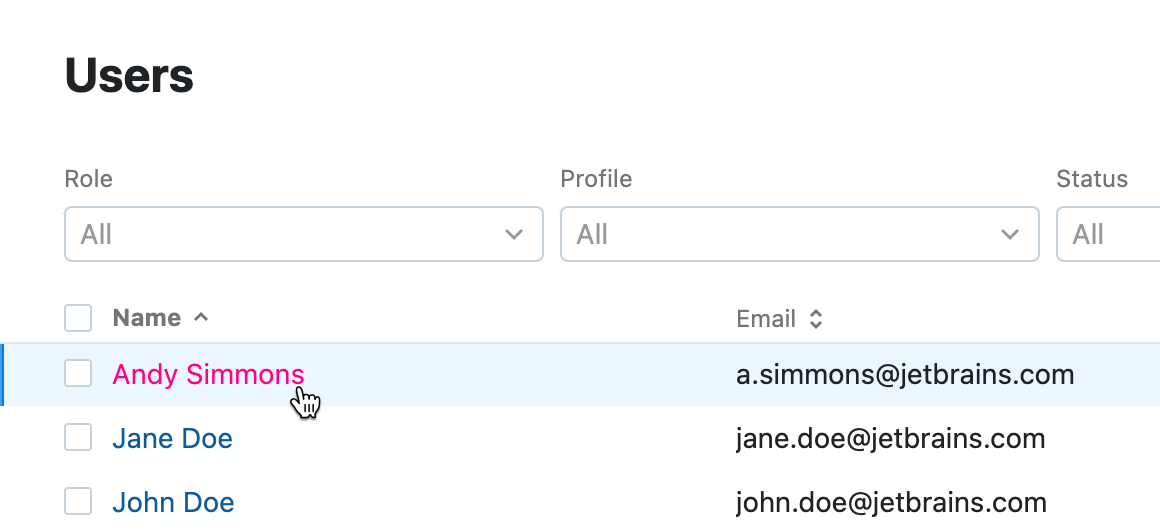
Update the necessary information about the user, assign or remove assigned profiles, view the information about their most recently used machine and the list of available IDE Services products.
tip
In the user editor, you can also view the combination of settings provisioned to a particular user.
Once you're done editing the user details, click Save changes.
Search for a user
You can search for any user registered in IDE Services using the filter fields above the table of users. Specify a username or email to find a particular user. You can also filter the table by the activity status, role, assigned profiles, and available products.

Deactivate a user
On the Users page, click the
icon in the row with the name of the user you want to deactivate.
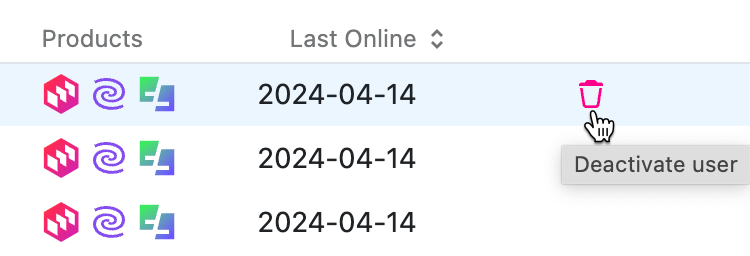
Alternatively, in the user editor, toggle the Active switcher.