Manage cloud storage connections attached to a notebook
This article explains how to attach cloud storage data sources to notebooks and manage them as attached data. These data sources include the following supported types:
note
As opposed to managing data sources in a workspace on the Home page, you perform the below procedures in Datalore's editor, using the Attached data tool.
Use the Attached data tool from the left-hand sidebar of the editor to access and manage attached data sources. All further procedures are performed from here.
In the editor, open the Attached data tool from the left-hand sidebar.
Switch to the Cloud sotrages tab.
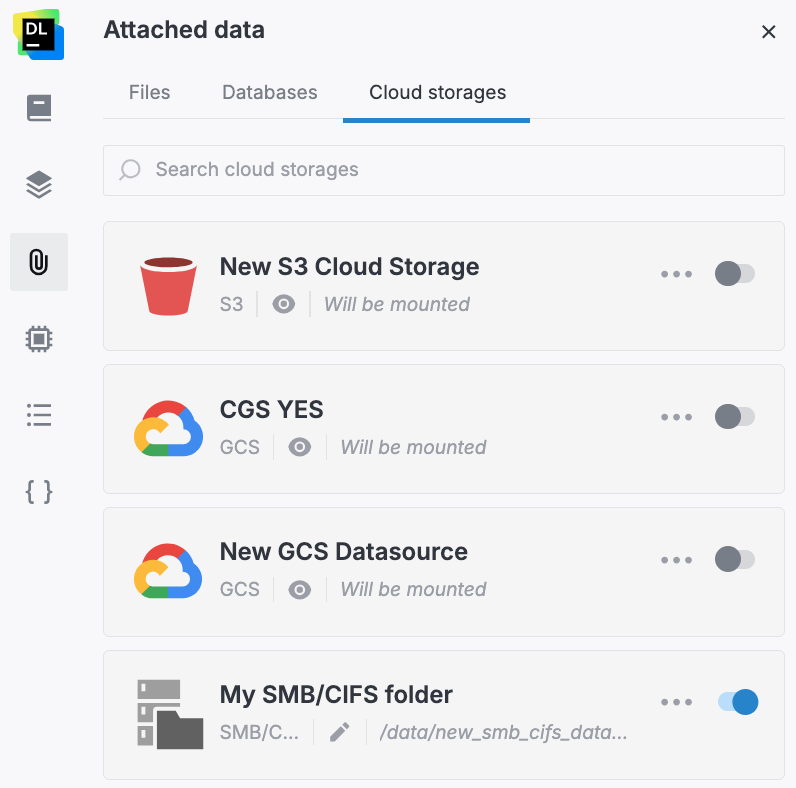
On this tab, you can see all cloud storage connections from the respective workspace that are either already attached to the notebook or available for attachment. When attached, a cloud storage connection can be used as a data source for this particular notebook.

Perform these steps to use a cloud storage connection you previously added to the workspace that contains this notebook.
From the left-hand sidebar, open the Attached data tool.
In the Attached data tool, switch to the Cloud storages tab to open the list of workspace data sources available for attachment. When attached, a cloud storage can be used as a data source for this particular notebook.
To attach or detach a cloud storage connection to the notebook, use the toggle for the respective item on the list. The off position of the toggle indicates the cloud storage is detached, meaning it is not accessible from the notebook as a data source.
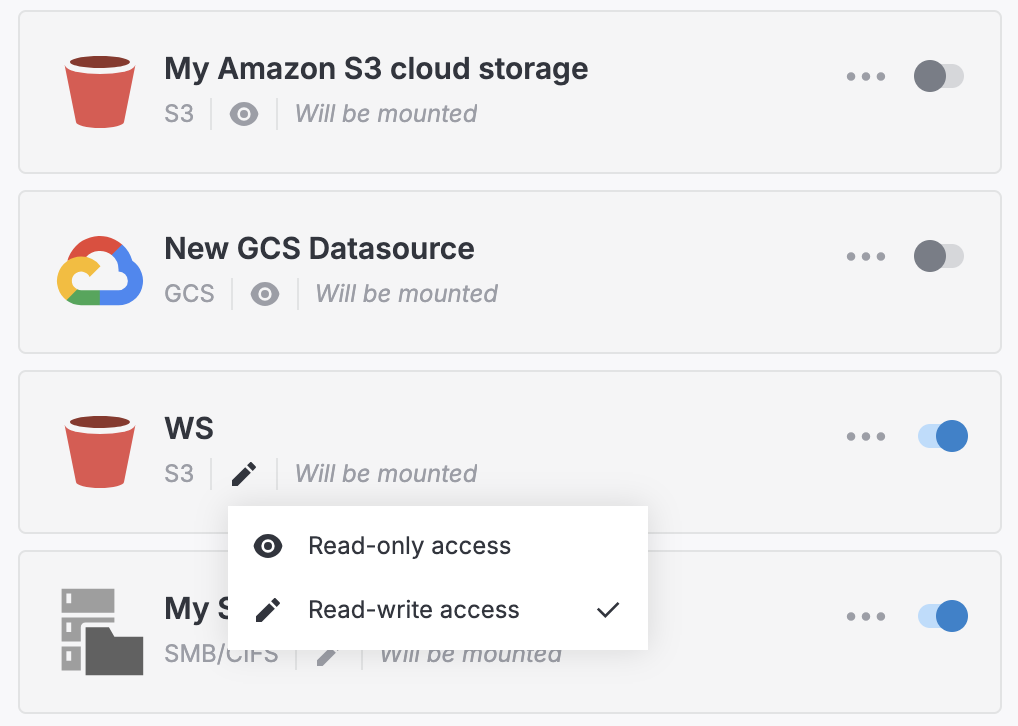
To change access type to a cloud storage, click the pencil icon next to the connection and select your option (Read-only access or Read-write access).

To edit the details of a cloud storage connection:
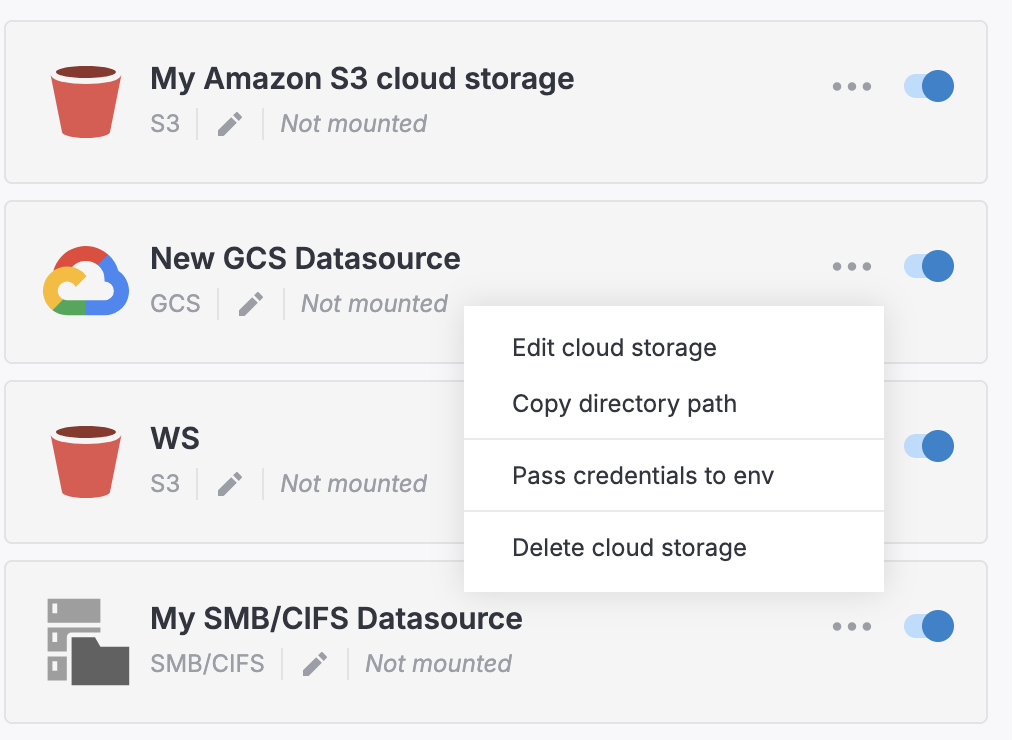
Click the ellipsis and select Edit cloud storage from the popup menu. This will open the Edit cloud storage connection dialog.
In the Edit cloud storage connection dialog, edit the connection details. Find more information in the respective article (Amazon S3 | Google Cloud storage | SMB/CIFS).
Click the Save and close button to finish the procedure.
To copy the path to the cloud storage connection, click the ellipsis and select Copy directory path.
To pass the cloud storage credentials to the environment, click the ellipsis and select Pass credentials to env.
(For Amazon S3 only) To connect to a cloud storage using boto3 in the notebook code, click the ellipsis and select Connect using boto3 from the popup menu.
To delete a storage cloud connection, click the ellipsis and select Delete cloud storage.
warning
This will not only detach the cloud storage connection from the notebook but also delete it from the workspace.

note
To learn how to create or upload files for a cloud storage, refer to Add notebook files