Start Developing
As a software developer, your setup is simple: The only tool you need is the JetBrains Gateway app, which connects you to an IDE running in a remote dev environment. That's it — no complex interactions, just straight to coding!
1. Install the JetBrains Gateway app
JetBrains Gateway is a desktop application that connects you to your remote development environment.
Download and install the Gateway app for your operating system. Supported Gateway versions: 2024.1 or later.
Launch the app.
2. Connect to your CodeCanvas instance
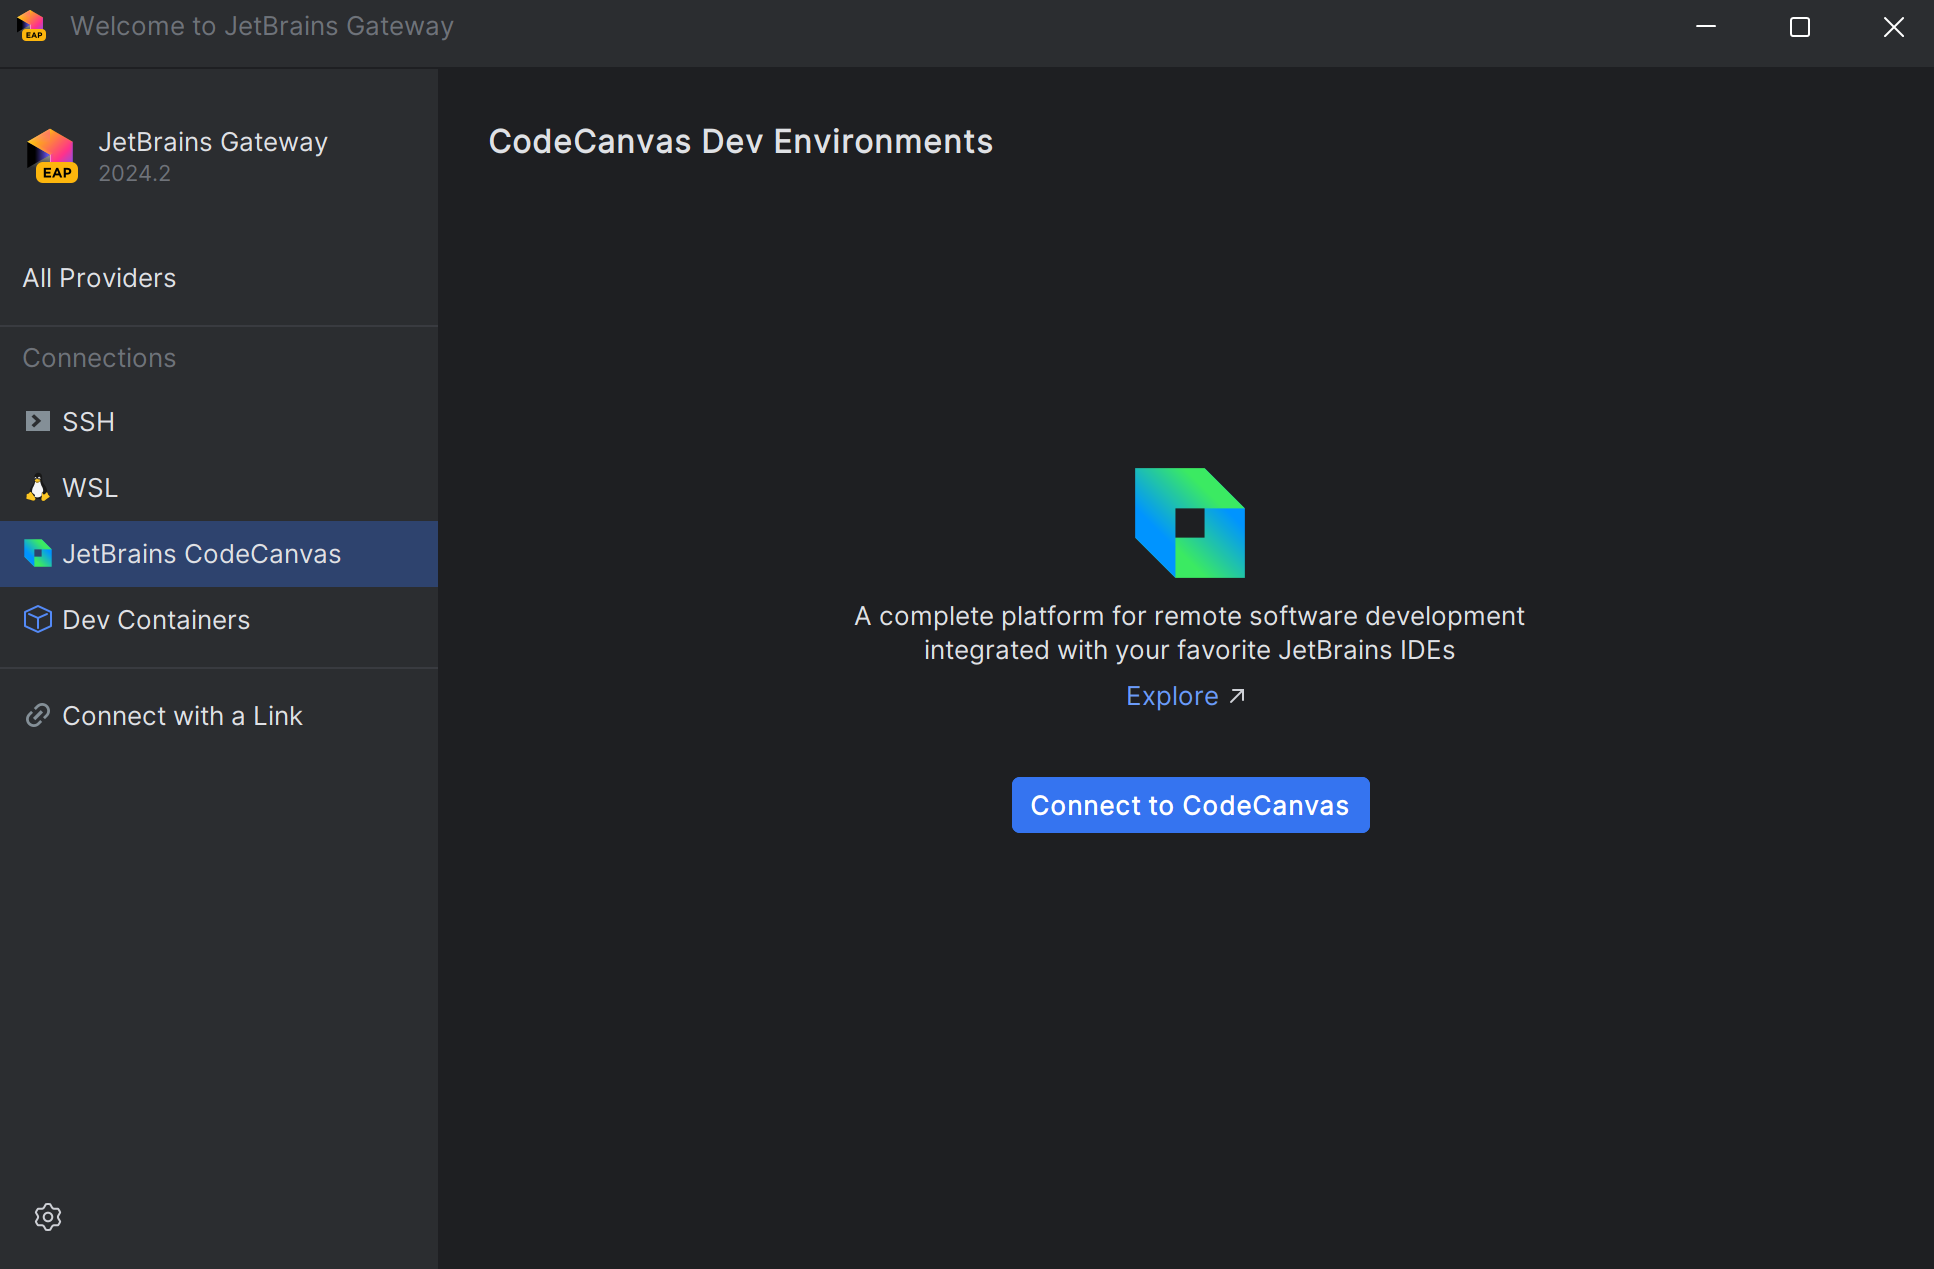
In the Gateway app, select JetBrains CodeCanvas from the list of available Connections.
Click Connect to CodeCanvas.
Enter the URL of your CodeCanvas instance and click Continue in browser.
In the browser, click Accept to log in to CodeCanvas and allow the Gateway app to act on your behalf.
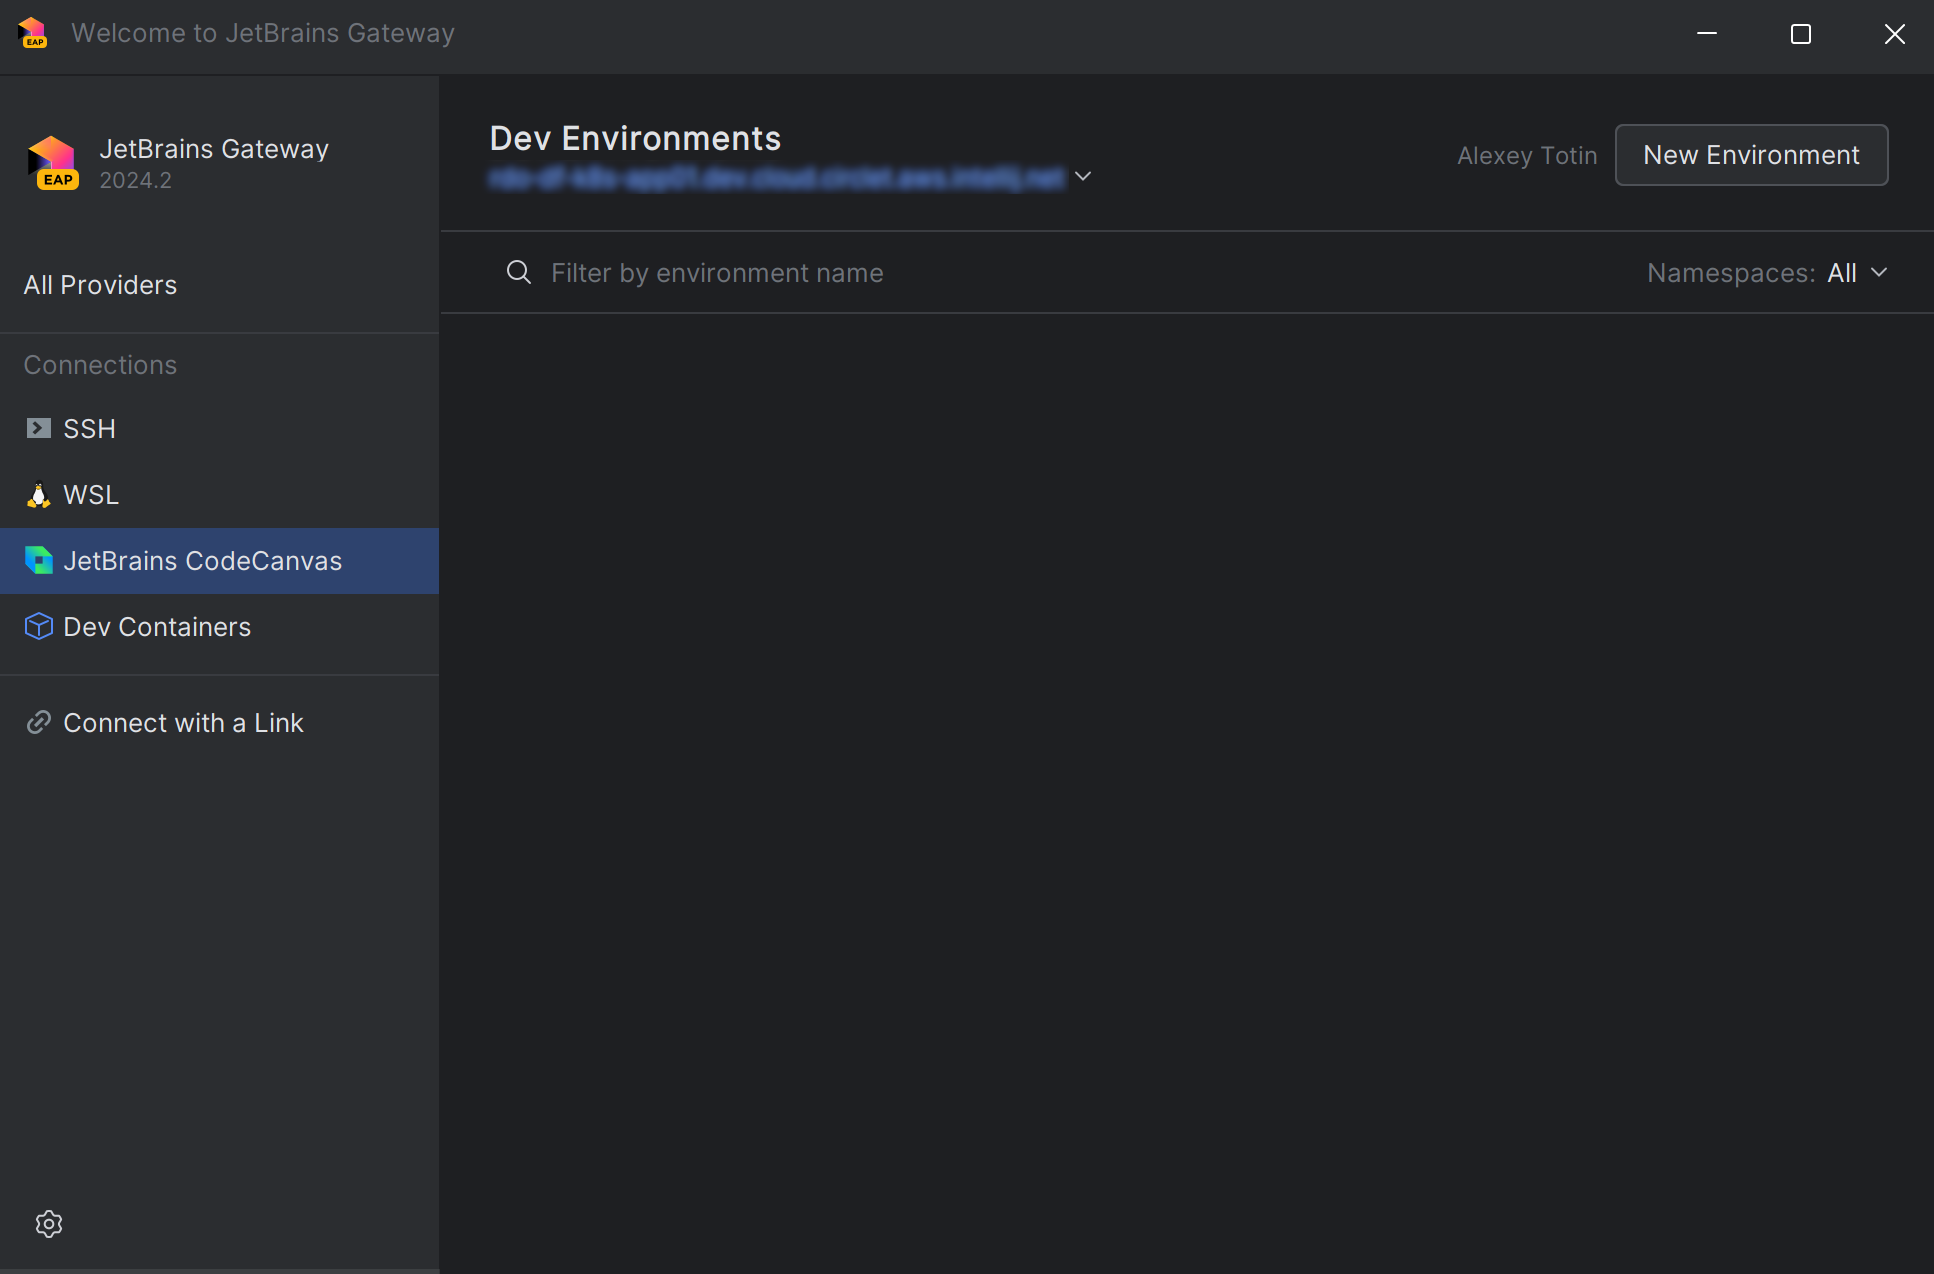
Return to the Gateway app. If the connection was successful, you will see the Dev Environments page.
3. Create a dev environment
On the Dev Environments page, click New environment.
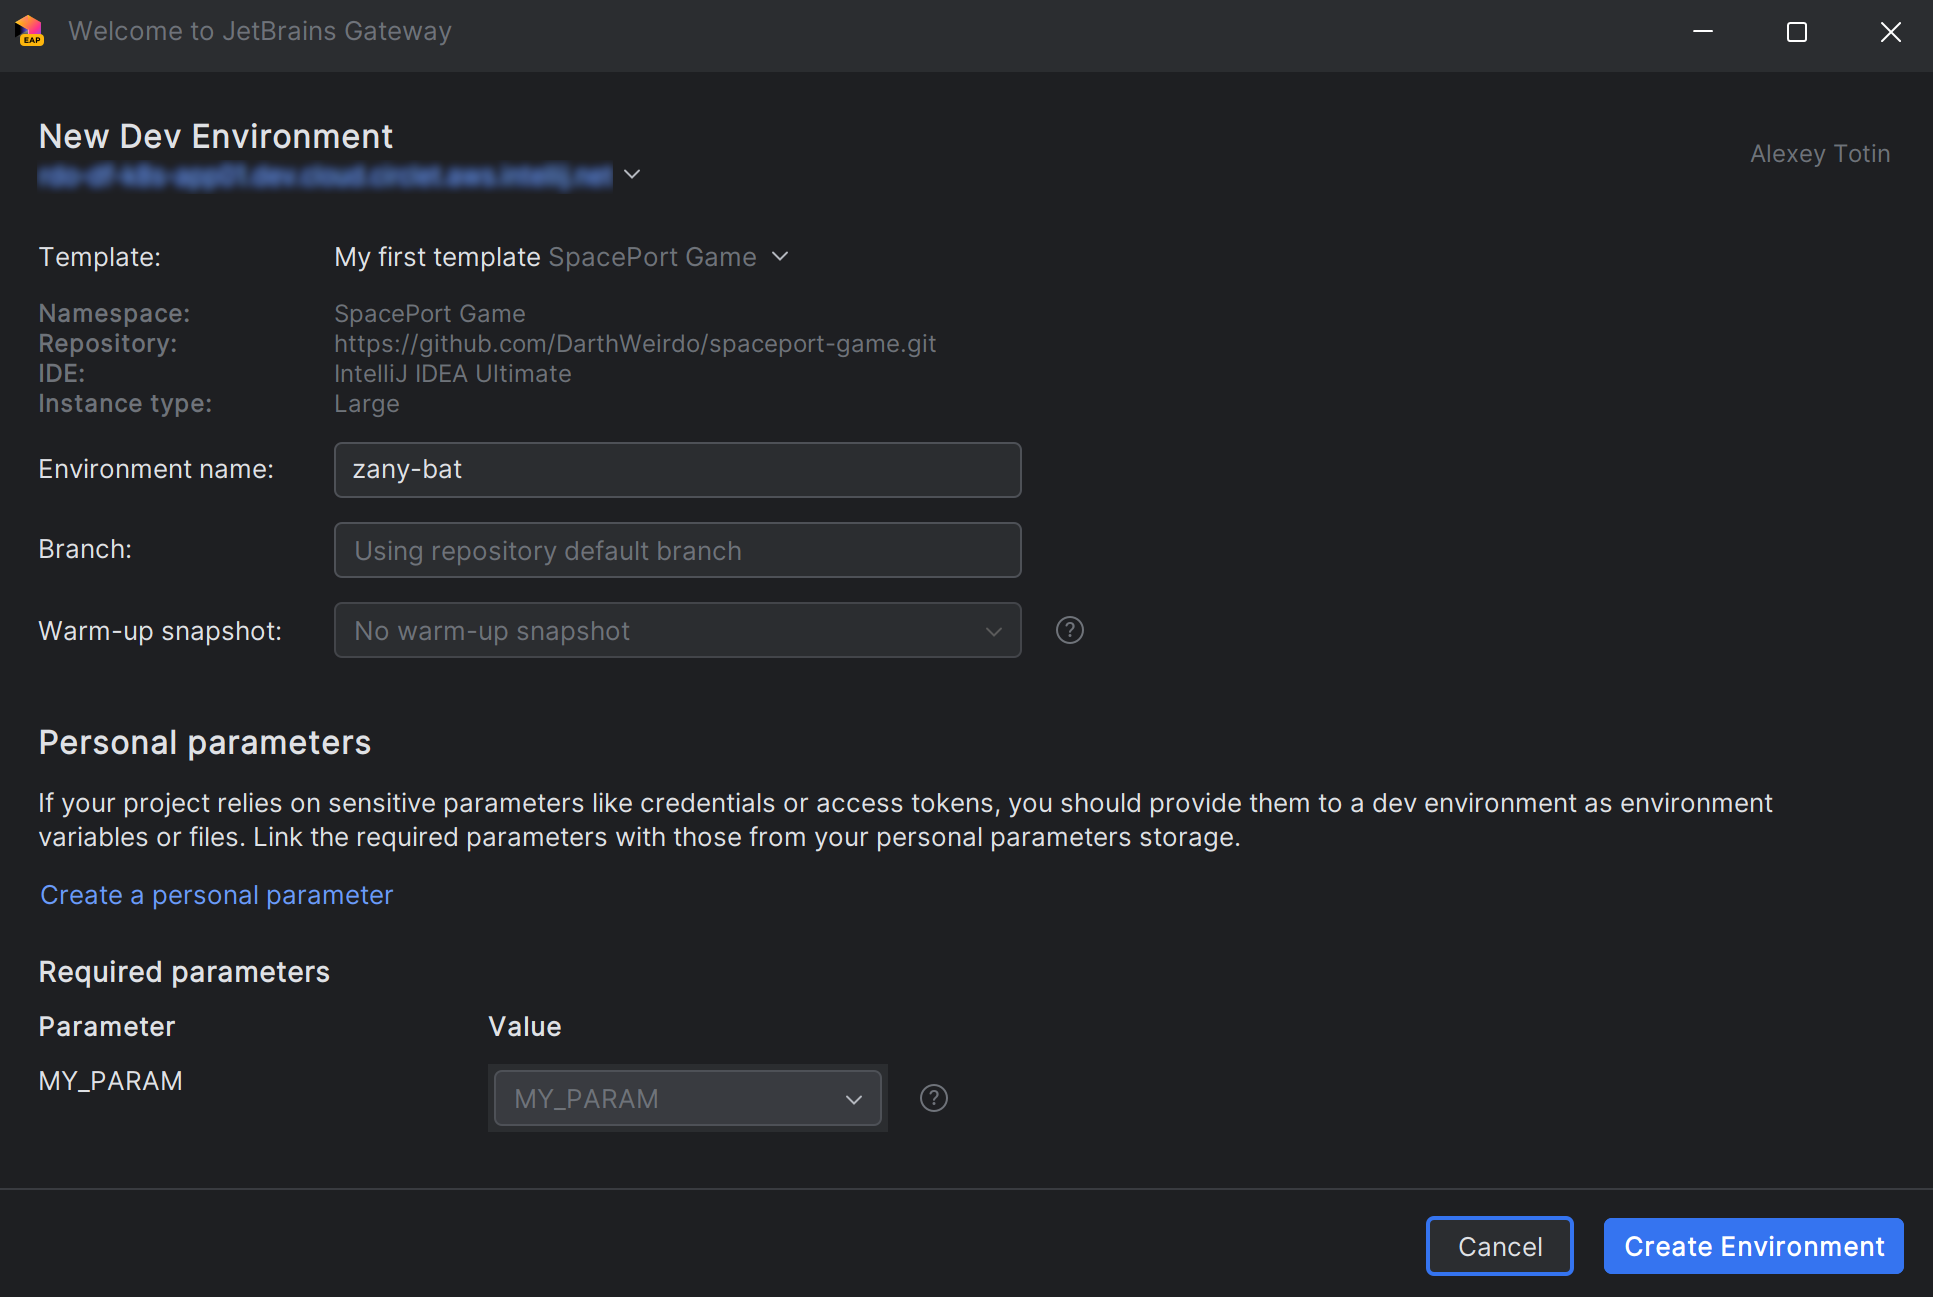
Specify a dev environment name and other settings:
Template – a dev environment configuration created by the project administrator for your project. It includes the dev environment resources, image, Git repository, and other settings.
Branch – the Git branch you want to check out in the dev environment.
Warm-up snapshot – the warm-up snapshot contains IDE indexes and project dependencies and lets you start coding right away.
Personal parameters– if your project requires sensitive data, like access tokens or credentials, you should provide them to the dev environment as environment variables or files. You can't provide the values directly. Instead, you should create the corresponding parameters in your personal storage in CodeCanvas and then link them to the required parameters. To do this:
Click Create a personal parameter to go to your personal storage.
In the dialog, specify the parameter key (name) and value.
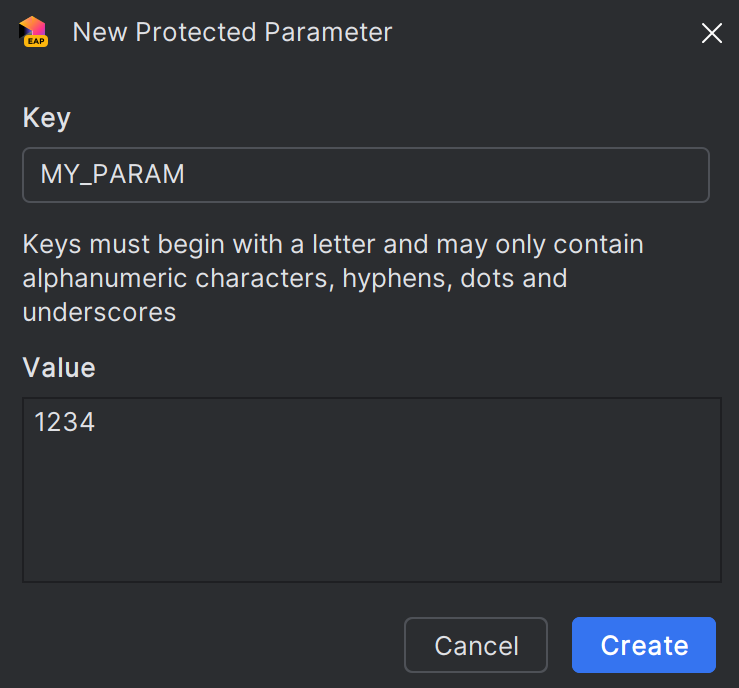
Click Create. The parameter will be saved in your personal storage in CodeCanvas.
In Required parameters, link the required parameters to the personal parameters you've created.
Click Create Environment.
4. Start coding
Once you've connected to a dev environment, you can start coding. You can use the IDE as you normally would, with all the features you're used to, including code completion, refactoring, and debugging.
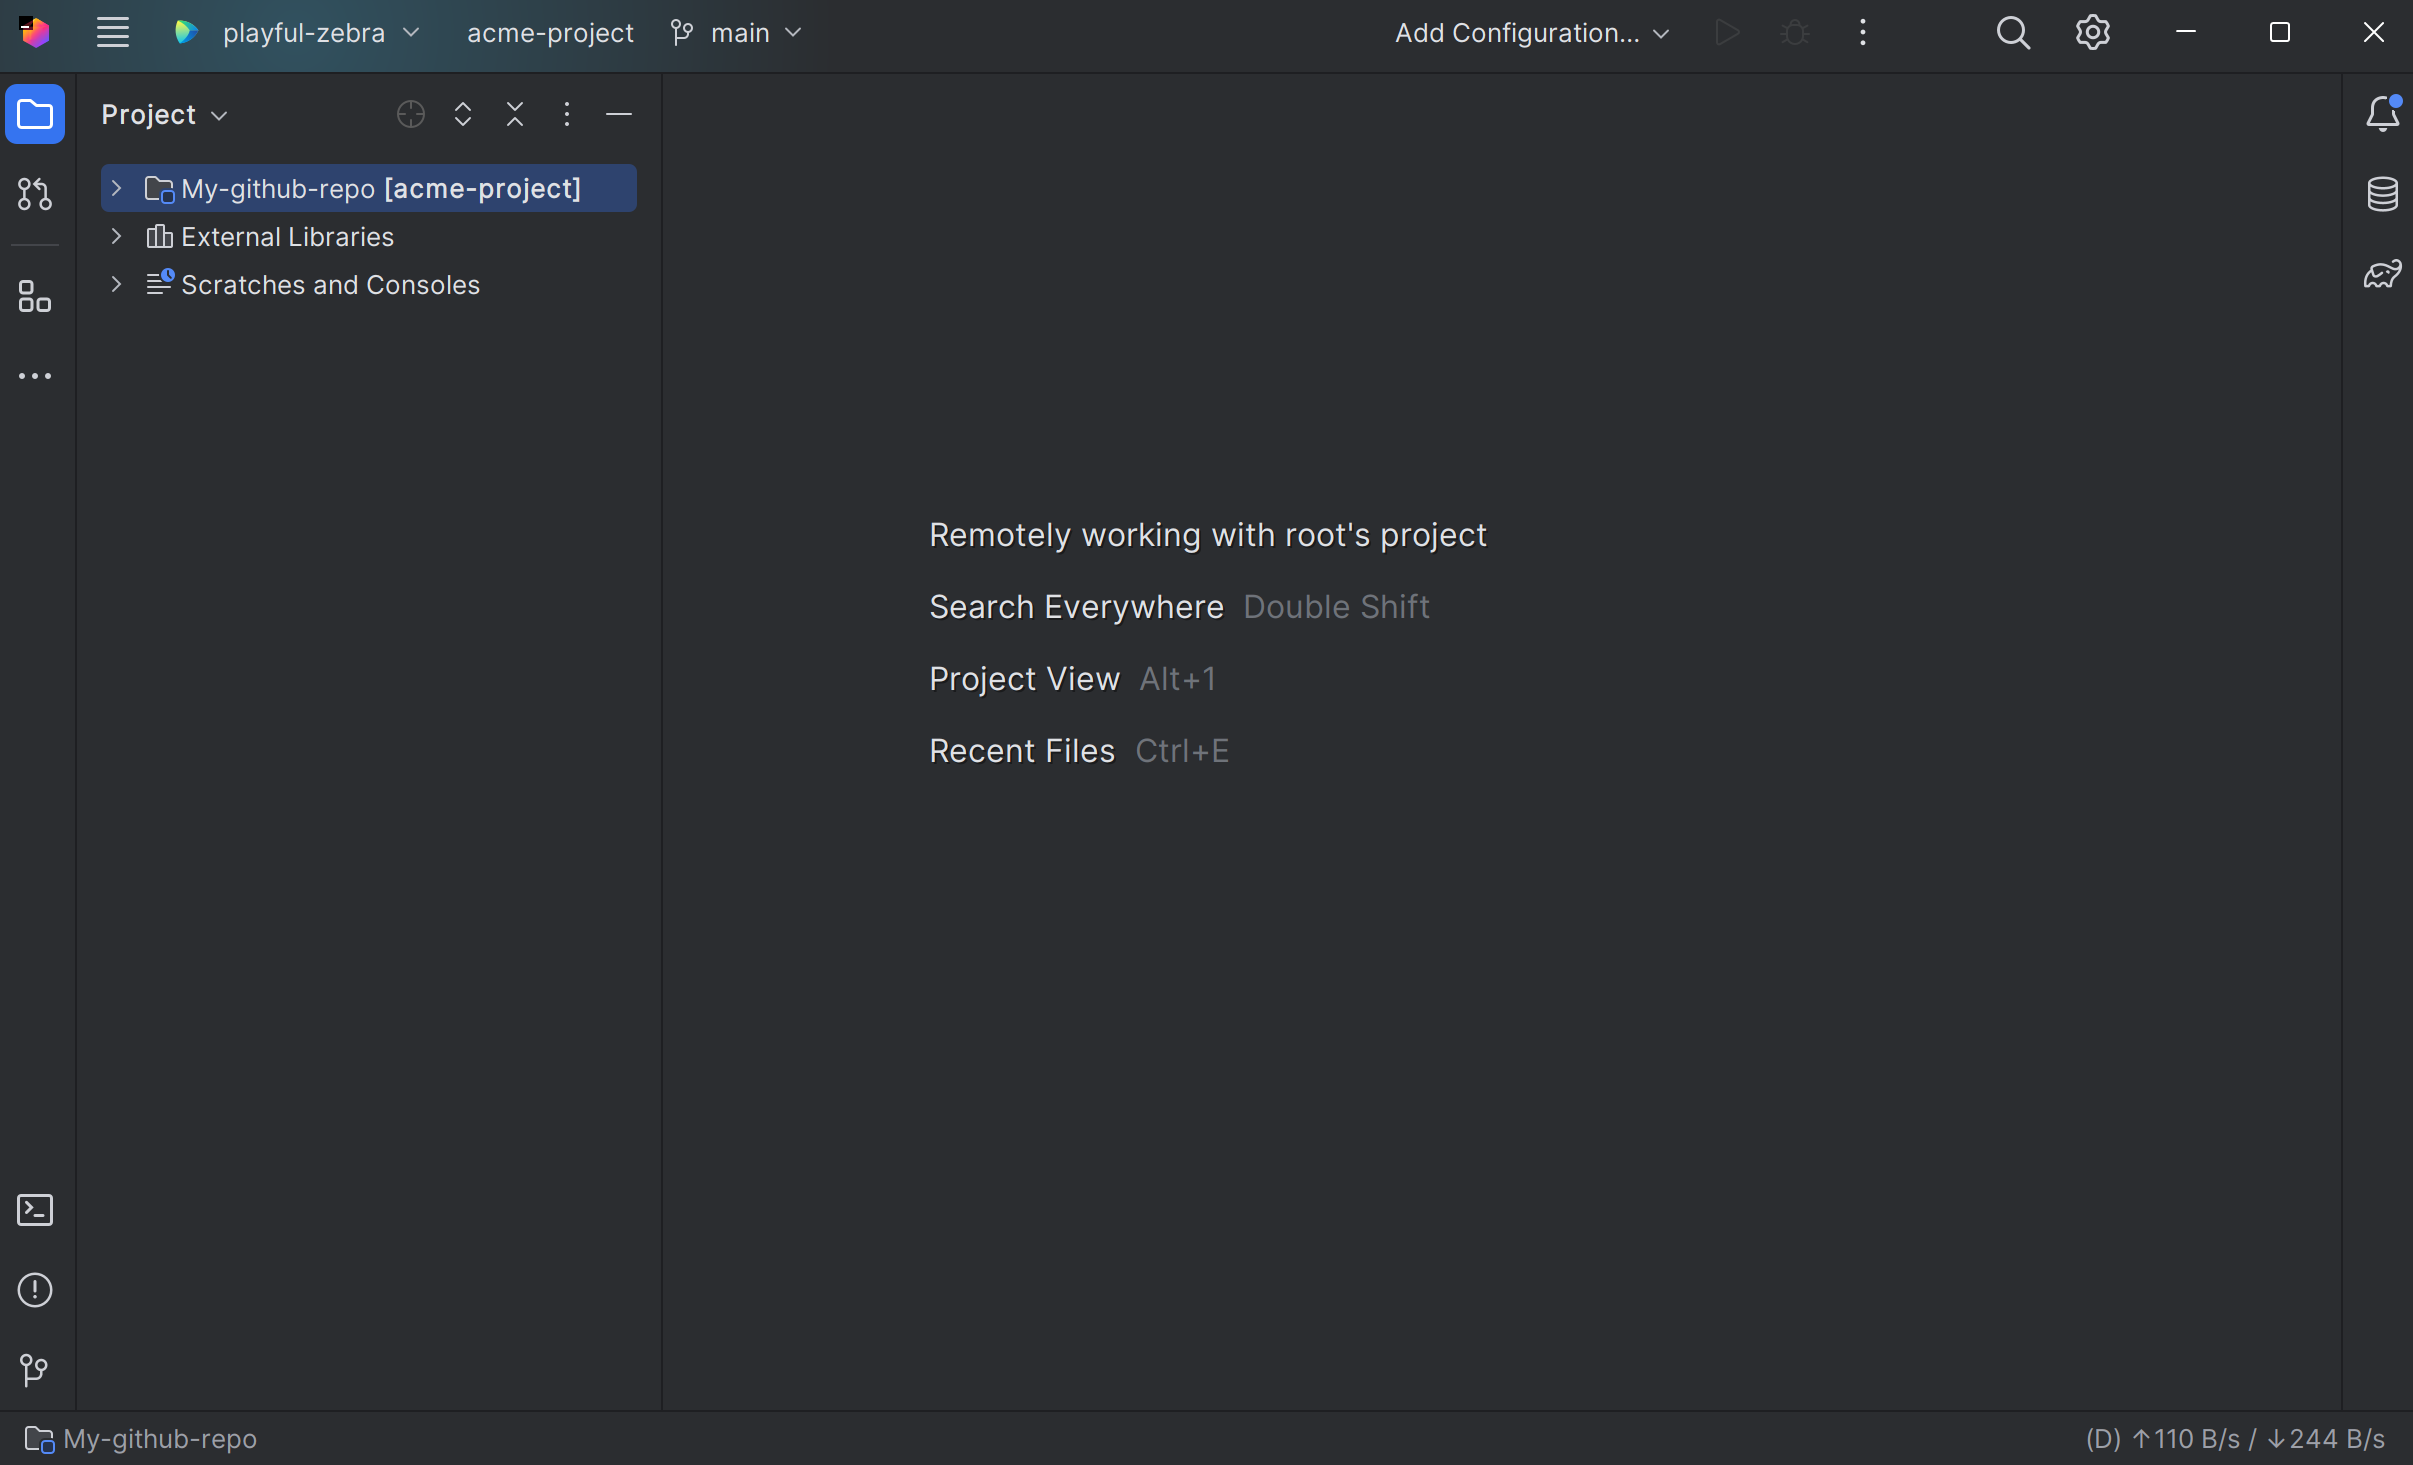
When pushing changes to the Git repository for the first time, the IDE will ask you to authenticate on the Git server. Depending on which authentication method is used, you may need to provide your Git server credentials or a private SSH key. Learn more
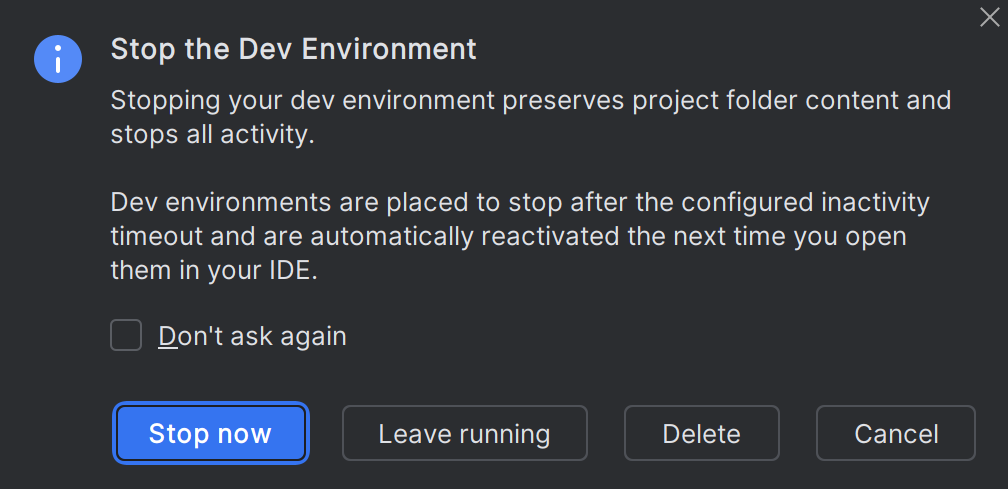
You can close your remote IDE at any time. Gateway will ask whether you want to stop or keep the dev environment running. Even if you stop the dev environment, your uncommitted changes will be saved on a dev environment volume. The environments left running will be automatically stopped by timeout (set by the system administrator).
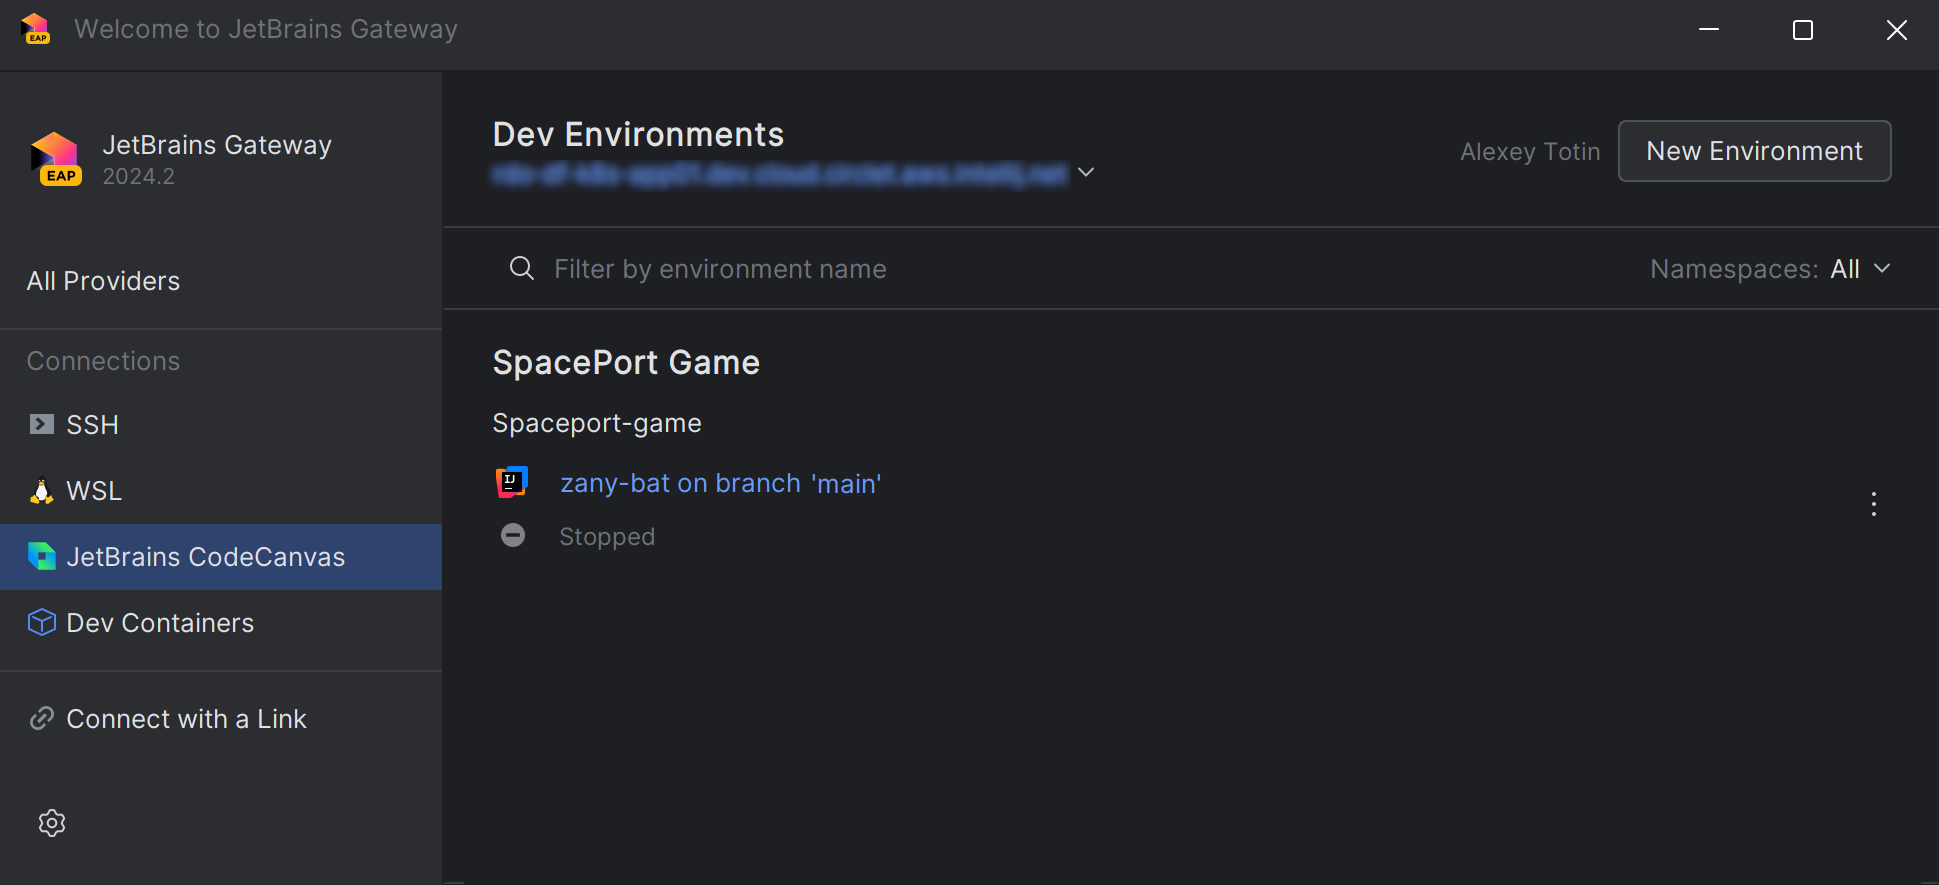
After you return to the Dev Environments page, you can start the dev environment again and continue coding. It will use the volume to restore the IDE state, so you can pick up where you left off.
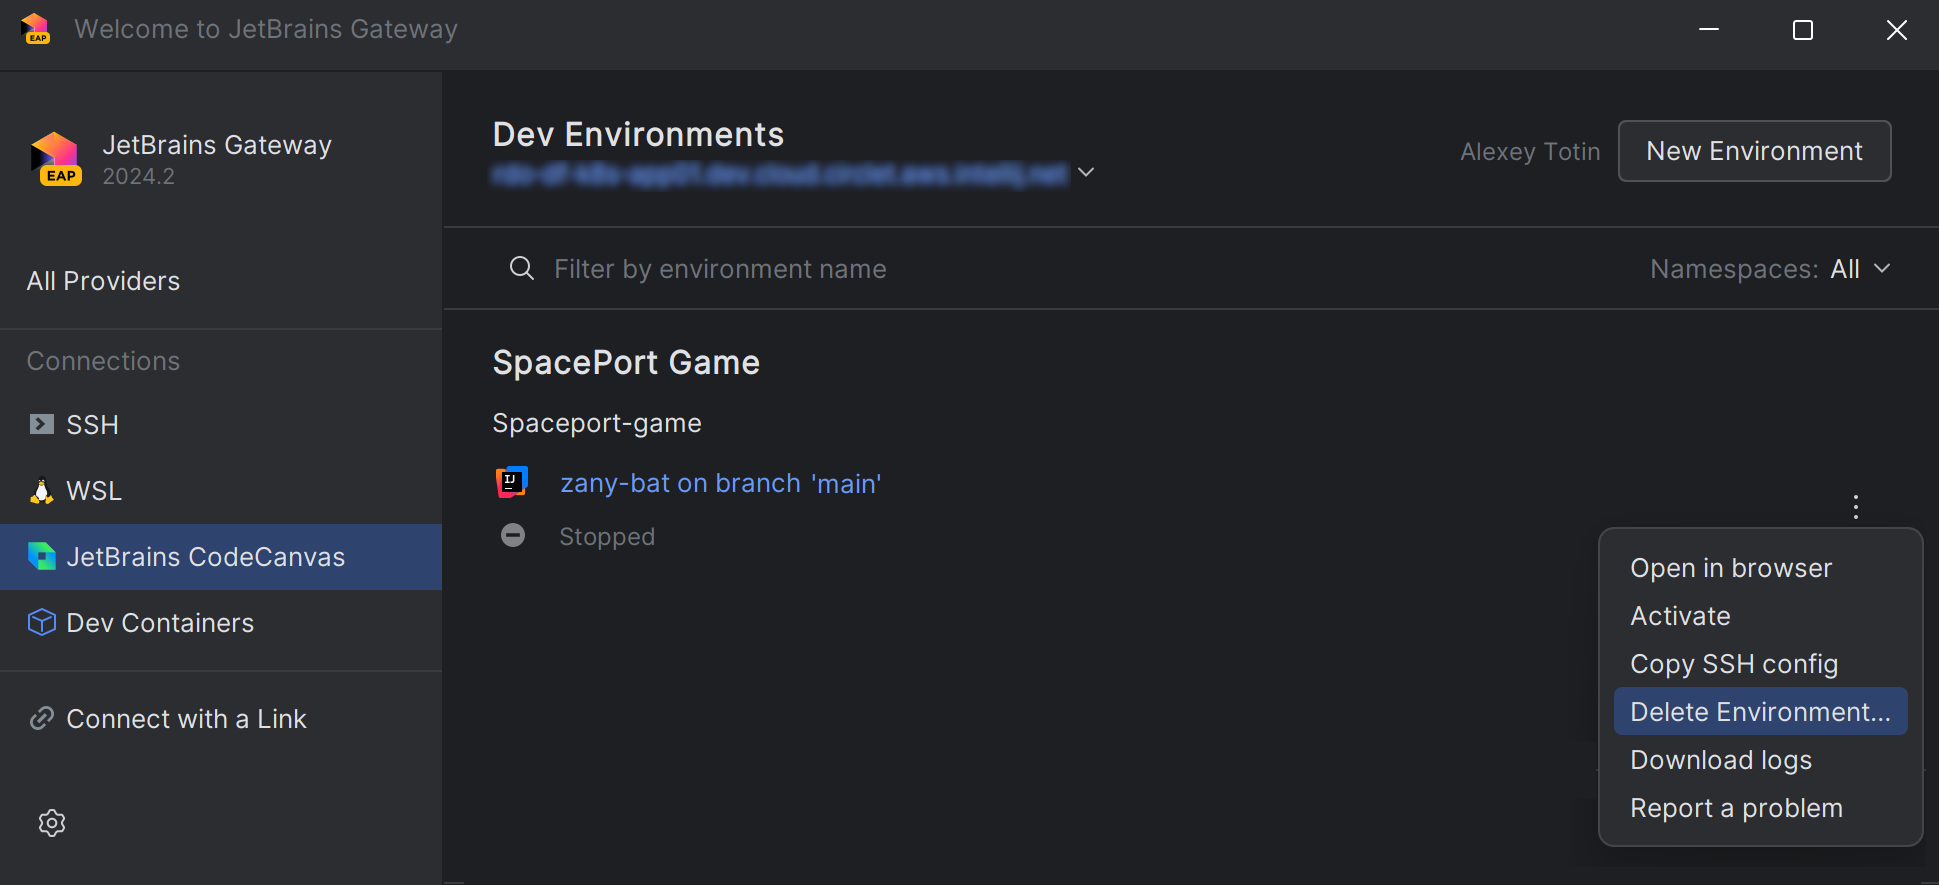
If you no longer need the dev environment, you can delete it on the Dev Environments page. This will delete the dev environment volume and all the data stored on it (including uncommitted changes).
More information on how to work with dev environments: