Configure CodeCanvas
This guide is for system administrators – users with the System Admin role responsible for setting up and maintaining the CodeCanvas instance in the organization.
As a system administrator, you install and activate the platform, configure authentication, define computing resources for dev environments, and manage global settings. Let's get your CodeCanvas instance ready!
1. Activate your CodeCanvas instance
In a browser, open the CodeCanvas URL you've specified during the installation.
Log in to CodeCanvas using the system administrator credentials specified during the installation.
Select Administration on the header navigation, then select Basics in the sidebar menu.
If you already have a license key, insert it into the License key field and click Save.

If you don't have a license key yet, follow the instructions on how to get one.
2. (Optional) Set up authentication
By default, CodeCanvas uses the built-in authentication provider that lets users log in with CodeCanvas username and password. Right after the installation, CodeCanvas has just one built-in user account: the system administrator account specified during the installation.
You have three options:
Continue using the built-in authentication provider – in this case, user accounts must be manually created by the system administrator or the users themselves.
Configure CodeCanvas to use a third-party authentication provider like Google, GitHub, or other providers based on SAML 2.0, LDAP, or OpenID Connect – in this case, your employees can log in to CodeCanvas using their existing accounts in the third-party system.
Use any combination of the above – for example, you can configure CodeCanvas to use both the built-in authentication provider and GitHub.
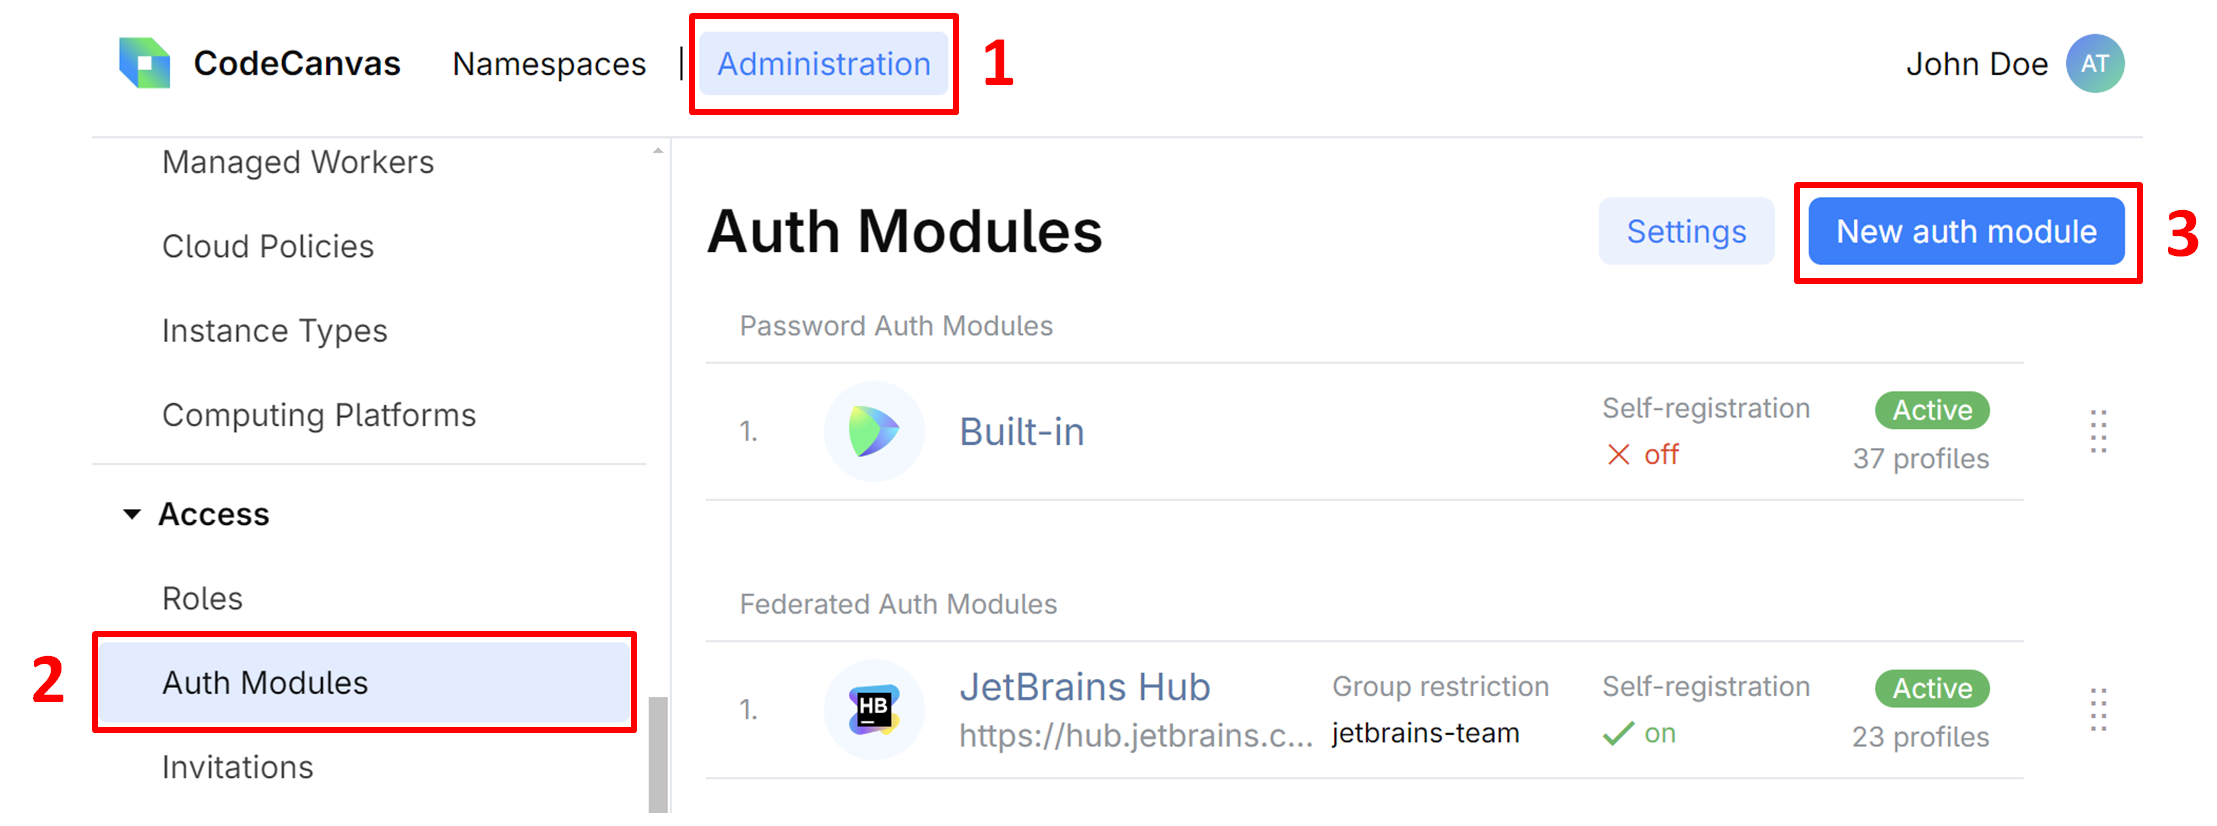
To add a third-party authentication provider, log in to CodeCanvas as a system administrator and configure the provider on the Administration | Auth Modules page.

For detailed instructions on how to configure a specific authentication provider, refer to:
3. Create dev environment instance types
An instance type is a preset that defines resources (CPU, memory, etc.) and a computing platform (e.g., a Kubernetes cluster) for the allocation of dev environments. For example, you can create a small instance type with 4 CPUs and 16 GB of memory, a medium instance type with 6 CPUs and 32 GB of memory, and so on. Namespace administrators will be able to choose a suitable instance type when creating a dev environment template.
Select Administration on the header navigation, then select Instance Types in the sidebar menu.
Click New instance type.
Specify the instance type Name and other settings:
Computing platform – connection to a computing platform (e.g., a Kubernetes cluster) where dev environments should be started.
CPU, Memory, and Volume – the resources allocated for a dev environment.
Volume storage class – each dev environment has an associated Kubernetes volume with dev environment data. Here you can specify your custom StorageClass that defines such volumes and CodeCanvas will use them instead of the default one. If you use AWS EBS volumes, we recommend io2-based volumes for the best possible performance.
Volume snapshot class – during the warm-up, CodeCanvas creates a snapshot of a dev environment file system with project indexes, dependencies, etc. Here you can specify your custom VolumeSnapshotClass that defines such volumes and CodeCanvas will use them instead of the default one.
Namespaces – the namespaces where this instance type will be available. These can be all namespaces or specific ones. As you haven't created any namespaces yet, you can leave All namespaces here.
4. Specify default IDE settings
As a system administrator, you can specify the organization-wide defaults for IDE versions that should be used in dev environments. Project administrators will be able to override these defaults in a dev environment configuration.
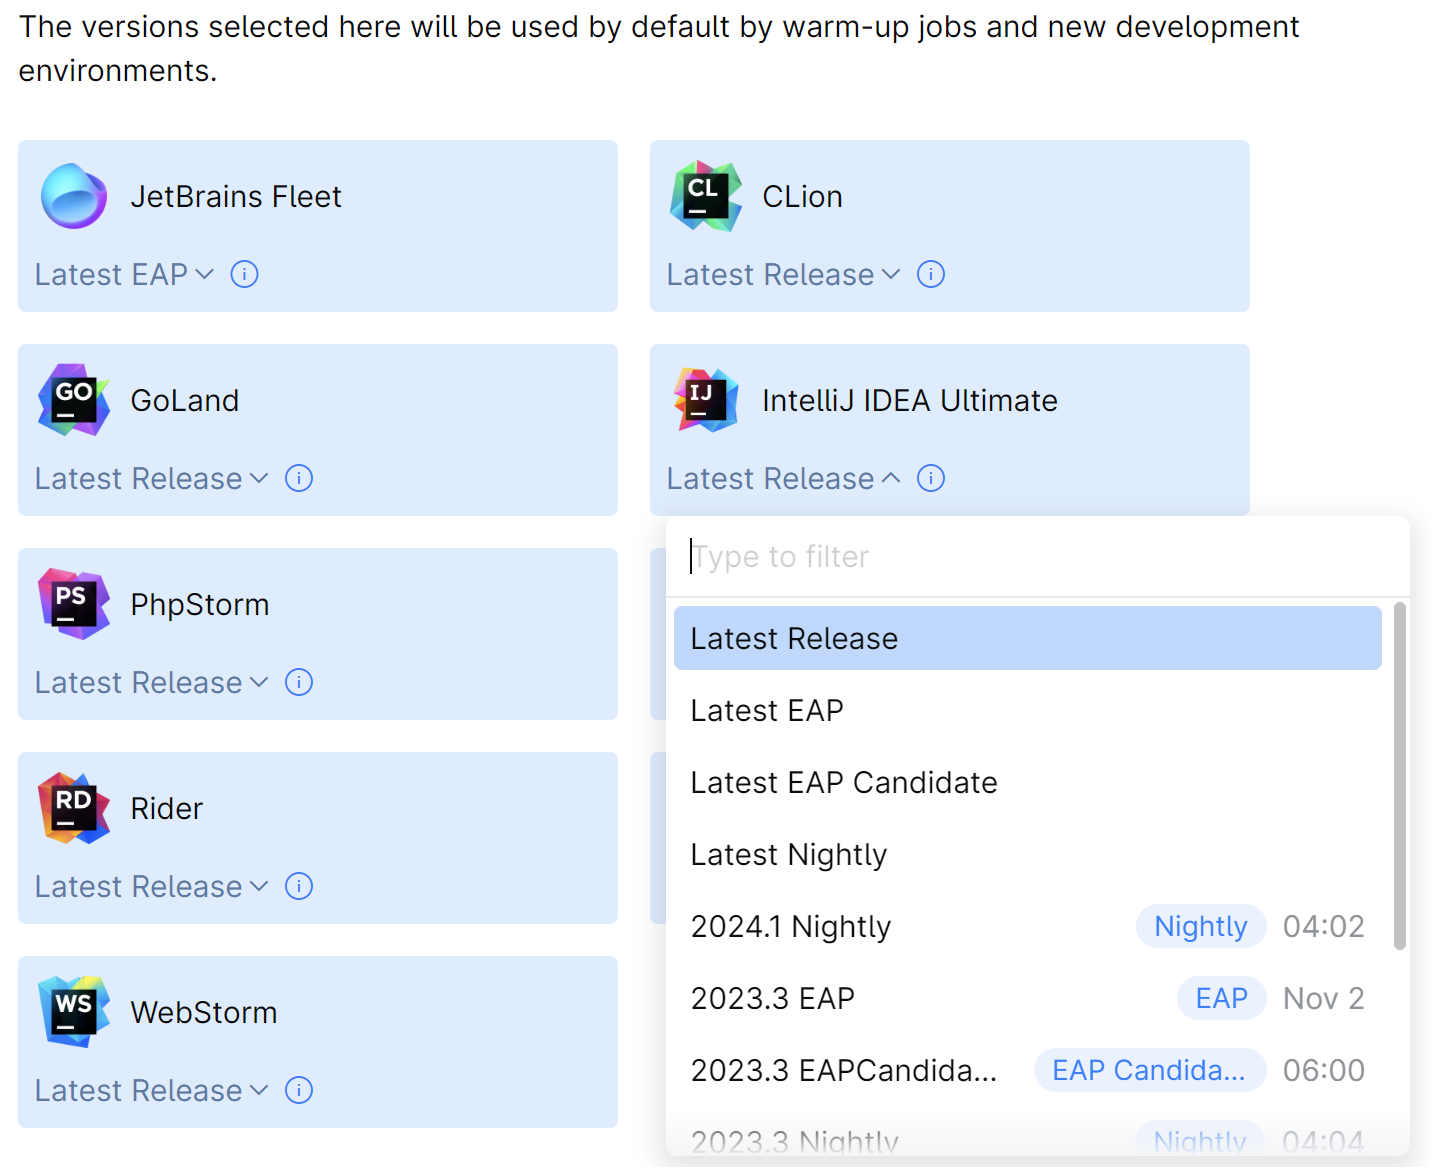
In CodeCanvas, select Administration | Default IDE Versions.
After the installation, CodeCanvas is configured to use the latest available release version of the IDE. Select the default version for each IDE or leave Latest Release. If you decide to use a specific version, we recommend using 2023.3 or later.

On the Administration | IDE Feeds page, you can choose the feeds that provide available IDE versions. This makes sense if your CodeCanvas cluster is not connected to the internet, and you want to use a custom local feed with IDE versions.
5. (Optional) Configure cleanup policies
As a system administrator, you can configure how CodeCanvas should clean up the unused resources.
In CodeCanvas, select Administration | Cleanup Policies.
Specify cleanup settings:
Dev environments:
Reminder threshold (in days) – inactivity period, after which CodeCanvas will send an email reminder to the dev environment owner.
Deletion threshold (in days) – inactivity period, after which CodeCanvas will delete the dev environment.
Warmup snapshots:
Deletion threshold (in days) – if, during this period, there were no dev environments started from a warmup snapshot, CodeCanvas will delete the snapshot.
6. Create namespaces
A namespace is a logical entity that groups related resources like Git repositories, secrets, dev environment templates, and other settings. A namespace can represent a project, a group of projects, or a team in your organization.
There can be different policies on how to work with namespaces in your organization:
Default (system admin creates namespaces)
By default, the system administrator creates namespaces and assigns namespace administrators. If you decide to use this policy, follow the steps below.
Self-service (users create namespaces)
Users can create namespaces themselves. In this case, the system administrator can grant the Create namespaces permission to users. If you decide to use this policy, you can skip this step and follow the recommendations.
Select Administration on the header navigation, then select All namespaces in the sidebar menu.
Click New namespace and specify the namespace name and other settings.

Learn more about namespaces.
6. Add users
6.1 (Optional) Edit roles and permissions
Before you start adding user accounts to CodeCanvas, it makes sense to look at how roles and permissions work in CodeCanvas. You can manage roles and permissions on the Administration | Roles page.

Global roles apply to the entire CodeCanvas instance:
System Admin – can perform all administrative tasks in CodeCanvas.
Member – a regular CodeCanvas user. By default, a member doesn't have permission to create namespaces, but you can grant this permission. In this case, the member will be able to create a namespace and become a Namespace Admin there. See below.
Namespace roles apply to a specific namespace:
Namespace Admin – can perform all administrative tasks in the namespace, such as creating dev environment templates, connecting Git repositories, and so on.
6.2 Invite users
You can add users manually using the New member button on the Administration | Members page. Nevertheless, inviting users is more convenient as it allows users to fill in their profiles themselves.
In CodeCanvas, select Administration | Members.
Click Invite members.
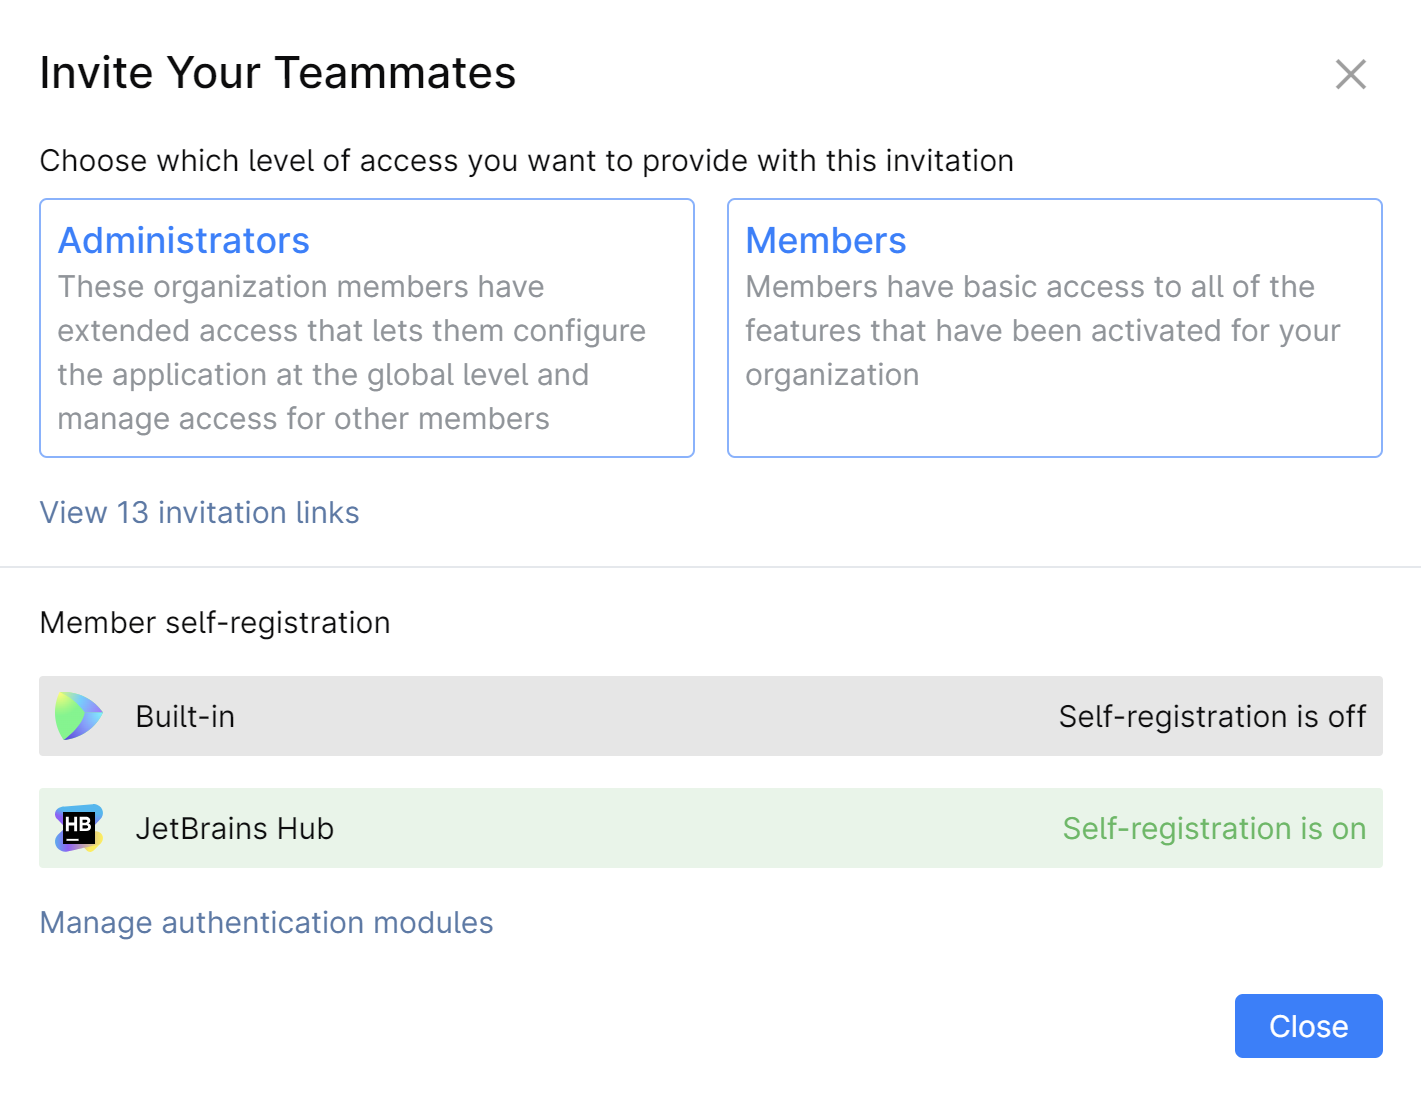
Select level of access for the invited users: Administrators (System Admin role) or Members (Member role). Note which authentication providers are enabled and which of them allow self-registration.

Select the namespace the invited user will be added to. If you select Add to namespace as administrator, the invited users will be added to the project as Namespace Admin.
Choose how you want to send the invitations:
Invitation links – you can copy the link and send it to the users. The Available invitations parameter defines the maximum number of people allowed to use this link.
Email invites – CodeCanvas will send invitations by email. Note that you should have a
configured SMTP server to send invitations by email. If you didn't do this during the installation, you can do this now on the SMTP settings administration page.
For more information, refer to Invite Users. Create User Accounts.
6.3 Assign namespaces administrators
If you decide to use the default policy for working with namespaces (system admin creates namespaces), you need to assign namespace administrators.
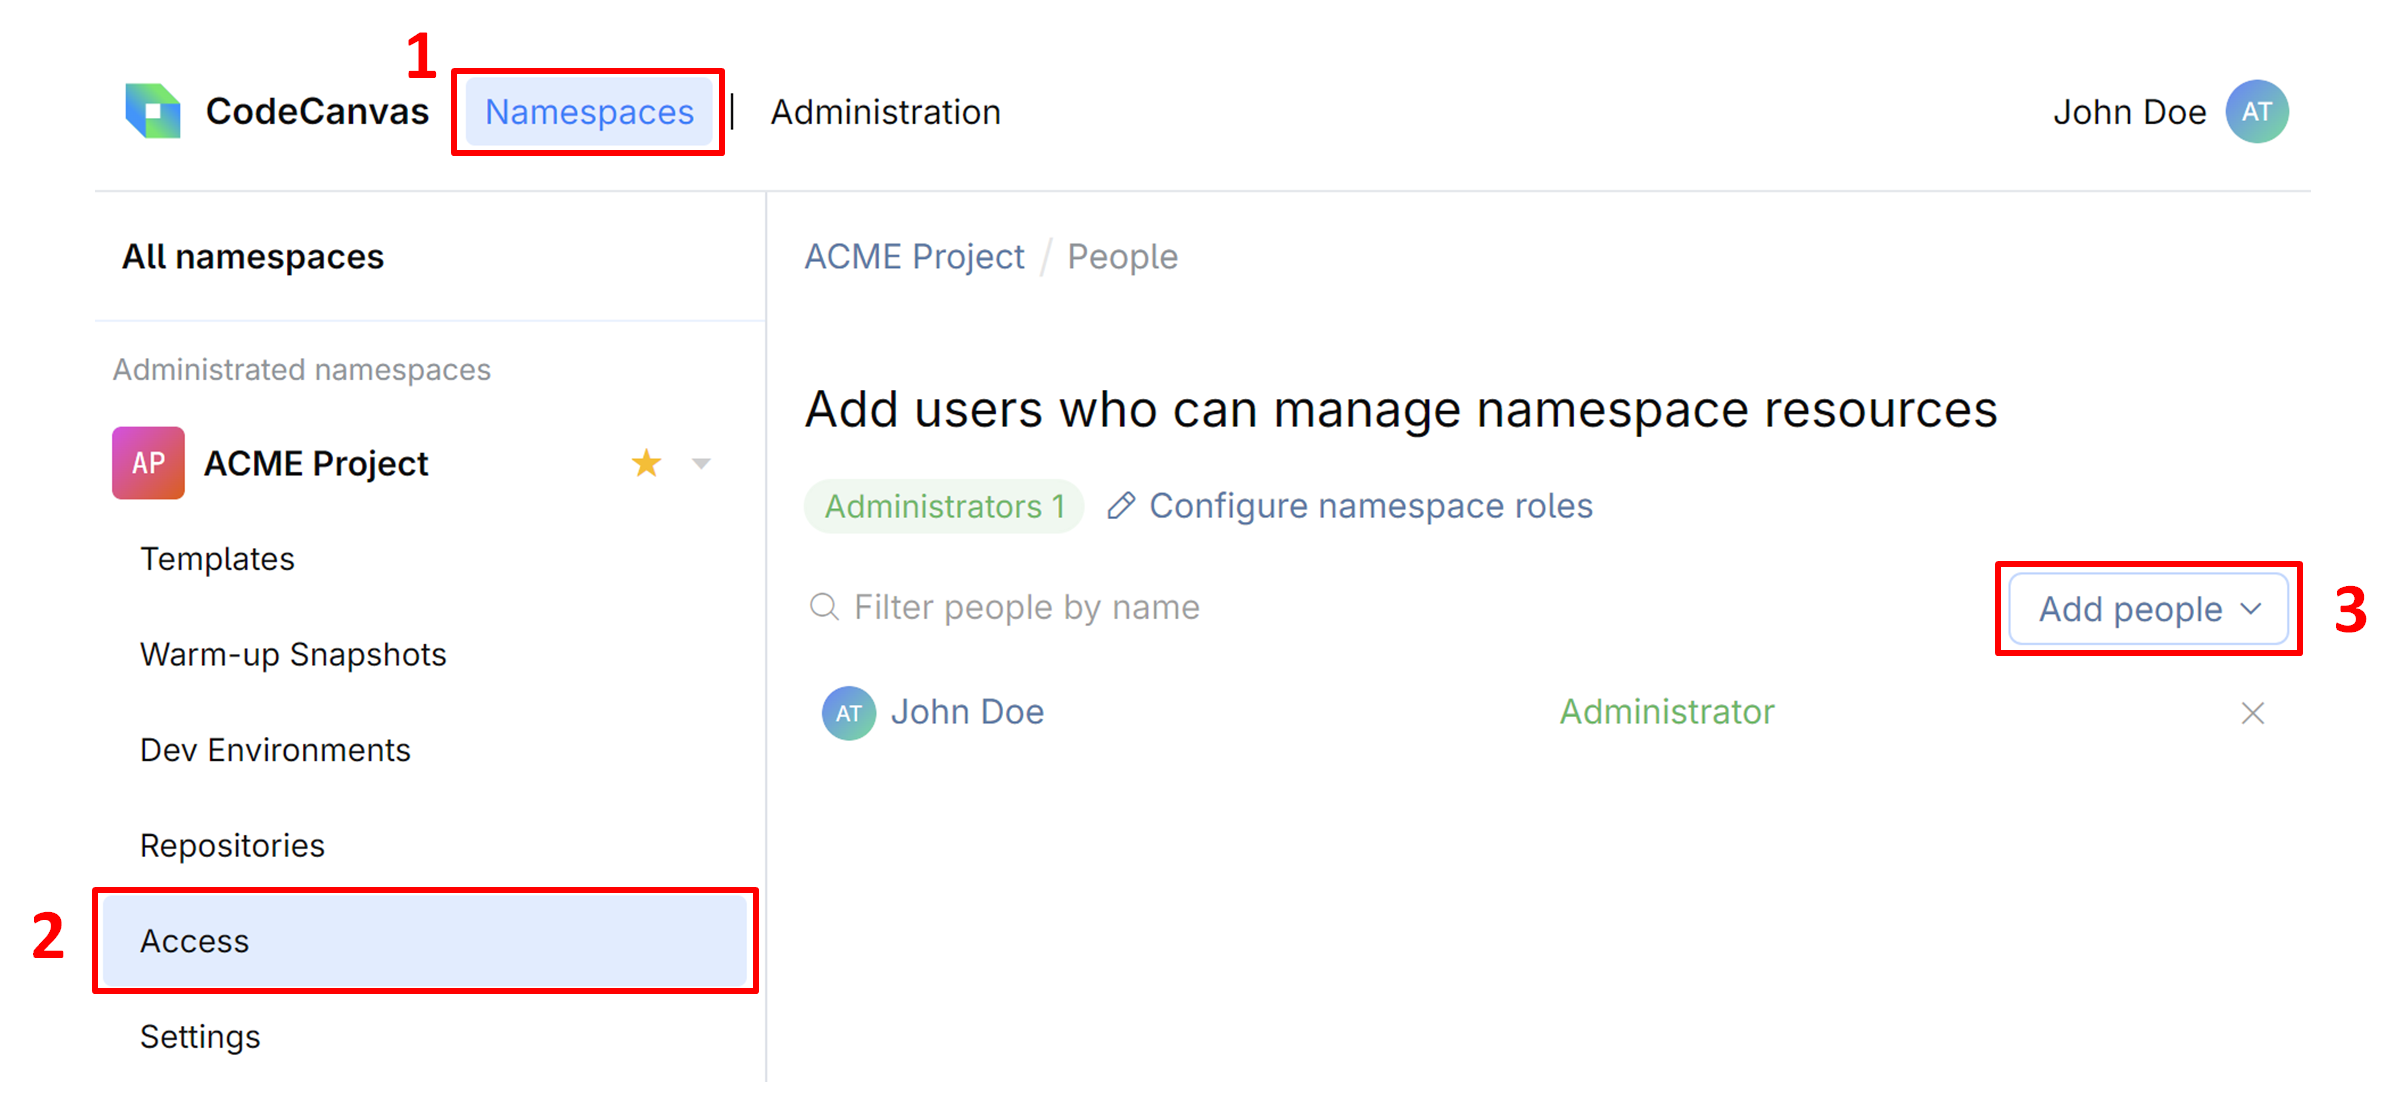
In CodeCanvas, select Namespaces | All namespaces
Click the namespace you want to assign an administrator to.
In the sidebar menu, select Access.
Click Add people and select the users or user groups you want to assign as administrators.

What next
You've set up the basics for your CodeCanvas instance, and your team is ready to start working. Now, it is time for namespace administrators to prepare CodeCanvas for the team's projects: connect Git repositories, create dev environment templates, and more. Learn more in the Configure Your Project guide.