Work with interactive tables
Use the interactive features to work with table output you get after running your notebooks.
warning
Please note that the features are only available in Python notebooks and require working runtime. They can be used after the notebook is fully computed.
Below is an example of an interactive table generated after reading a .csv file.
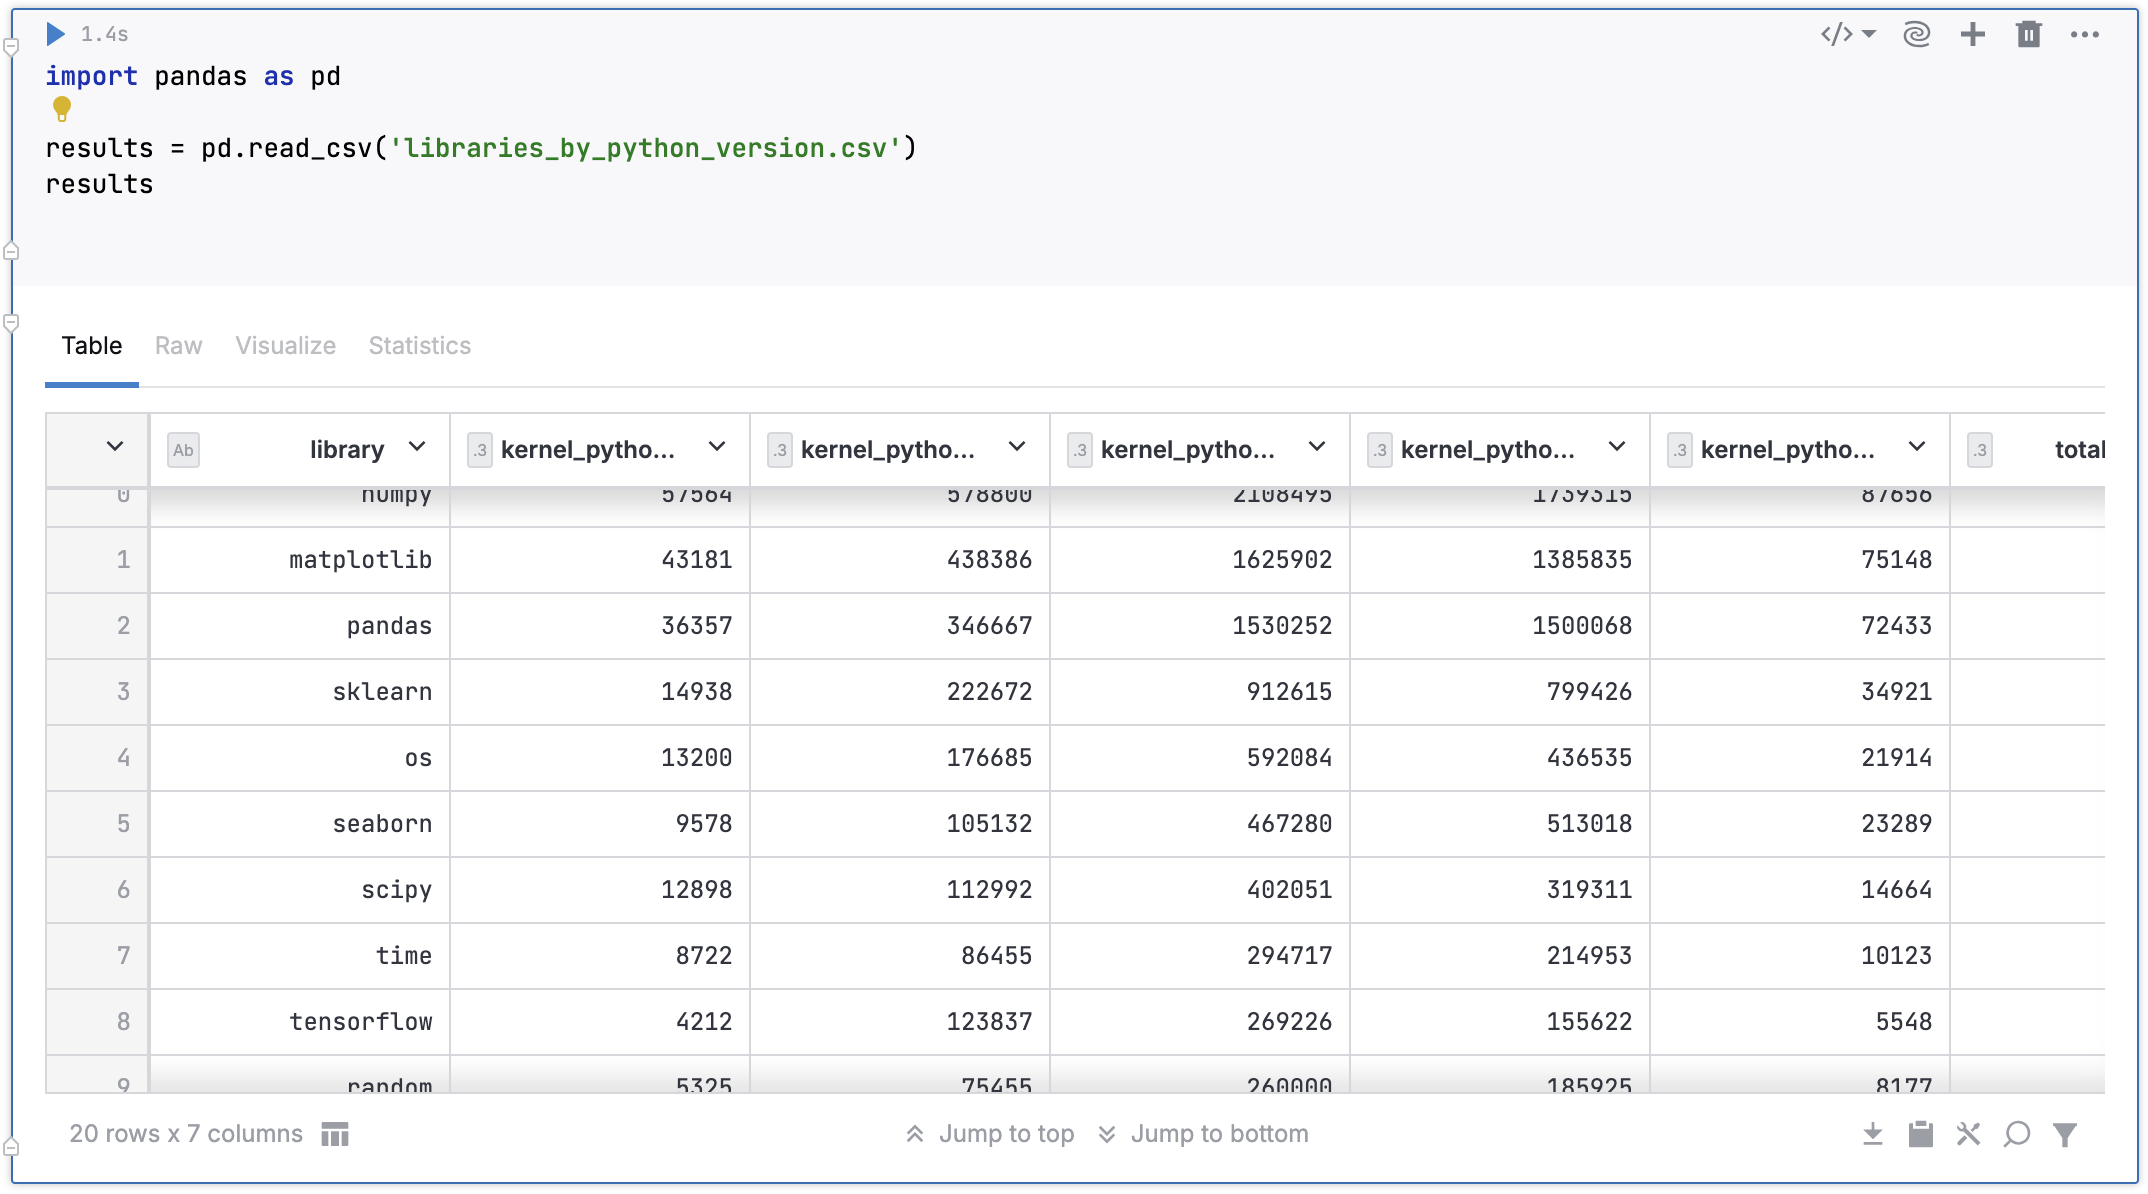
Use horizontal and vertical scrolling to view entire table output when necessary.
Click Jump to top or Jump to bottom to quickly navigate to the upper or lower rows of the table.
To download table content as a .csv file, click the Download .csv icon in the lower right corner of the table cell.
To copy the content of the table rows, click the Copy up to 10000 row to clipboard icon in the lower right corner of the table cell.
note
If the number of rows exceeds 10000, the first 10000 rows will be copied.
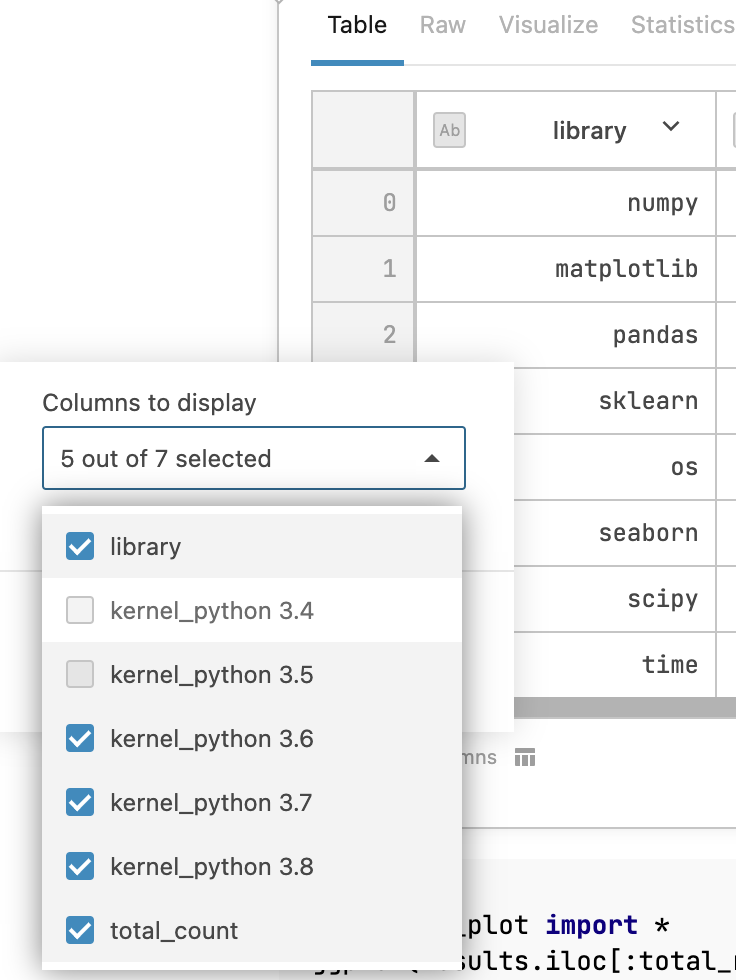
By default, the table output includes all columns. You can select which columns to exclude.
Click the icon next to the n columns x n rows in the lower left corner of the table cell.
In the opened dialog, expand the list to deselect the columns that you want to hide.
Clear the Show index column to exclude the index column from the table.
Click Apply to confirm the changes to the table.
Apply filtering to table columns by adding filtering conditions.
Click the filter icon in the lower right corner of the table cell.
In the Filter dialog, click the Add filter button.
Expand the column list to select the column that you want to filter.
Set up the filtering condition for the selected column:
Click the list to expand the list of rules. It varies based on the data type in the column.
Select a rule.
In the text field, provide a filtering value.
(Optional) To add a condition to the filter, click Add condition and repeat the procedure.
(Optional) To apply filtering to another column, click the Add filter button and repeat the procedure.
To delete a filtering condition, click the Trash icon for the respective condition.
To delete all filters, click the Remove all filters button in the lower right corner of the dialog.
To confirm the filtering settings and conclude the procedure, click the Apply button in the lower left corner of the dialog.

tip
Another way to open the Filter dialog is to click the arrow icon next to the header of a column in the table and select Filter from the list.
Drop duplicated rows in the whole table:
Click the Process data icon in the lower right corner of the table cell.
Select the Drop duplicated rows option from the menu.
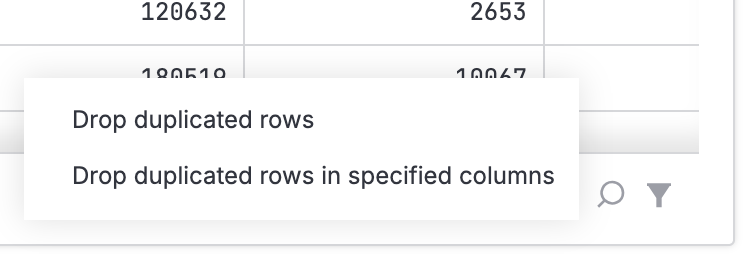
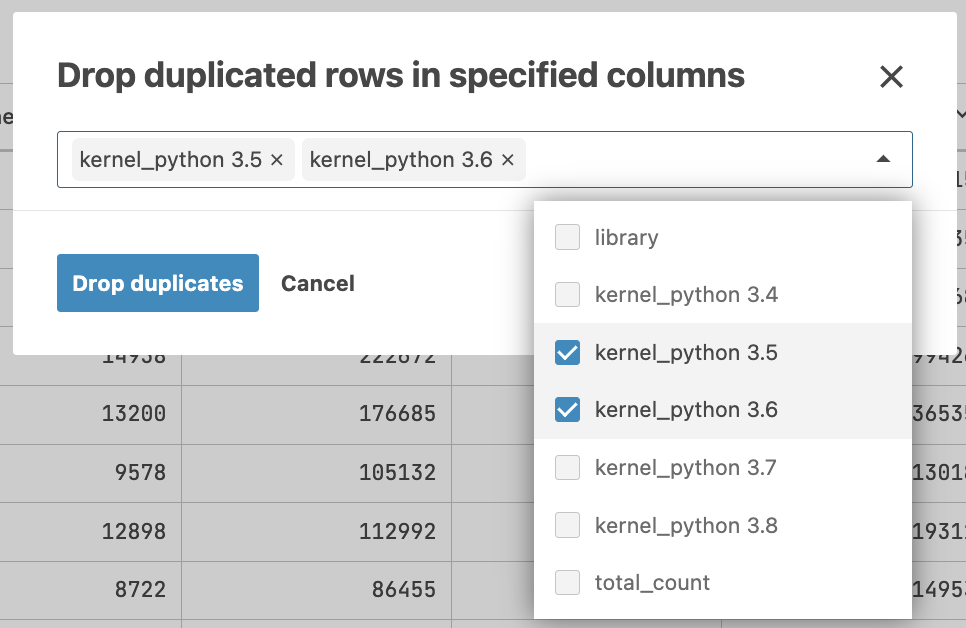
To drop duplicated rows in specific columns:
Click the Process data icon in the lower right corner of the table cell.
Select the Drop duplicated rows in specified columns option from the menu. This will open the Drop duplicated rows in specified columns dialog.
In the dialog, expand the list and select the columns you want to process.
Click the Drop duplicates button.
After the table is updated, you can generate code for the resulting output by clicking Export to code cell next to Process data.
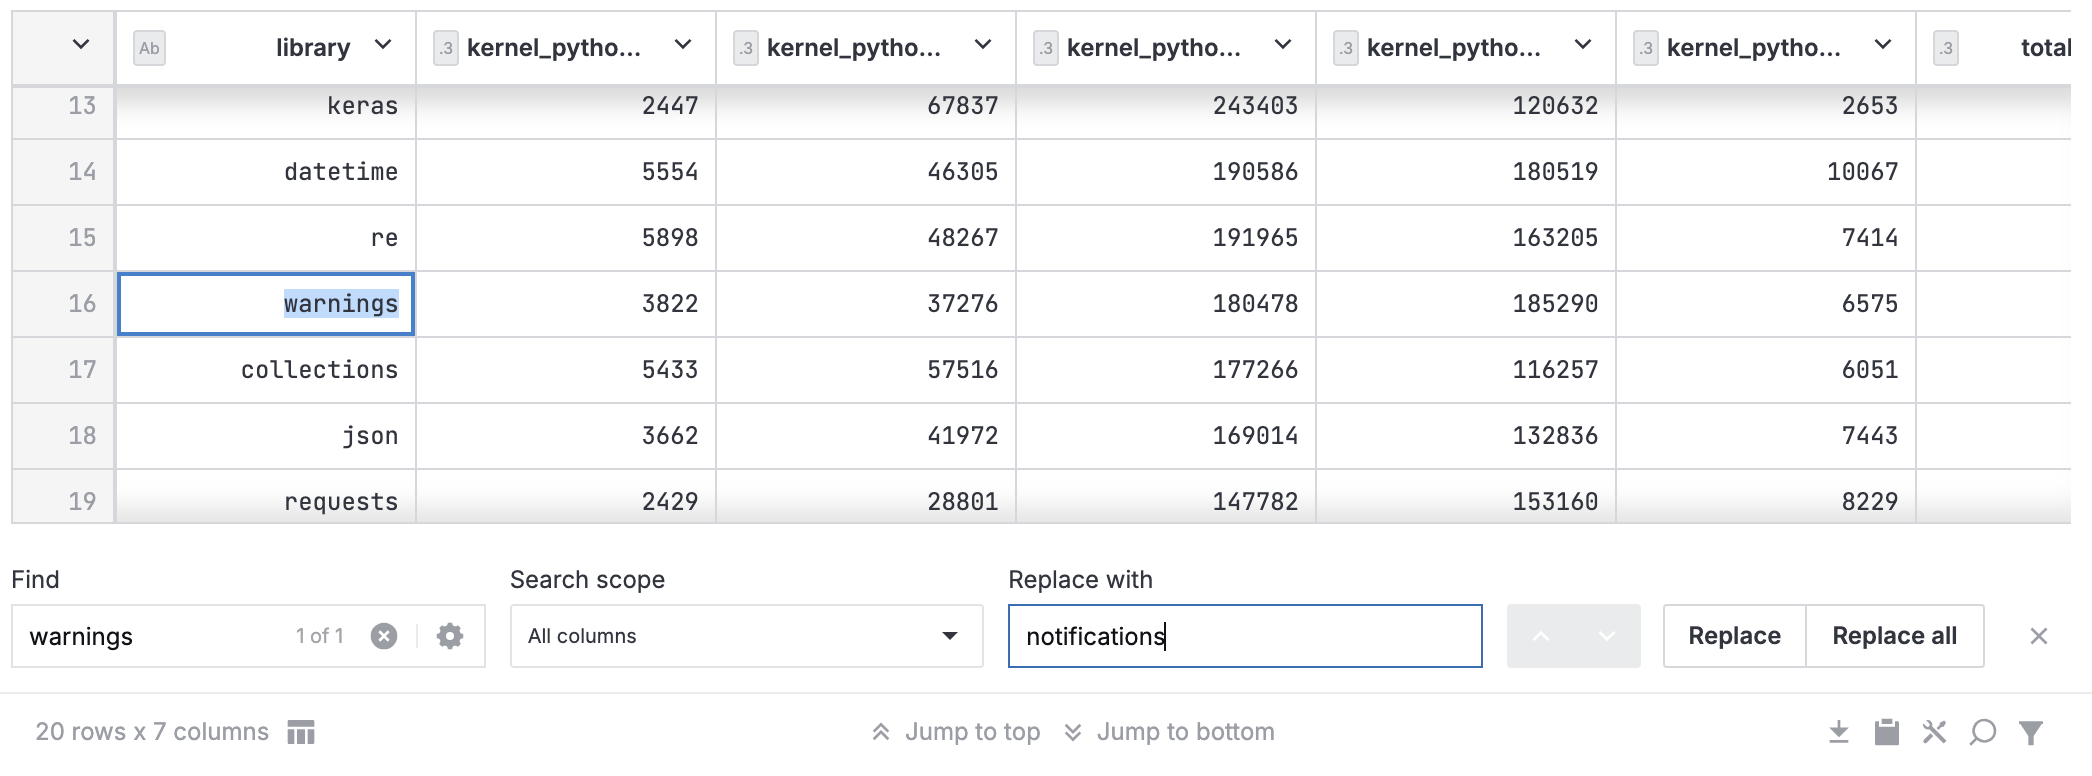
Click the Find and replace icon in the lower right corner of the table cell. This will open the Find and replace interface under the table.
Use the search option:
Under Find, enter your search string.
To customize the search, click the gear icon and select if you want to make your search case-sensitive (Match cases) or search the entire table cell(Match entire table cell content). To close the find search settings, press Esc.
To select columns for searching, do the following:
Under Search scope, expand the list of columns.
Select the columns you want to search.
Press Esc to collapse the list.
As a result, you may have:
One match (cell with the matching string highlighted)
Several matches (highest cell with the matching string highlighted)
To view the cells with the matching string, click the up and down arrows next to the Replace button.
To replace the matching string with another string, do the following:
Under Replace with, enter the new string.
To replace the string in the currently highlighted table cell, click the Replace button. The string will be replaced accordingly, and the next cell with the matching search string becomes highlighted.
To replace the string in all matching table cells, click the Replace all.
Copy a column title by clicking the column header. You will get a notification.
Resize columns: hover over either side of the column and drag them.
Rename a column:
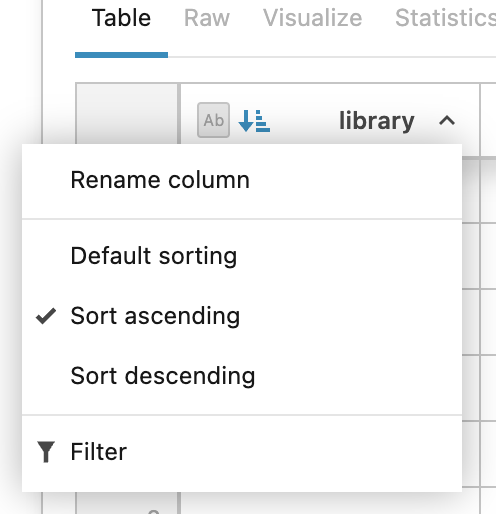
Click the arrow icon in the header of the column that you want to rename. This opens the column context menu.
Select Rename column from the context menu. This focuses the column header.
Type the new column header and press Enter.
Apply sorting:
Click the arrow icon next to the header of the column that you want to sort. This opens the column context menu.
Select Sort ascending or Sort descending from the context menu.
note
If a column contains string type data, it is sorted alphabetically.
Double-click the table cell with the value you want to change. The current value will be highlighted.
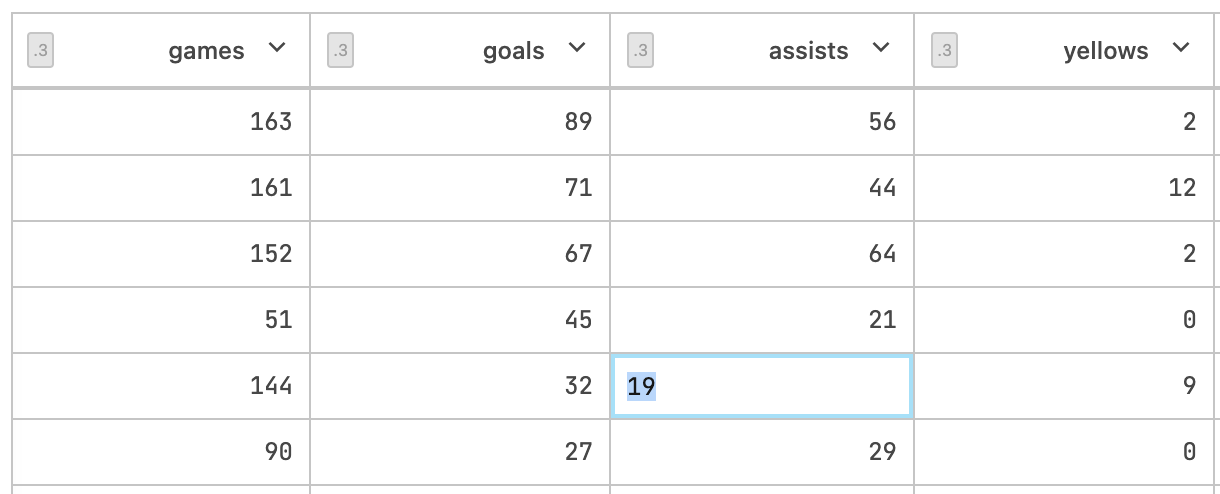
Enter the new value. Make sure you use a supported data type.
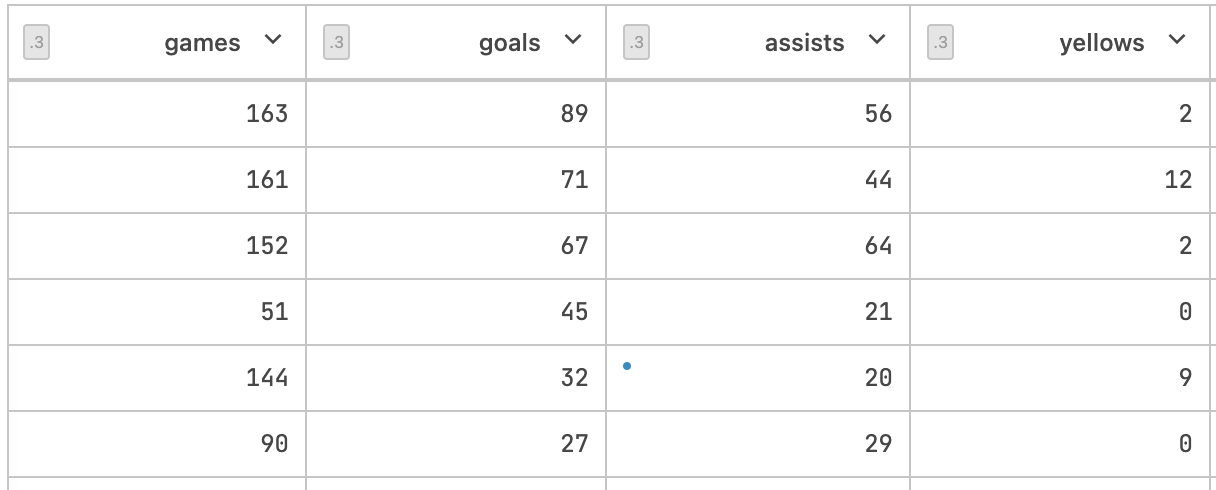
To save the new value, press Enter or click anywhere outside the selected cell.
The cell containing the new value will be marked with a blue dot.
note
Your manipulations with table output are reset after you re-run the notebook.
interactive tables, interactive output, edit tables, edit table output, find and replace
Thanks for your feedback!
