Files tool window
The Files tool window lets you manage files and folders associated with your database, and your database consoles.
Most of the functions in this tool window are accessed as context menu commands in the content pane and via associated shortcuts.
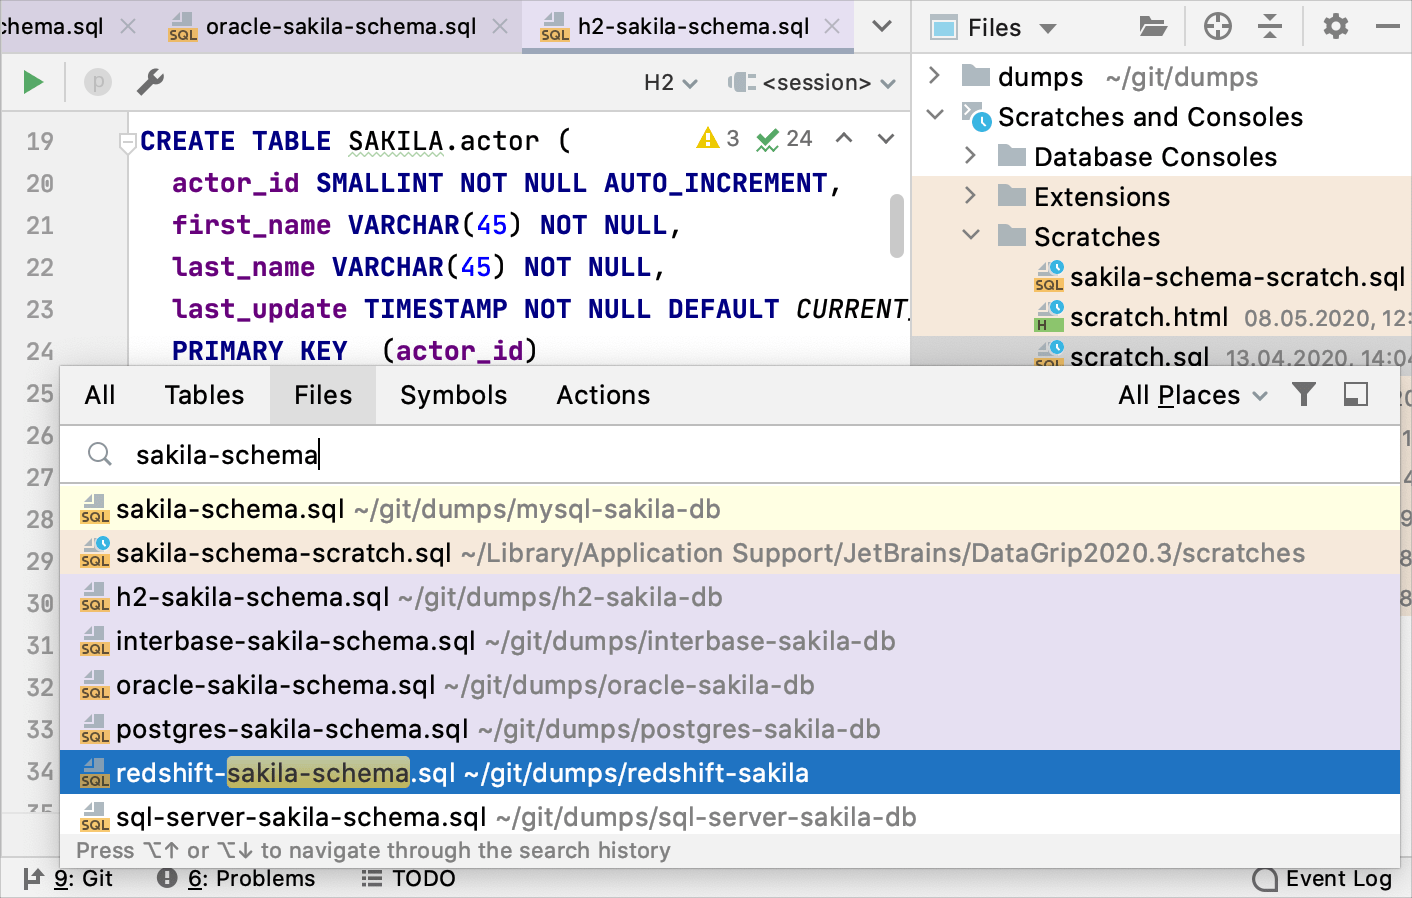
Also, the view contains the Scratches and Consoles folder that lets you manage created scratch files, database consoles, and extension scripts.
The following video gives a short overview of the Files tool window.
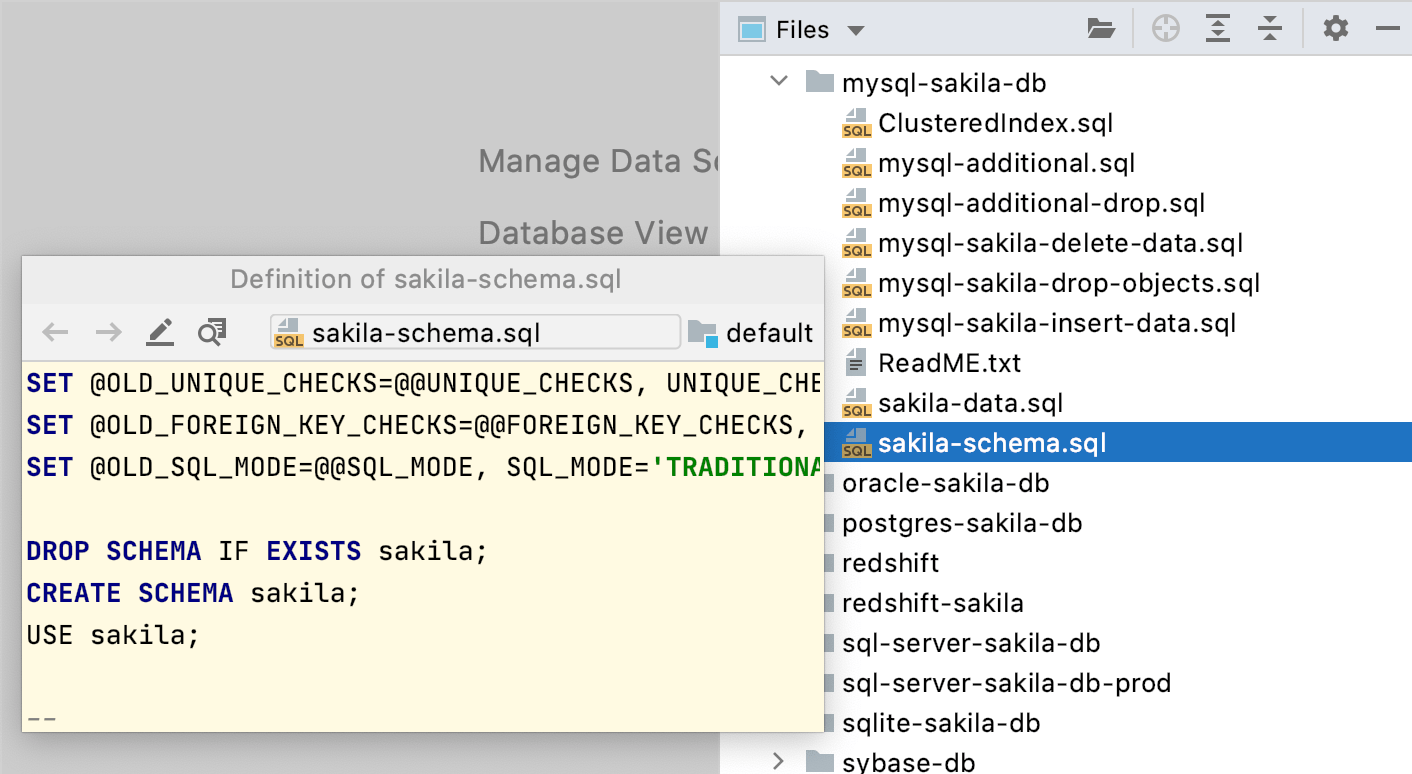
Preview files
There are two ways to preview files without opening each one in a separate tab:
Use the file preview popup — select a file in the Files tool window and press Space.

Enable the preview tab — click
and select Enable Preview Tab.
Show tree indent guides
In the Files tool window, you can display vertical lines that mark indent levels and help you better understand the hierarchy of the components in your project. To display these lines, enable Show tree indent guides on the Appearance and Behavior | Appearance page of the IDE settings Control+Alt+S.
Title bar context menu
Item | Shortcut | Description |
|---|---|---|
Select Next View or Tab | Alt+ArrowRight | Use this option to switch between different views. |
Select Previous View or Tab | Alt+ArrowLeft | Use this option to switch between different views. |
Show List of Views or Tabs | Alt+ArrowDown | Use this option to switch between different views. |
Tree Appearance | ||
Show Excluded Files | This option is available only in the Project view. Turn this option on or off to show or hide excluded folders and files. | |
Show Scratches and Consoles | Hide or display the Scratches and Consoles node. This node contains your scratch files and query consoles. | |
Sort by Type | If the option is off, the files are sorted alphabetically by their names. If the option is on, the files are sorted by their extensions. The option doesn't affect the order of the folders. The folders are always sorted alphabetically. | |
Folders Always on Top | If the option is on, folders are shown above the files. Otherwise, all items are sorted alphabetically, and files and folders appear intermixed. | |
Enable Preview Tab | Enable the preview tab that allows you to view files in a single tab one by one without opening each file in a new tab. | |
Open Files with Single Click | If this option is on, DataGrip will automatically open the selected item in the editor. Otherwise, you need to double-click items to open them. Note that you cannot disable this option if you enable the preview tab. | |
Always Select Opened File | If this option is on, DataGrip automatically locates documents that you open in the editor in the current view of this window. | |
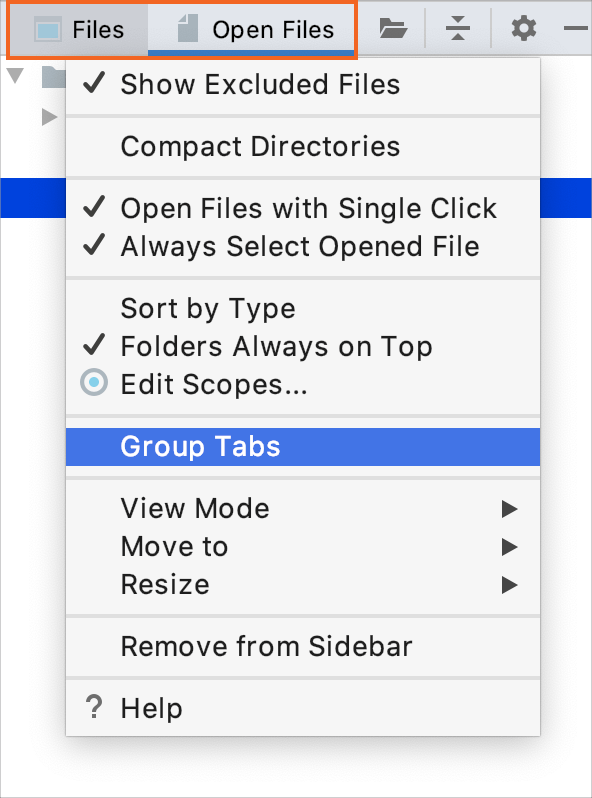
Group Tabs | If this option is on, there is a list in the left-hand part of the title bar from which you can select the necessary view. If this option is off, the views are represented by tabs which appear in the left-hand part of the title bar.  | |
View Mode | This option lets you control general appearance and behavior of the tool window. | |
Move to | To associate the tool window with a different tool window bar, select this command, and then select the destination tool window bar (Top, Left, Bottom or Right). | |
Resize | To resize the tool window by moving one of its borders, select this command, and then select the necessary Stretch to option. Note that this command is not available for the floating mode. | |
Remove from Sidebar | This command hides the tool window, removes the button for showing and hiding the tool window and removes the tool window from the quick access menu ( To open the tool window again (and restore the associated features), use the main menu: or press Alt+2. | |
Hide | Shift+Escape | Hide the tool window. |
Help | This command opens the description of the Project tool window in the DataGrip online help. | |
Title bar buttons
Item | Shortcut | Description |
|---|---|---|
When you click this icon, the file or console which is open on the current editor tab is highlighted in the current view of the Files tool window. This icon is not available if the Always Select Opened File option is currently on. | ||
NumPad-NumPad-- | Collapse all the nodes. | |
Use this button to open a menu whose options are a subset of the title bar context menu. | ||
Shift+Escape | Hide the tool window Shift+Escape. To hide all the tool windows, press Control+Shift+F12. |
Content pane
The content pane shows the folders associated with your database and their contents, or your database consoles grouped by DB data sources.
Context menu commands for the content pane items
The context menu of an item provides access to all the functions available for this item.
Item | Shortcut | Description |
|---|---|---|
Attach Directory to Project | Use this command to associate a directory with the database. The selected directory along with all its contents becomes a part of your database. | |
New | Alt+Insert | Use this command or shortcut to create a new directory or file in the current directory. In the Scratches view, this command also lets you create a query console. |
Cut | Control+X | Move the selected item or items from the current location to the clipboard. |
Copy | Control+C | Copy the selected item or items to the clipboard. |
Copy Path/Reference | Use this command and one of the following options to copy the selected item(s) to the clipboard:
| |
Paste | Control+V | Insert the contents of the clipboard into the selected location. |
Find Usages | Alt+F7 | Search for the usages of the selected item. (The Find Usages dialog will open.) |
Find in Files | Control+Shift+F | Perform a text search. (Find in Files dialog will open.) |
Replace in Files | Control+Shift+R | Perform text search-and-replace. (Replace in Path dialog will open.) |
Inspect Code | Use this command to run code inspection for the selected item. | |
Refactor | Perform one of the refactorings available for the selected item. For example, you can rename, move and copy files and directories. | |
Bookmarks | Add the selected item to an existing or new list of bookmarks. | |
Reformat Code | Control+Alt+L | Reformat the source code in the selected file or in all files in the current directory. |
Delete | Delete | Delete the selected item. Use with care! For top-level directories in the Files view, you can select to physically delete the directory or to remove the association of the directory with the database (the Detach option). |
Change Dialect (<CurrentDialect>) | For SQL files and database consoles, change the SQL dialect associated with the file or console. | |
Attach Session | For SQL files, attach a data source session. For more information about sessions, see Run queries. | |
Run '<item_name>' | Control+Shift+F10 | For an SQL file or query console: execute all the statements contained in the selected file or console. |
Reveal in Finder | Use this command to navigate too the selected file in Finder. | |
Local History | View local history for the selected file or directory, or to create a label for the current version of your database. | |
Reload from Disk | Synchronize the view in the tool window with the view saved in the file system. If you change a file or directory contents externally, DataGrip, under certain circumstances, may not be aware of the corresponding changes unless you use this command. | |
Open in Right Split | Split the editor into two parts and show the file in the right section. For more information, refer to Split screen. | |
Open in | Open a file in your system file manager or in Terminal. | |
Compare With | Control+D | Compare the selected file or directory with another file or directory. See Differences viewer for files and Differences viewer for folders. |
Compare File with Editor | Compare the selected file with the file open on an active editor tab. See Differences viewer for files. | |
Remove BOM | Remove the byte order mark (BOM) from the file. |
File colors
Files that belong to different scopes (production files or test files, for example) can be highlighted in different colors in the Files tool window, search results, and editor tabs.
To each scope, you can assign its own color. For more information, refer to Associate scopes with colors.
