Install Datalore On-Premises in Docker containers using Docker Compose
The chapters in this section describe the processes of installing, configuring, and updating Datalore On-Premises in Docker deployment (Docker Compose method).
If you have not decided which platform or service to choose yet, we recommend that you try installing Datalore On-Premises on an AWS EC2 instance. Refer to this guide to learn how to create your own infrastructure in AWS.
You will learn how to do the following:
Basic installation: You complete the basic procedure to get Datalore On-Premises up and running on the infrastructure of your choice.
Required and optional configuration procedures: You customize and configure Datalore On-Premises. Some of these configurations are essential for you to start working on your projects.
Upgrade procedure: You upgrade your version of Datalore On-Premises. We duly notify you of our new releases.
The instruction in this article describes the installation of Datalore On-Premises in Docker containers using Docker Compose. We recommend that you choose the Docker-based installation if your primary goal is to get familiar with the product and its key features. This is the easier and quicker procedure compared to the Helm-based method.
warning
Currently, we only support 64-bit Linux as a host system. ARM-based platforms, macOS and Windows are not supported at the moment.
- Prerequisites
Before installation, make sure that you have the following:
Docker
Docker Compose V2
To check the requirements, execute
docker compose version.Expected result:
$ docker compose version
Docker Compose version v2.32.4
note
If you use a reverse proxy, we recommend that you enable gzip compression by following this instruction.
Follow the instruction to install Datalore using the selected method.
warning
ImportantWhen customizing the deployment, make sure you don’t change the user for the datalore-server container. Otherwise, your deployment may not function properly.
Download and open the docker-compose.yaml file from here.
Replace the values of
DB_PASSWORDandPOSTGRES_PASSWORDproperties with any random string (both properties must have the same value). This string will be used as your database password. Make sure you keep it secret.Run the following command and wait for Datalore to start up:
docker compose upGo to http://127.0.0.1:8080/ and sign up the first user. The first signed-up user will automatically receive admin rights.
tip
Unless the email service is configured, there is no registration confirmation. You can log in right after providing the credentials.
To access Datalore by a domain other than 127.0.0.1, add a URL with this host as the
DATALORE_PUBLIC_URLparameter in the docker-compose.yaml file.For example, if you want to use the https://datalore.yourcompany.com domain, add the following:
services:
  datalore:
    ...
    environment:
      ...
      DATALORE_PUBLIC_URL: "https://datalore.yourcompany.com"
tip
Make sure the URL does not contain a trailing slash.
You will need to configure your DNS yourself.
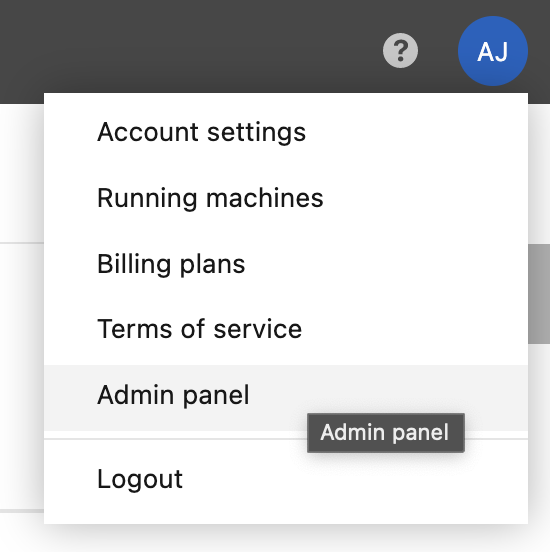
Click your avatar in the upper right corner, select Admin panel | License and provide your license key.

Add the following variables under
environment:in the docker-compose.yaml file:environment: ... DB_USER: "<database_user>" DB_URL: "jdbc:postgresql://[database_host]:[database_port]/[database_name]"tip
Make sure the
DB_PASSWORDvalue is the user's password to the specified database.In the same file, remove the following block:
postgresql:
    image: jetbrains/datalore-postgres:2024.4
    expose: [ "5432" ]
    networks:
      - datalore-backend-network
    volumes:
      - "postgresql-data:/var/lib/postgresql/data"
    environment:
      POSTGRES_PASSWORD: "changeme"
Remove
postgresql-data: { }from undervolumes:.
Enable a whitelist for new user registration. Only users with emails entered to the whitelist can be registered.
Open the docker-compose.yaml file.
Add the following parameter:
environment:
  EMAIL_ALLOWLIST_ENABLED: "true"
The respective tab will be available on the Admin panel.
By default, all Hub users can get registеred unless you disable registration on the Admin panel. If you want to grant Datalore access only to a specific Hub group members, perform the steps below:
Open the docker-compose.yaml file.
Add the following parameter:
environment:
  HUB_ALLOWLIST_GROUP: 'group_name'
Set your own value in bytes to configure the limit of notebook code import.
Open the docker-compose.yaml file.
Add the following parameter:
environment:
  VFS_MAX_IMPORT_SOURCE_LENGTH: 'integer, prefixes (K-, M-, etc.) not supported'
While Datalore can operate in Fargate, be aware that attached files and Reactive mode will not work due to Fargate security policies.
Follow the basic installation with configuration procedures. Some of them are required as you need to customize Datalore On-Premises in accordance with your project.
Procedure | Description |
|---|---|
Required | |
Used to change the default agents configuration | |
Used to enable GPU machines | |
Used to customize plans for your Datalore users | |
Optional | |
Used to create multiple base environments out of custom Docker images | |
Used to integrate an authentication service | |
Used to enable a service generating and distributing gift codes | |
Used to activate email notifications | |
Used to set up auditing of your Datalore users | |
We also recommend referring to this page for the full list of Datalore server configuration options.
Datalore installation, Datalore deployment, install Datalore, installation procedures, installation requirements, Docker deployment
Thanks for your feedback!
