Manage users
As an administrator, you can use the Admin panel to manage users.
Type | Roles |
|---|---|
Viewer A special type of users who can only view notebooks and reports shared with them by other Datalore users. Viewers cannot create their own notebooks or publish reports. | Not applicable |
User A user who can fully use the functionality of Datalore. The admin rights depend on the assigned role (see the column on the right). |
|
Plans are used to limit resources that are available for users. You set up plans in Datalore config files Docker/Helm) and then assign them to users from the Admin panel.
- Default personal plan
A default personal plan is assigned to all users according to your Datalore configuration and marked as default when viewing the users. It can later be changed for a non-default personal plan or group plan assigned from the Admin panel by a super admin.
- Non-default personal plan
A non-default personal plan is assigned to an individual user from Datalore's UI (Admin panel | Manage users. When assigned, it takes priority over any group plans that are already or will be associated with this user, until a different personal plan is assigned.
- Group plans
Group plans are assigned by super admins to all members when creating or editing a group from Datalore's UI Admin panel | Groups. This makes sense when the members of a group do not have personal plans assigned to them individually and you want to select one plan that will work for all of them. When a user is a member of several groups, the plan that is listed the last in the plan configuration has priority over the other group plans associated with this user. However, assigning a personal plan to a member of a group overrides any current or future group plan assignments for this user. Managing group plans is described in Manage user groups.
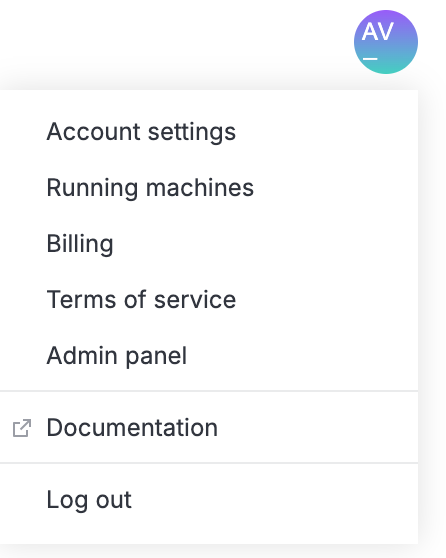
Click the avatar in the upper right corner of the screen and select Admin panel.
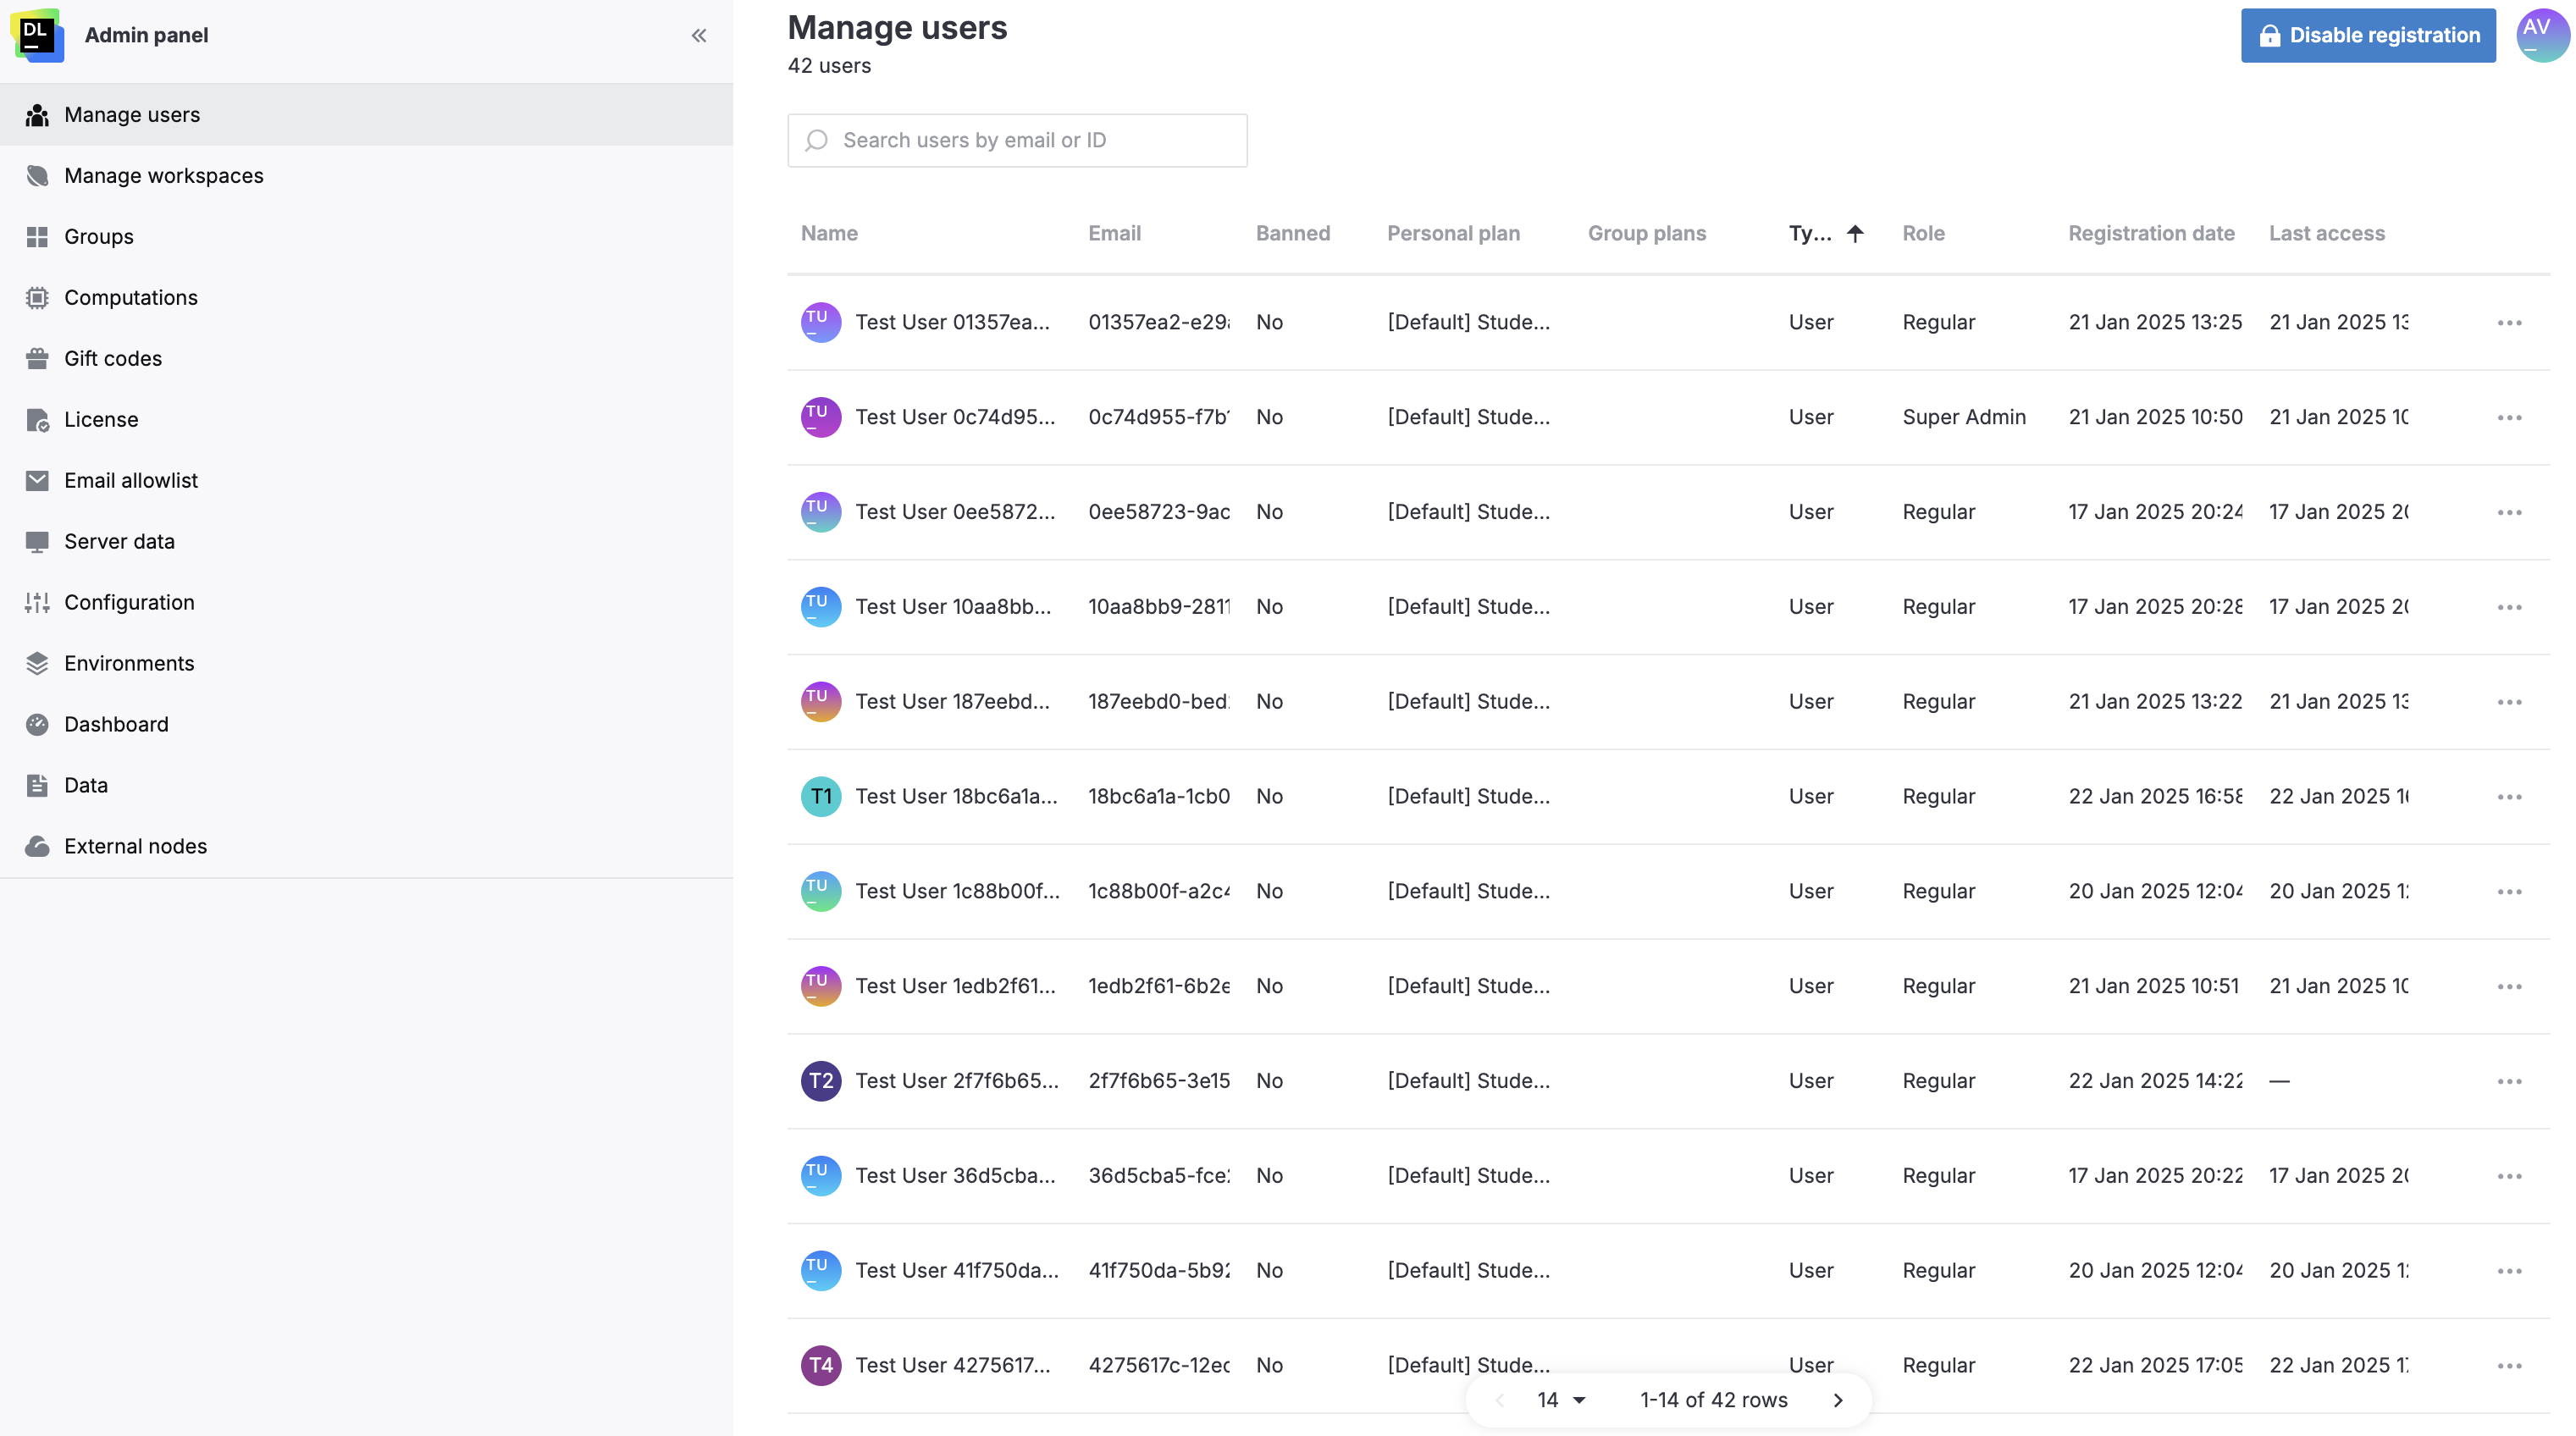
This will open the Manage users menu of the Admin panel.
tip
The sidebar of the panel is resizable: you can collapse/expand it using the icon in its upper right corner or drag the resize handle that appears when hovering over the sidebar's right border.
To sort the list of users by various categories, click the respective column header.
To search users by their IDs or emails or filter the list, use the search bar on top of the list.
note
Search output is limited to 100 records.
note
You create users directly in Datalore only if you logged in without Hub.
If you logged in using Hub, you can only create new users in Hub. Refer to the official Hub documentation for more details. The standalone procedure for creating viewers is provided here.
Go to the Manage users menu of the Admin panel.
Click the plus icon next to the Manage users item on the Admin panel.

This opens the New user dialog.
Provide the new user's full name, email, and password in the respective fields.
To assign the Viewer type to the new user, expand the list under User type and select Viewer.
To assign a role other than the default Regular, expand the list under User role and select the required role.
(Optional) To disable onboarding tips for the new user, select the Skip onboarding checkbox.
Click the Create user button to finish the procedure.

If you're registered in Datalore via Hub, you create a viewer role in Hub and assign it to another user.
Create the Datalore Viewer role in Hub:
Go to Roles | New role.
Specify the name (arbitrary value) and click Create. In this instruction, it is assumed that you use the Datalore Viewer name. You will refer to this role when granting it to a user.
In Settings, specify the key (
datalore-viewer).tip
Alternatively, you can specify the role key in Datalore environment:
HUB_VIEWER_ROLE_KEY: "datalore-viewer"
Assign the Datalore Viewer role to a user:
On the Users page, select the user.
Switch to the Roles tab and click the Grant role button.
In the Grant role dialog, enter Datalore Viewer in the Role field.
Set Scope to Global unless otherwise is configured.
Click the Grant button to close the dialog and conclude the step.
note
If you want to create a viewer type user for an account already registered in Datalore as a user, begin the procedure by deleting the associated user on the Admin panel by following this procedure.
User profile is the menu that allows to view users' account details manage their plans and roles, and access their workspaces.
To open a user's profile, click the respective item on the user list in the Manage Users menu.
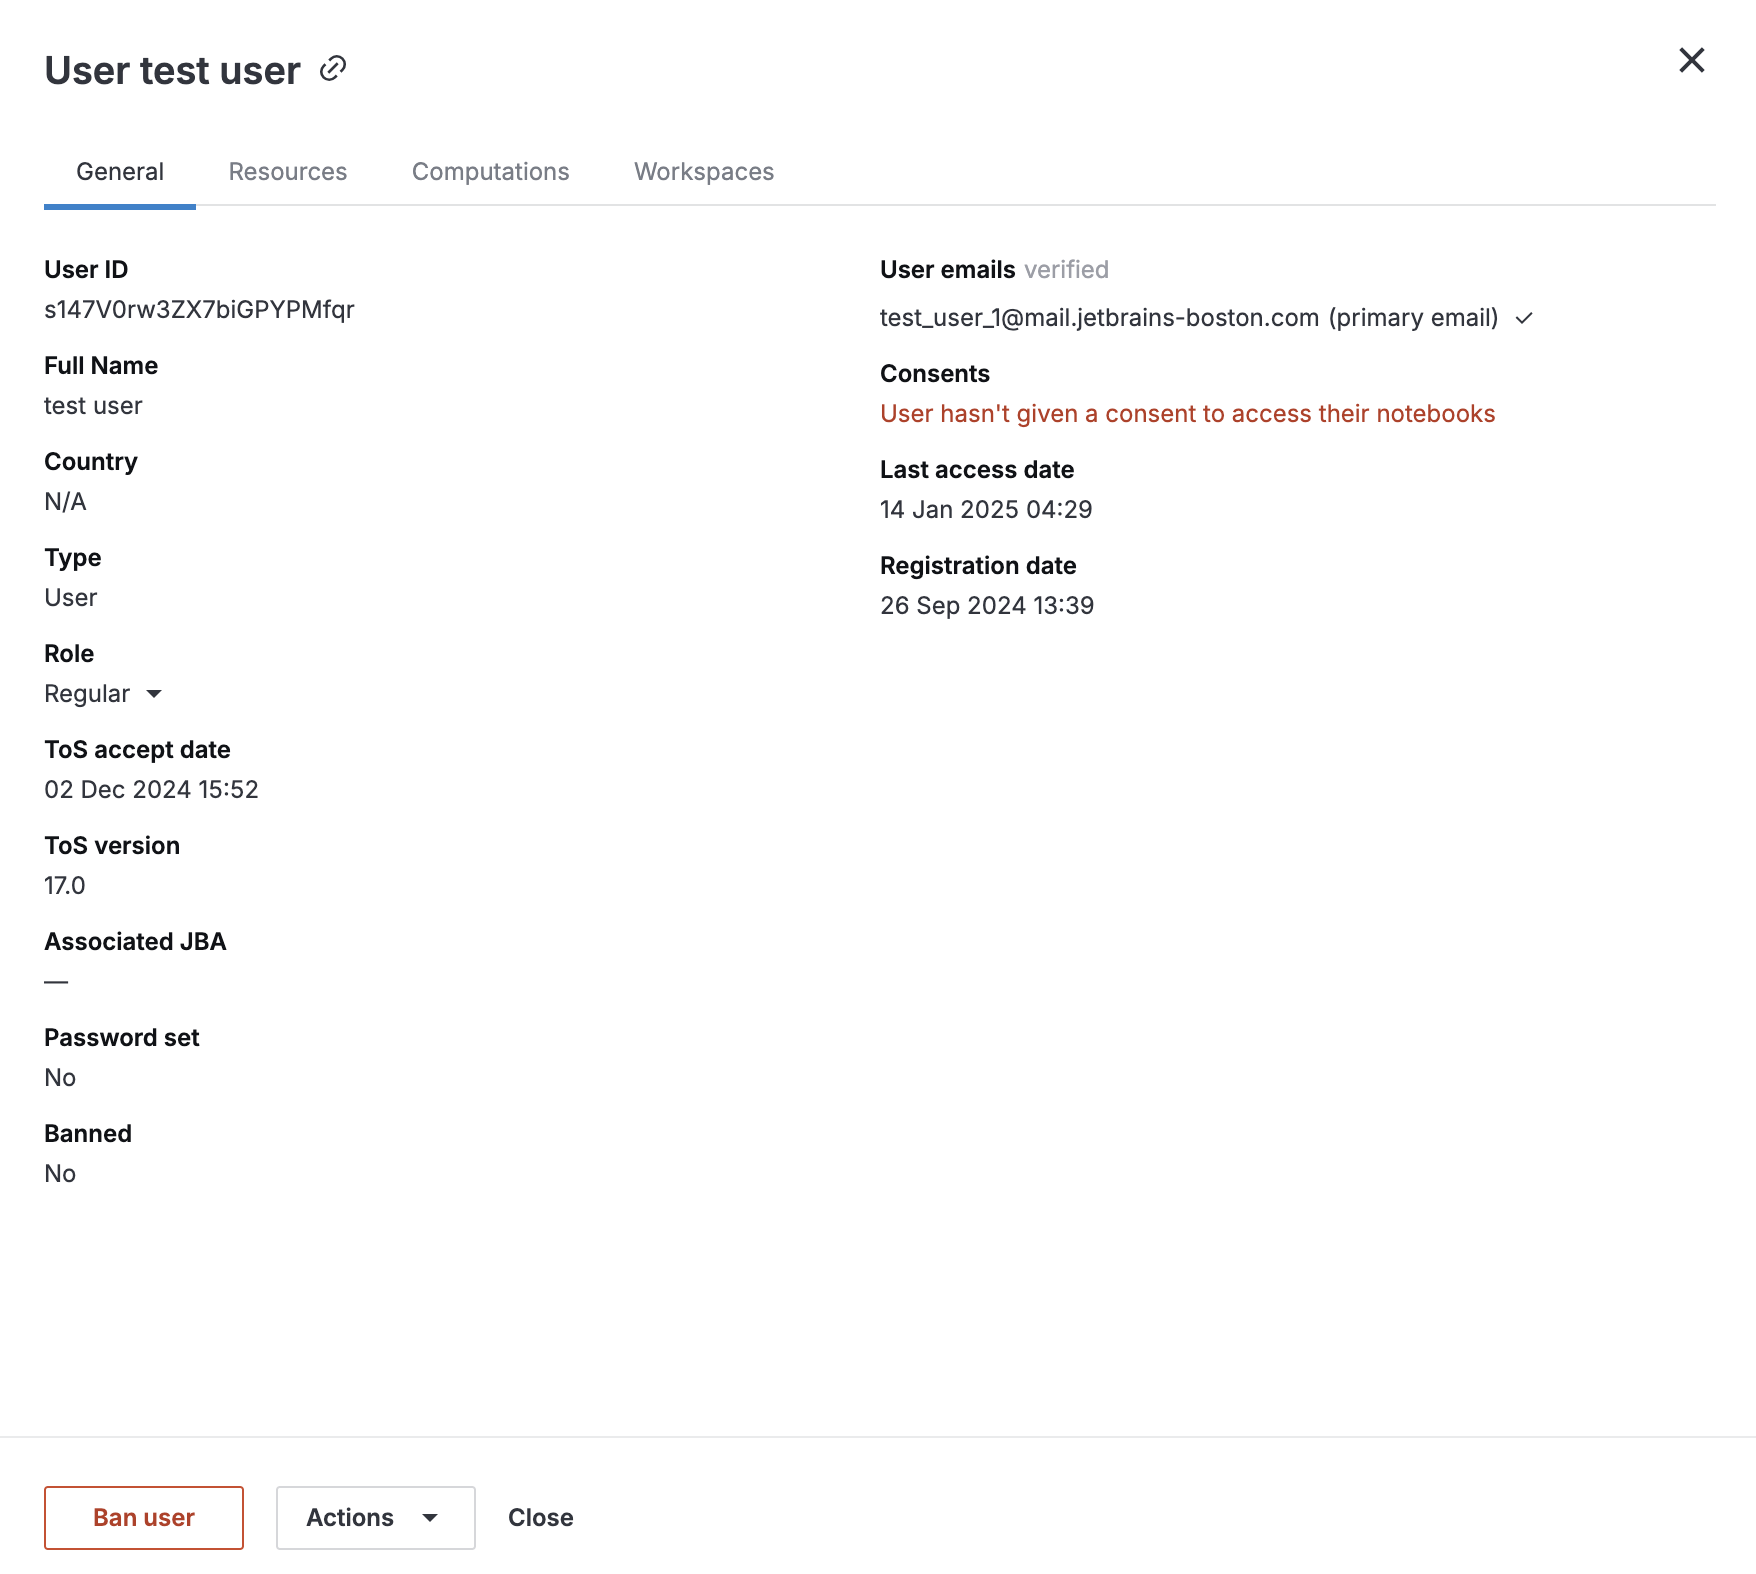
(Optional) You can copy the link to the user's profile by clicking the link icon next to the user's name.
Switch to the following tabs for specific information:
General tab: user type, user role, and other basic information
Resources tab: user's plan, license, and machine and storage usage information
Computations tab: user's currently running machines
Workspaces tab: user's Home and own workspaces
To verify the user's email, click Verify email. Optionally, you can resend the verification email.
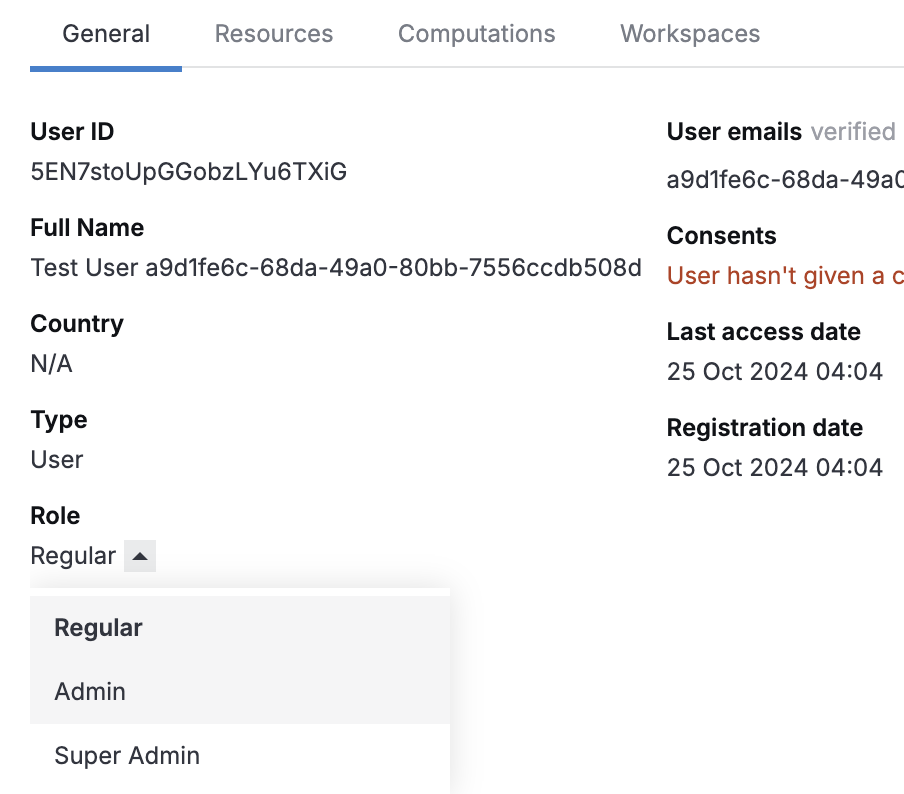
As a super admin user, you can change other users' roles.
Open the Manage users menu, find the user as described in the procedure above, and click the respective list item to open their profile.
On the General tab, expand the role list.
Select a different role from the expanded list.
As a super admin user, you can manage plans for other users, including assigning a personal plan instead of the default one.
note
Plan in this context means the Datalore On-Premises parameter that is used to limit resources available to users. For more details about plan configuration, refer to these topics: Docker-based installation and Helm-based installation.
Open the Manage Users menu, find the user as described in the procedure above, and click the respective list item to open their profile.
In the user's profile, switch to the Resources tab.
Under Plan, expand the list and select the required plan.
Select the required plan from the list.
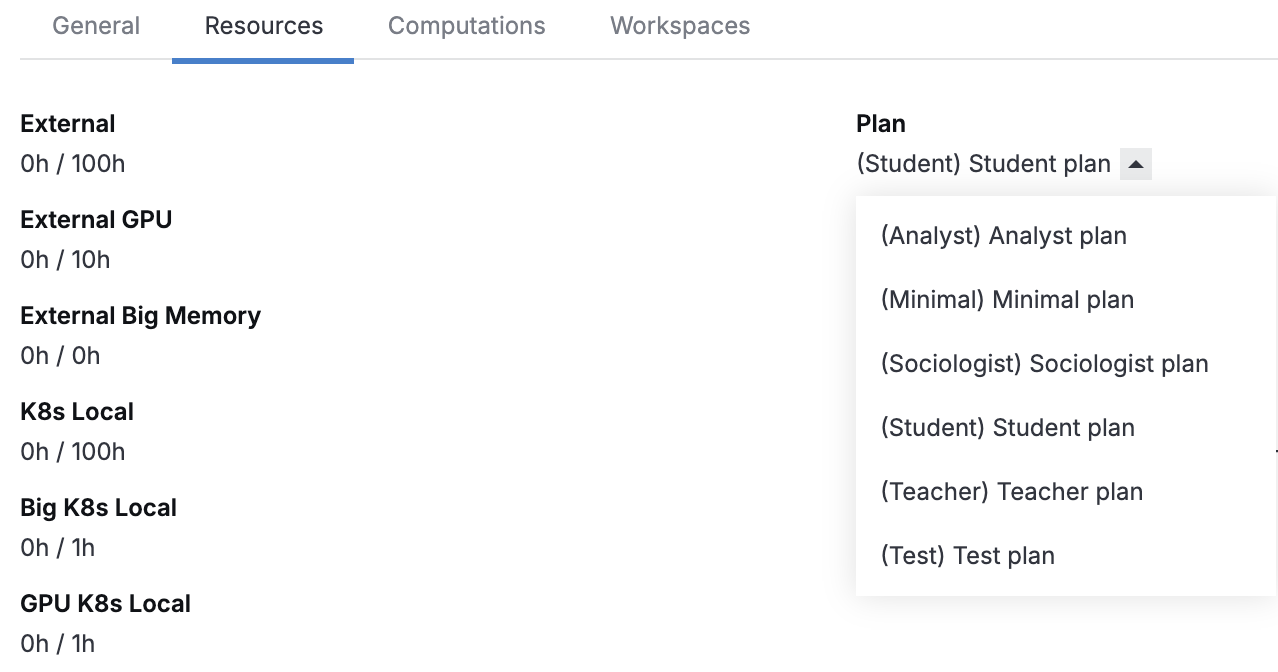
The selected plan is assigned to the user and will override any group plans associated with them.
Find the user and open their profile.
Switch to the Computations tab.
Sort the list of computations by clicking the respective column header.
To stop a computation, click the ellipsis icon for the respective list item and select the Stop option that appears in the popup menu.
To copy the notebook identifier of a specific computation, click the copy icon in the Notebook column for the respective computation.

Find the user and open their profile.
Switch to the Workspaces tab.
To open one of the user's workspaces, click the ellipsis icon for the respective list and select the Open option that appears in the popup menu.

You will access the workspace from a new browser tab. As an admin, you can manage the workspace with edit rights.
To create a workspace that will be the user's own, do the following:
Expand the Actions menu at the bottom of the user's profile and select Create workspace for user.
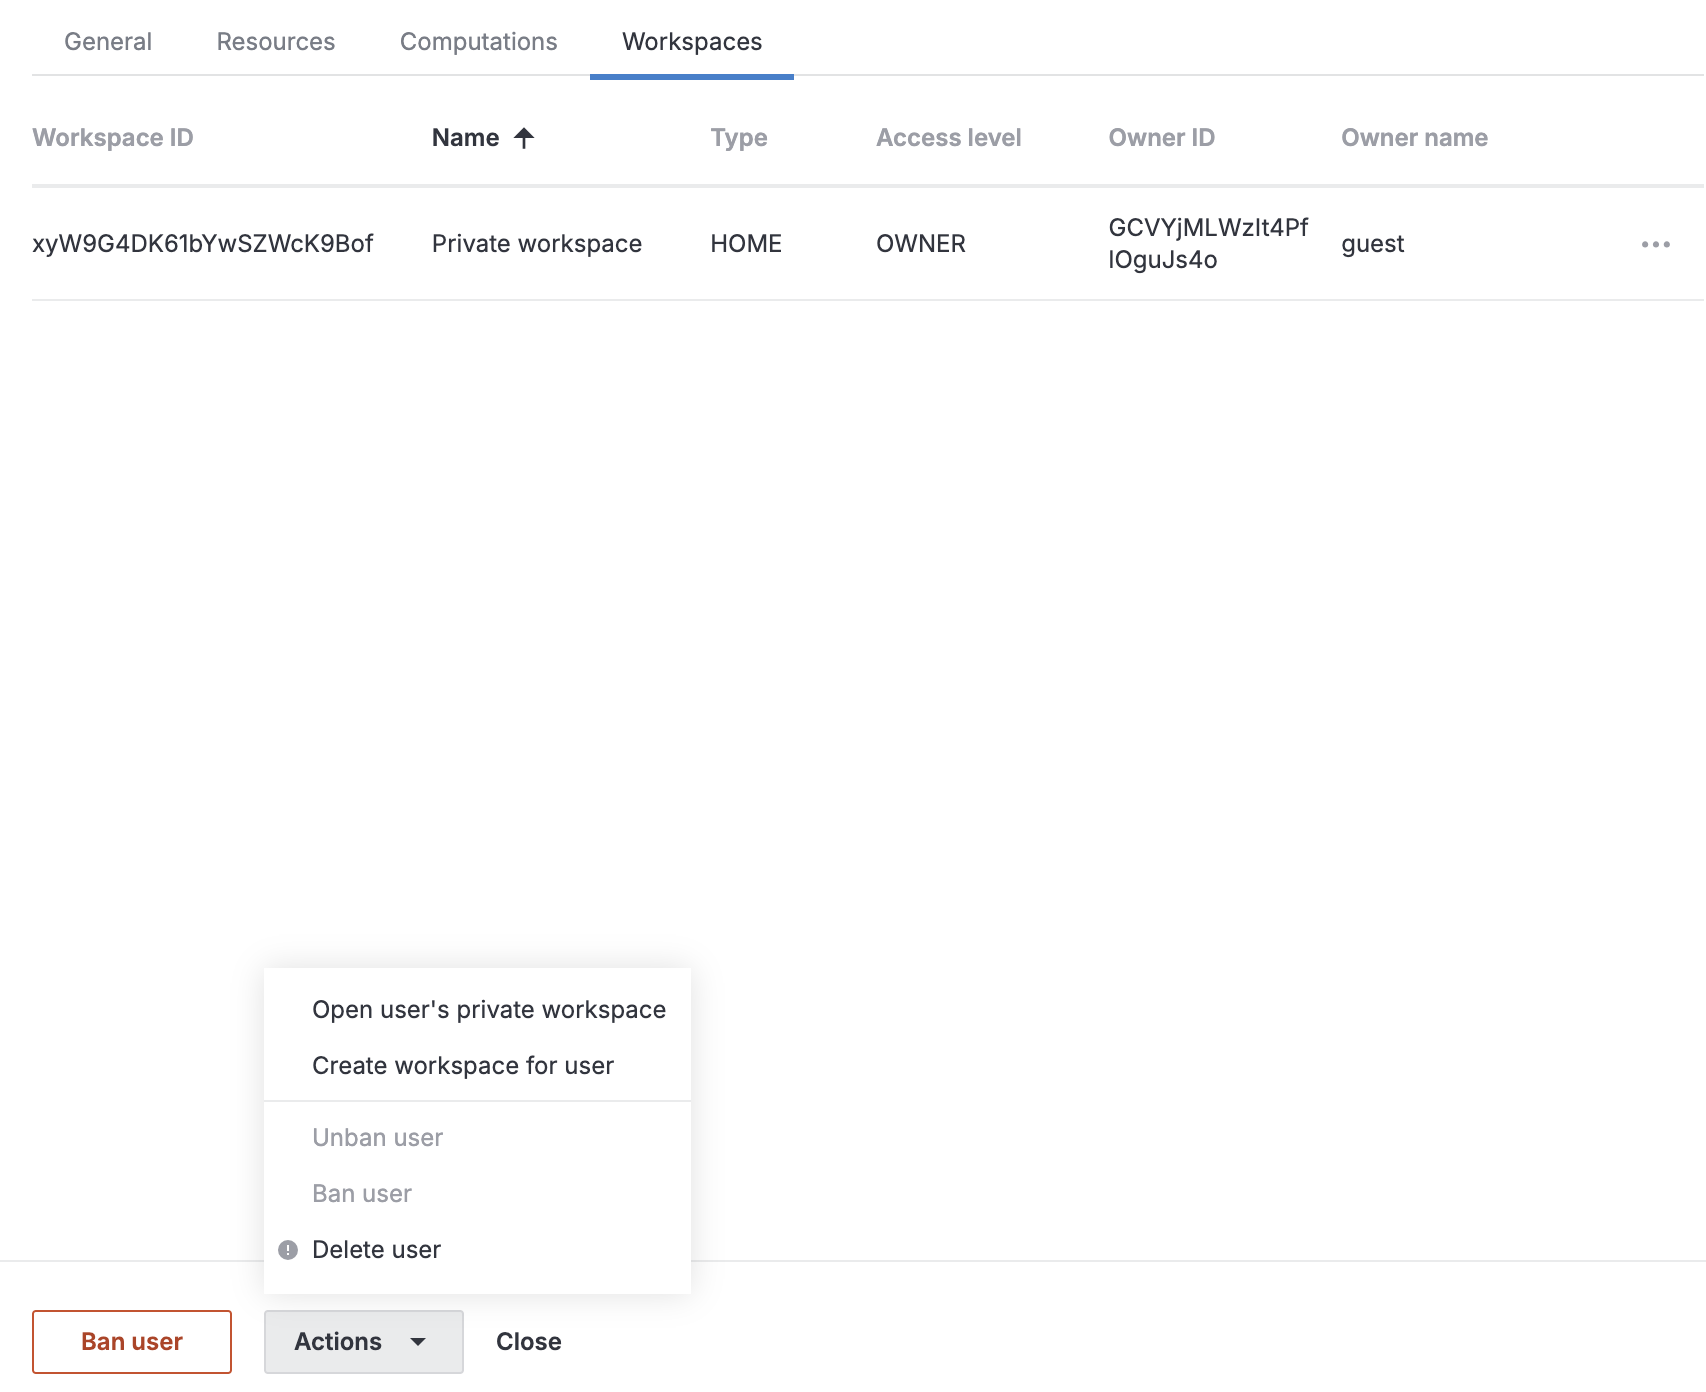
In the New workspace dialog, provide a title for the new workspace and click Create workspace.
Banning users forbids them from any action in Datalore until unbanning, but their accounts stay in the system.
warning
After banning a user, you cannot use their seat to register another account. The seat can be released only once the user is completely deleted.
Find the user and open their detail view.
Expand the Actions menu at the bottom of the user's profile and select Ban user.
In the Ban user confirmation dialog, specify a reason for the action (optional) and click OK.
To unban the user, expand the Actions menu and select Unban user.
This action permanently deletes all data associated with this specific user, including all notebooks and their published versions. Deleted data cannot be recovered.
note
This action is required when you want to create a viewer type user for an account already registered as user type.
Find the user and open their detail view.
Expand the Actions menu at the bottom of the user's profile and select Delete user.
Click OK in the Delete user confirmation dialog.
As an administrator, you can set up whether users can register themselves or not.
Click the Disable registrations button at the top of the Manage users menu to ban users from registering themselves.
To re-enable user registrations, click Enable registrations.
Thanks for your feedback!
