Manage user groups
As an administrator, you can use the Admin panel to manage user groups.
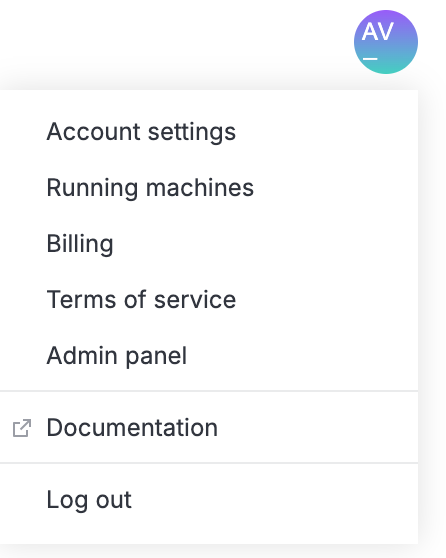
Click the avatar in the upper right corner of the screen and select Admin panel.

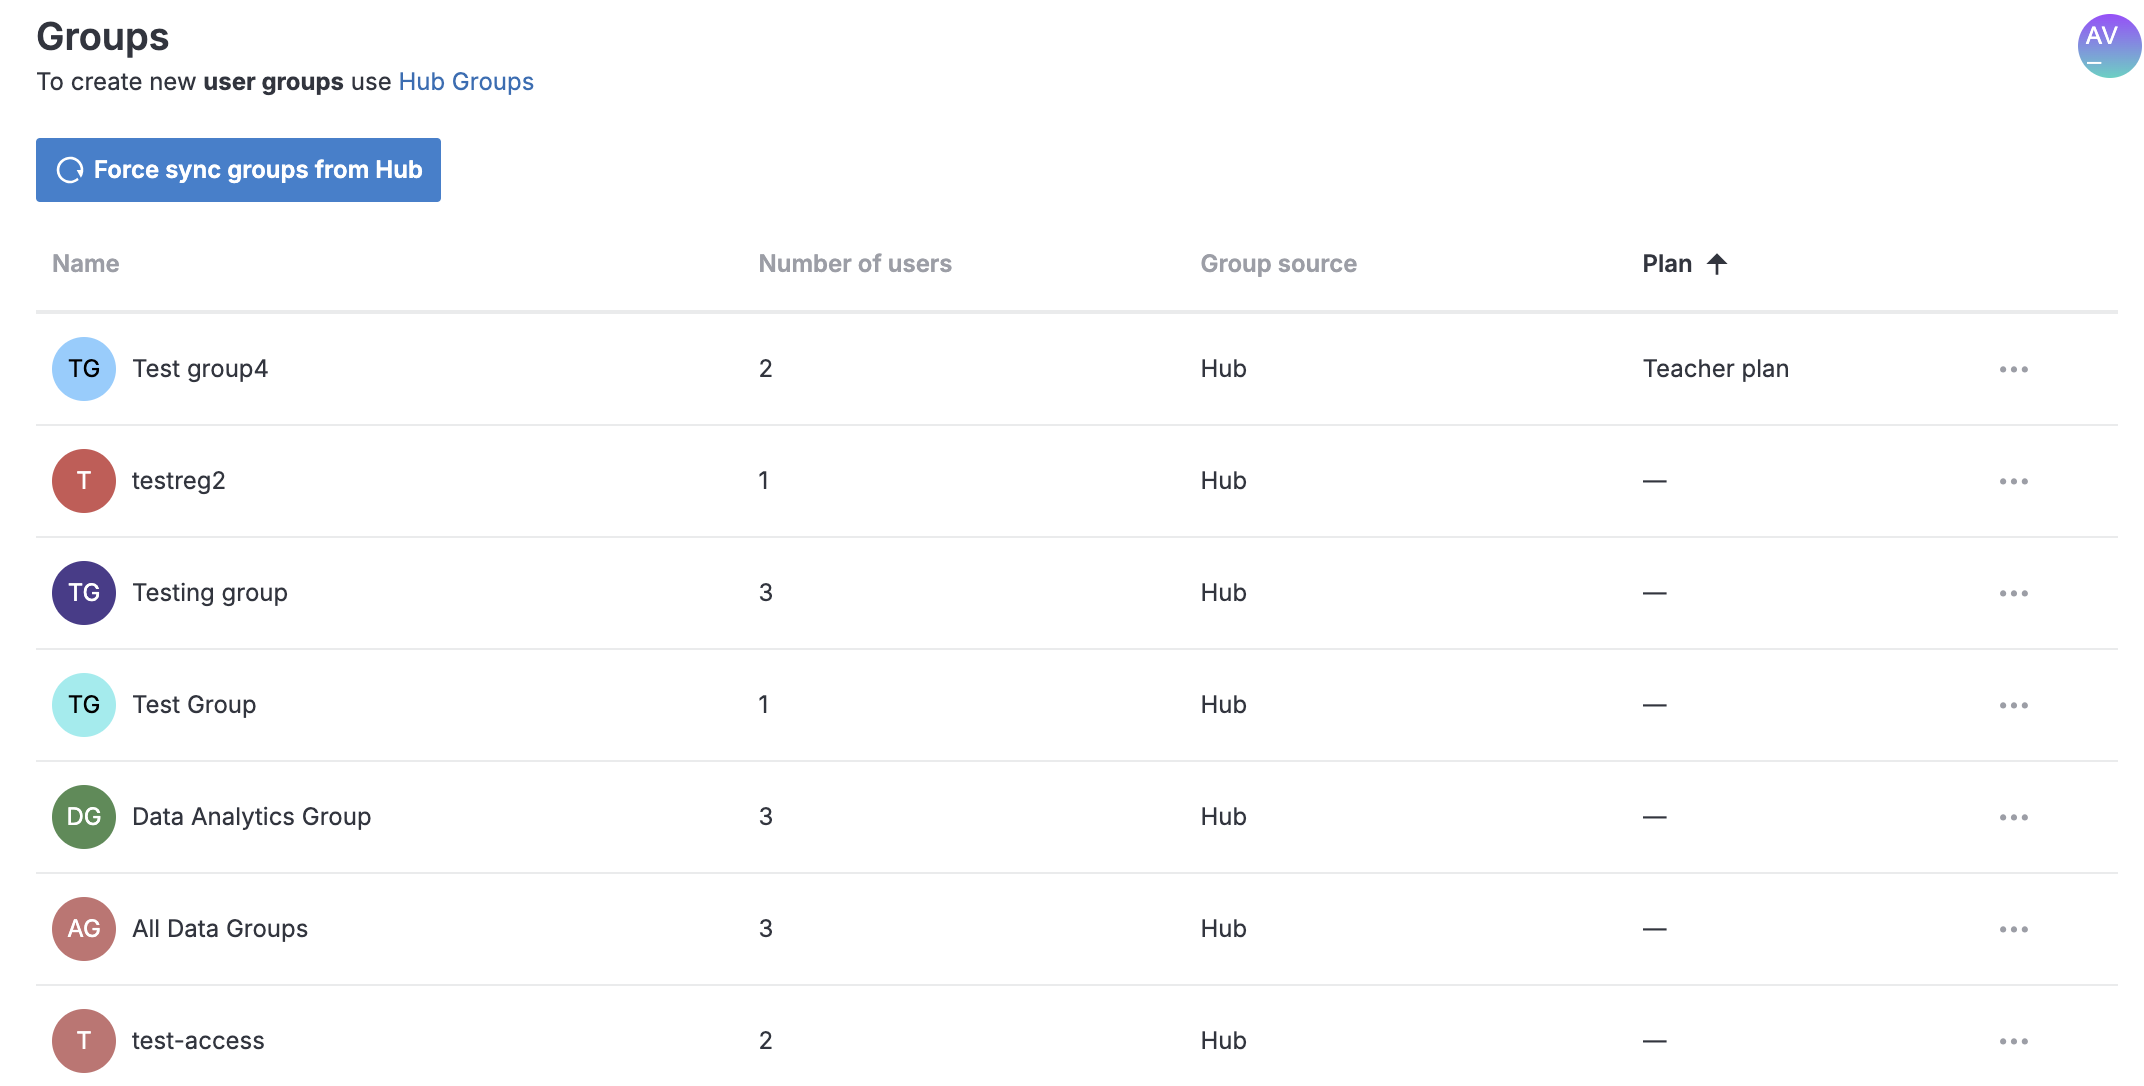
From the sidebar of the Admin panel, select Groups. This action opens the group list.

tip
The sidebar of the panel is resizable: you can collapse/expand it using the icon in its upper right corner or drag the resize handle that appears when hovering over the sidebar's right border.
Your options depend on whether Hub is connected
If Hub is connected, click the Use Hub groups link on top of the group list. This forwards you to the Hub interface for group management. Proceed as instructed in the Hub documentation.
If Hub is not connected, do the following:
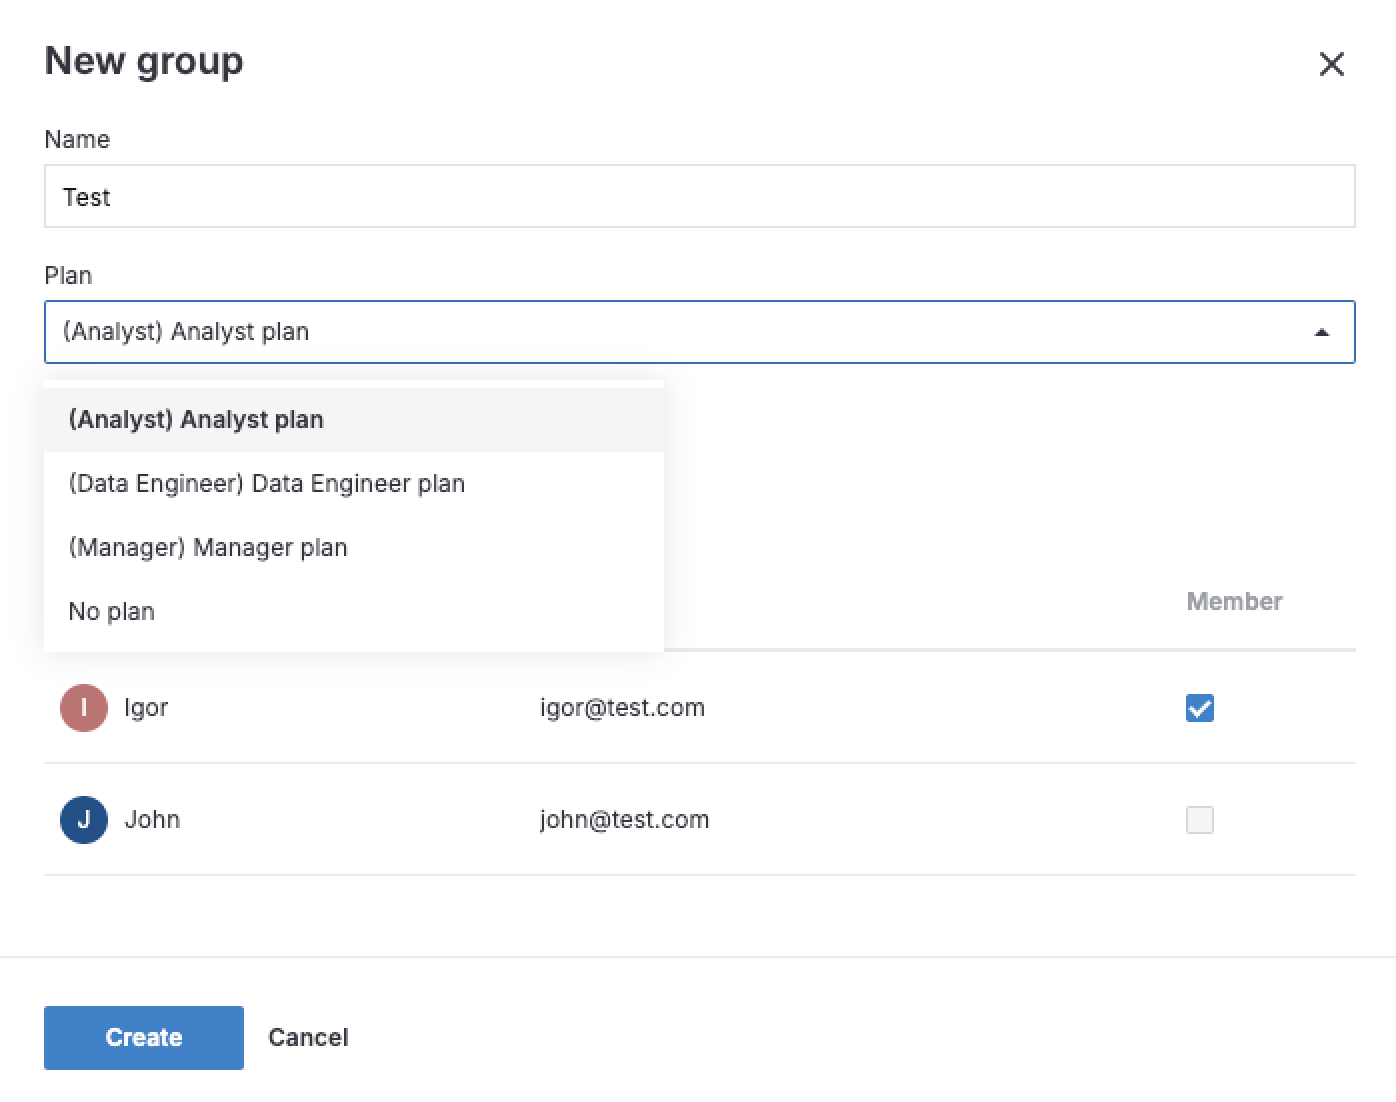
Click the New group button on top of the new group list. This will open the New group dialog.
In the New group dialog, provide a group name in the respective text field.
(Optional) Assign a group plan. You can select from the same plans you configured for individual users :
Click the No plan field to expand the list of available plans.
Select the plan you want to assign to the group.
note
The plan list is only available if you have at least one plan created earlier.

Select the checkboxes for the users you want to add to the group. Use the Search users field to find specific users or narrow down the list of options.
Click the Create group button below the user list to close the dialog and finish the procedure.
To change the name of the group or edit the list of its users, click the Hub Groups and proceed as instructed in the Hub documentation.
To assign a group plan from the Admin panel, do the following:
Click the required group in the list. This will open the Edit group dialog.
Expand the list of available plans.
Select the plan you want to assign to the group.
Click the Save button to close the dialog and finish the procedure.
Click the required group in the list. This will open the Edit group dialog.
In the Edit group dialog, you can do the following:
Provide a new group name in the respective text field.
Assign a group plan as described in this procedure.
Add or remove users by selecting or clearing the respective checkboxes on the user list. Use the Search users by id or email search bar to find specific users or narrow down the list of options.
Click the Save button below the user list to close the dialog and finish the procedure.
To delete a Hub-associated group, click the Hub Groups link on top of the group list. This will forward you to the Hub interface for group management. Proceed as instructed in the Hub documentation.
To delete a group in Datalore:
Click the ellipsis and select Delete.
Click OK to confirm your action.
tip
After you delete the group, access to notebooks and workspaces provided via this group will be revoked.
If you use Datalore with Hub authorization, Hub-managed user groups are automatically imported and updated in Datalore. If there is an issue when synchronizing user groups, you can click the button on top of the group list to force synchronize them with Hub.
note
The Force sync groups from Hub button is only available in the Groups menu when Hub is connected
Generally, you share notebooks and workspaces with groups the same way you share them with individual users. When sharing, group names will be suggested when you start typing text in the Invite users field.